Leora J. Goodin
I'm a blogger dedicated to sharing insights on lifestyle and wellness. Through personal stories and practical tips, I aim to inspire and empower my readers to lead healthier, more fulfilling lives.
Students and teachers save a massive 71% on Creative Cloud All Apps
Black Friday and Cyber Monday 2023 Deals for Motion Designers, grab it now!
Begin your screen recording journey on Windows with our step-by-step guide, and discover essential tips that will elevate your recording skills to the next level.
To screen record on Windows, start by pressing the Windows key + G to open the Xbox Game Bar.

Make sure screen recording is enabled in the settings. Use the Windows + Alt + R shortcut to start and stop recording your gameplay or applications. Your recordings will automatically save in the Videos folder. For added features and broader options, you might want to explore third-party software that can enhance your recording experience. There's more you can learn about optimizing your recordings!
Screen recording on Windows is a powerful tool that allows you to capture whatever's happening on your screen. If you're wondering how to screen record on PC, you're in the right place. Windows 10 has built-in features that make it easy to record your screen without needing additional software.
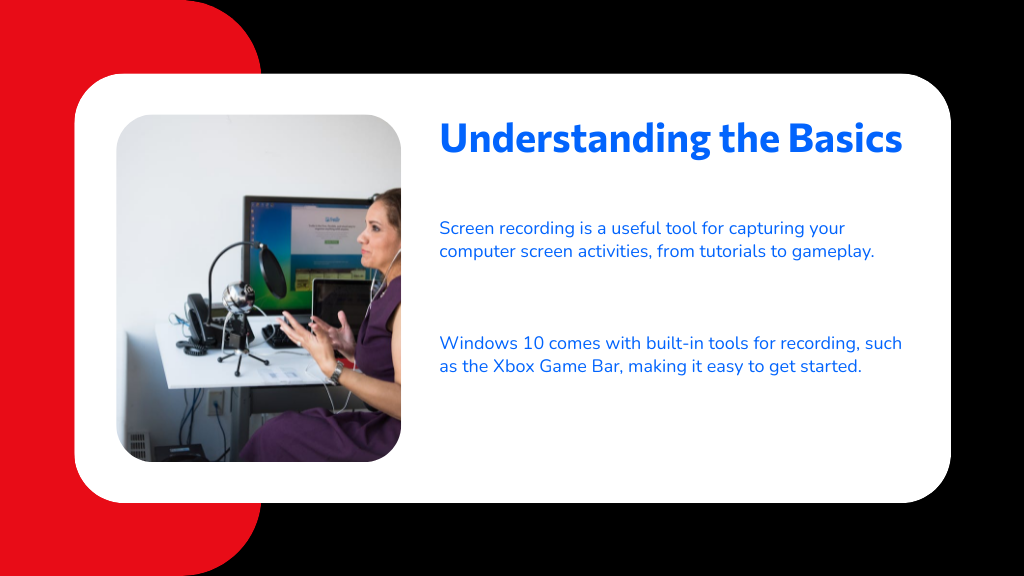
To get started, you'll want to explore the Xbox Game Bar, which lets you record quickly and efficiently. However, if you need advanced features, consider using dedicated screen recording software for Windows 10, which can offer more options like editing and annotation. Understanding these basics will help you create tutorials, capture gameplay, or document software issues effectively.
If you're ready to start recording, the Xbox Game Bar is a straightforward tool that makes the process easy. To use it, simply press the Windows key + G on your keyboard.
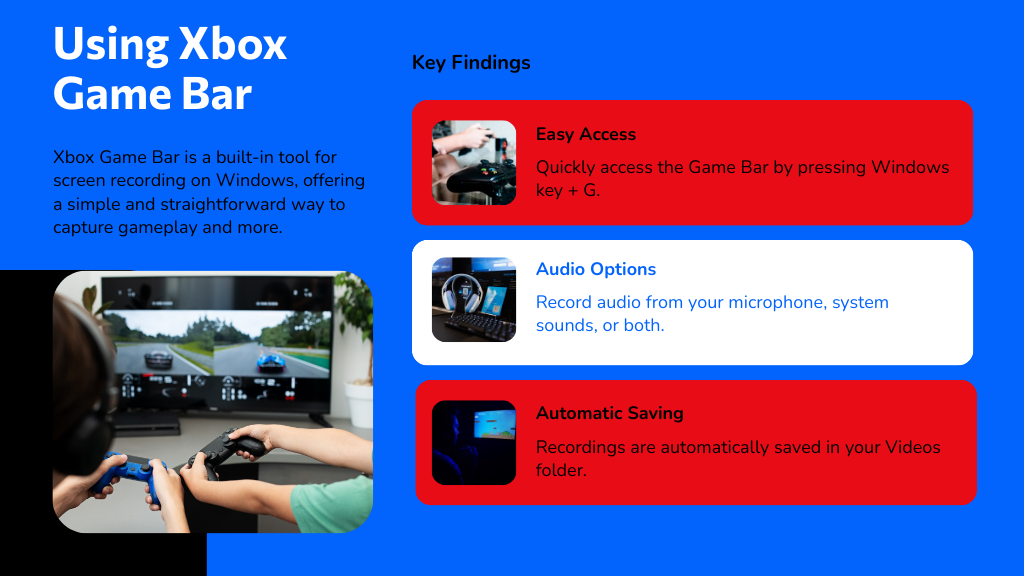
This opens the Game Bar overlay. If you want to know how to enable screen recording, go to the Settings menu within the Game Bar and verify that the "Record game clips, screenshots, and broadcast using Game Bar" option is checked.
Once it's set up, you can easily screen record Windows 11 by clicking the capture button or by using the shortcut Windows + Alt + R to start and stop recordings. Now you're all set to create amazing content with just a few clicks!
When you're ready to capture your screen with the Xbox Game Bar, setting it up for your first recording is a breeze. Just follow these simple steps to guarantee you're prepared to screen record on Windows effectively:
Now that you've set everything up, you're ready to learn how to record on Windows seamlessly! Enjoy your screen recording experience!
Capture your gameplay or application activity effortlessly with the Xbox Game Bar. To start, press the Windows key + G to open the Game Bar overlay. You'll see various widgets, including the Capture widget.
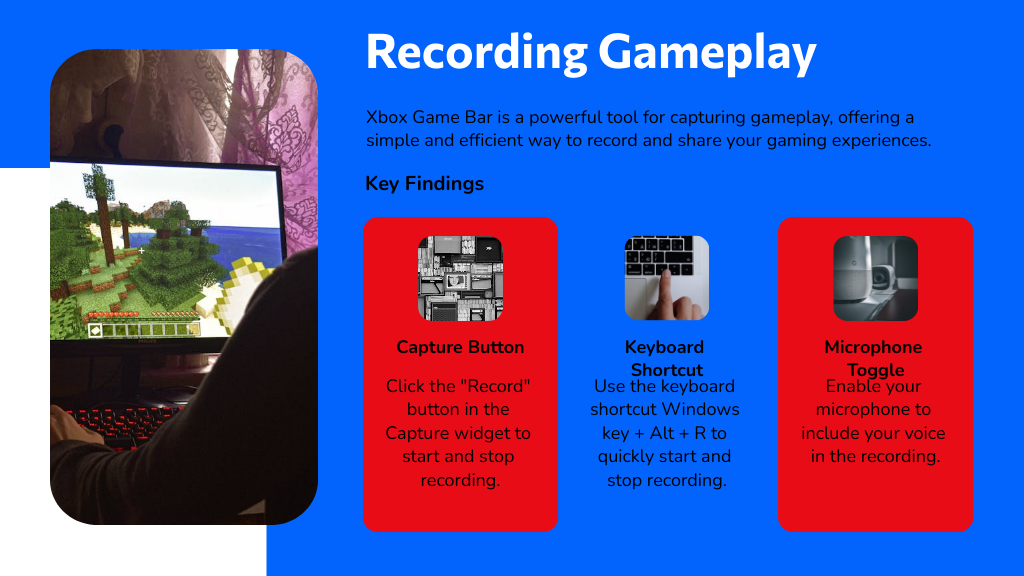
If you're wondering how to screen record in Windows 10, simply click the "Record" button or use the shortcut Windows key + Alt + R. This allows you to screen record while playing games or using applications.
You can also toggle the microphone to include your voice in the recording. After finishing, click the stop button or use the Windows key + Alt + R again. Your recordings will be saved automatically to your Videos folder, making it easy to access your screen recording with audio later on.
Audio plays an essential role in enhancing your screen recordings, especially for tutorials and gameplay. When you learn how to screen record on Windows, capturing audio is a key step.
Here's how to make certain your recordings include sound:
When you screen capture with audio on Windows, you'll greatly improve the quality of your recordings. Follow these tips to effectively learn how to record computer screen Windows 10, making your content more engaging for viewers.
While built-in options for screen recording on Windows are convenient, third-party software can offer enhanced features that elevate your recording experience. When exploring third-party screen recording software, you'll find a variety of tools tailored for specific needs, whether you want to create tutorials, capture gameplay, or document issues. These applications often include advanced editing options, customizable settings, and improved performance.
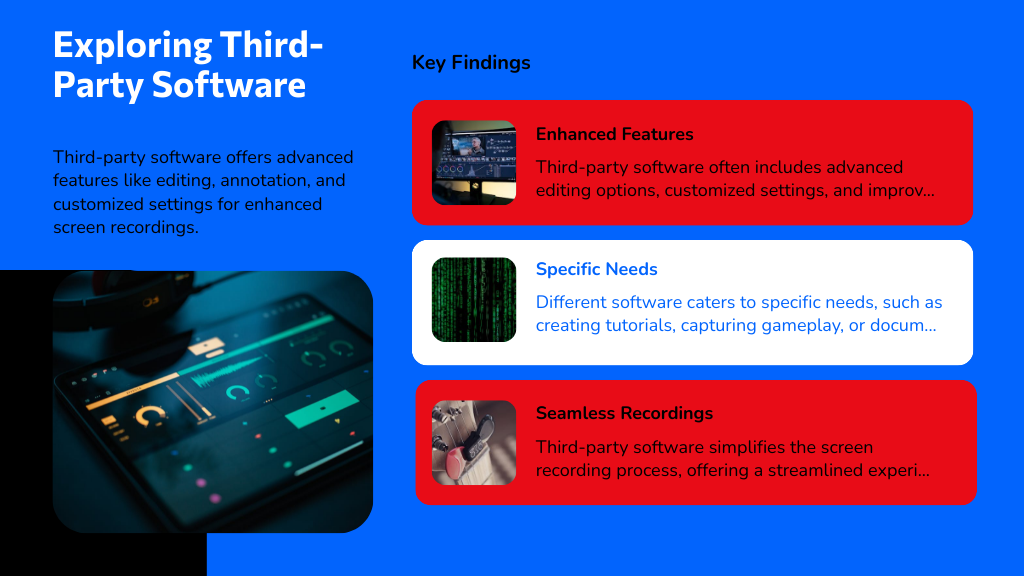
To learn how to screen record effectively, you can experiment with different software to find the best fit for your requirements. Additionally, these tools can simplify how to video record your screen, allowing for seamless recordings without the limitations of built-in options. Immerse yourself in the world of third-party software and discover its potential!
If you're looking to enhance your screen recording experience, several third-party tools can meet your needs effectively. These applications often provide advanced features that help you learn how to screen record more efficiently and how to take a video of your screen with ease.
Here are some recommended tools:
With these options, you'll discover how can you screen record like a pro, tailored to your specific needs.
Editing and sharing your screen recordings can greatly enhance their impact and reach. To start, use editing software to trim unnecessary parts, add annotations, or highlight key moments. If you recorded audio, make sure it's clear and synced properly.
When you want to know how to add screen record features, consider incorporating background music or voiceovers for a more engaging experience.
After editing, choose the right platform for sharing—YouTube, Vimeo, or social media are great options. When you share, consider your audience and tailor your content accordingly.
Finally, remember to include tags and descriptions to optimize visibility. Following these tips will make your recordings more professional and enjoyable for viewers interested in how to screen record on Windows with audio.
Now that you know how to screen record on Windows, you have the power to create tutorials, showcase epic gameplay, or troubleshoot like a pro! With tools like Xbox Game Bar and various third-party software, your recording possibilities are virtually limitless. Remember, the right editing and sharing techniques can transform your raw footage into a masterpiece. So go ahead, release your creativity, and share your screen recordings with the world—they'll be nothing short of spectacular!

Your email address will not be published. Required fields are marked *