Fixing holes in drywall is easy with the right approach. Start by identifying the hole size. For small holes, use spackle; larger ones may require a drywall patch. Gather your tools, like a putty knife and sandpaper. Prep the area by clearing furniture and covering the floor. After smoothing the patch, match the paint and texture to your wall for a seamless look. Follow these steps, and you'll be on your way to a flawless finish. You might find even more helpful tips ahead!
Key Takeaways
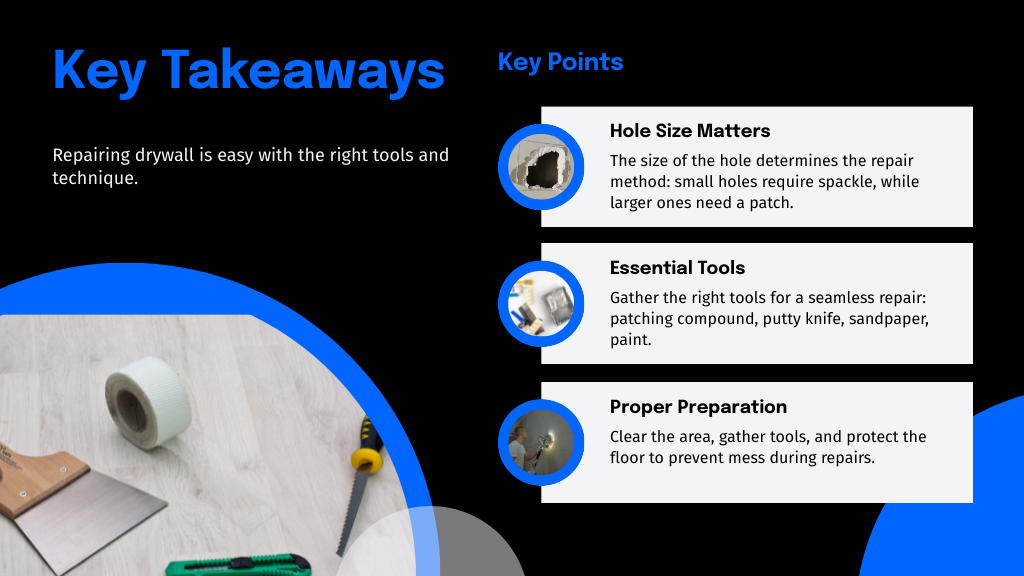
- Assess the hole size to determine the appropriate repair method: small holes need a spackle, while larger ones require a patch or cut piece.
- Gather necessary tools, including drywall patching compound, a putty knife, sandpaper, and paint for a smooth finish.
- Prepare the area by clearing furniture, removing wall decorations, and covering the floor to prevent mess during repairs.
- Sand the patched area until flush with the wall, wipe down dust, and apply primer for better paint adhesion.
- Match the paint type and texture to the existing wall, using multiple thin coats for an even finish.
Common Types of Drywall Damage
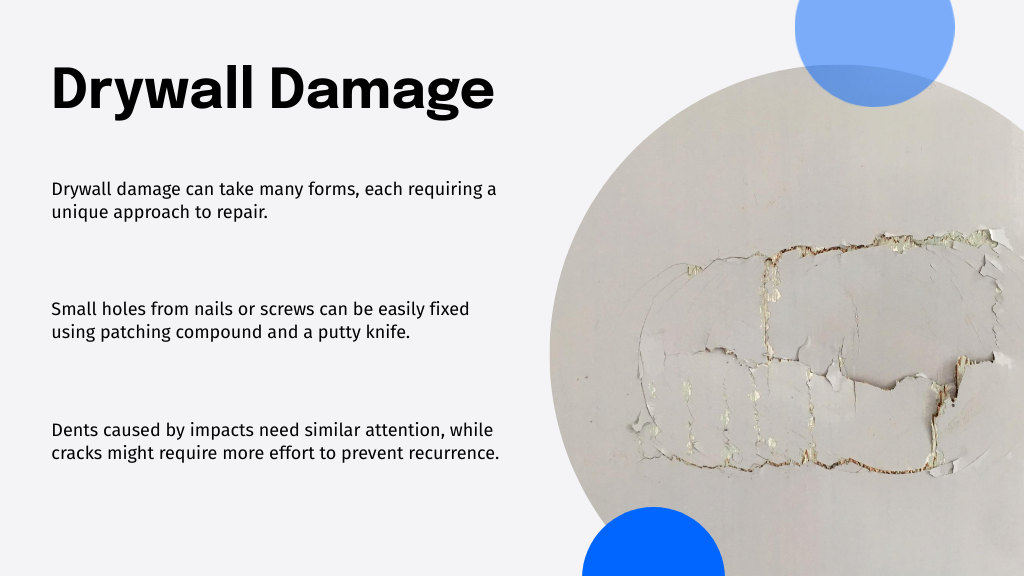
When it comes to drywall, damage can take many forms, each requiring a unique approach for repair. You might encounter common types of drywall damage like small holes, dents, or cracks.
Small holes often appear from nails or screws and can be easily fixed. To repair small holes in drywall, you'll need a patching compound and a putty knife. Simply fill the hole with the compound, smooth it out, and let it dry before sanding it down for a seamless finish.
Dents, caused by impacts, need similar attention, while cracks might require a bit more effort to guarantee they don't return. Understanding these types of damage helps you feel more confident tackling repairs and creating a welcoming space.
Assessing the Size of the Hole
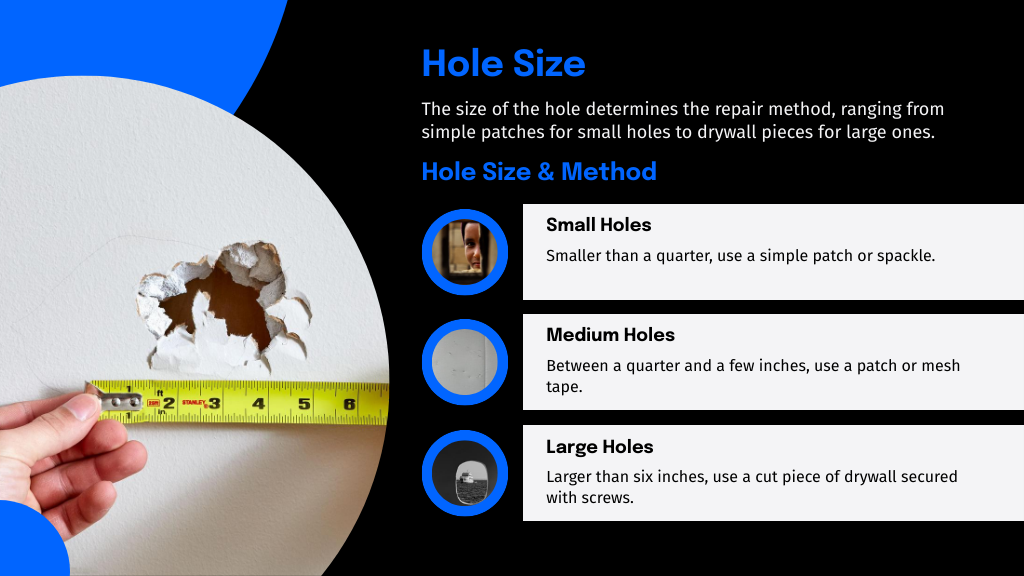
How do you determine the best approach for fixing a hole in your drywall? The first step is evaluating the size of the hole. If it's smaller than a quarter, a simple patch might do the trick. For holes between a quarter and a few inches, you'll need a more involved method, like using a patch or mesh tape.
Larger holes, especially those bigger than six inches, often require a drywall piece to be cut and secured in place. Knowing how to repair a hole in drywall effectively starts with recognizing its dimensions.
Choosing the Right Repair Method
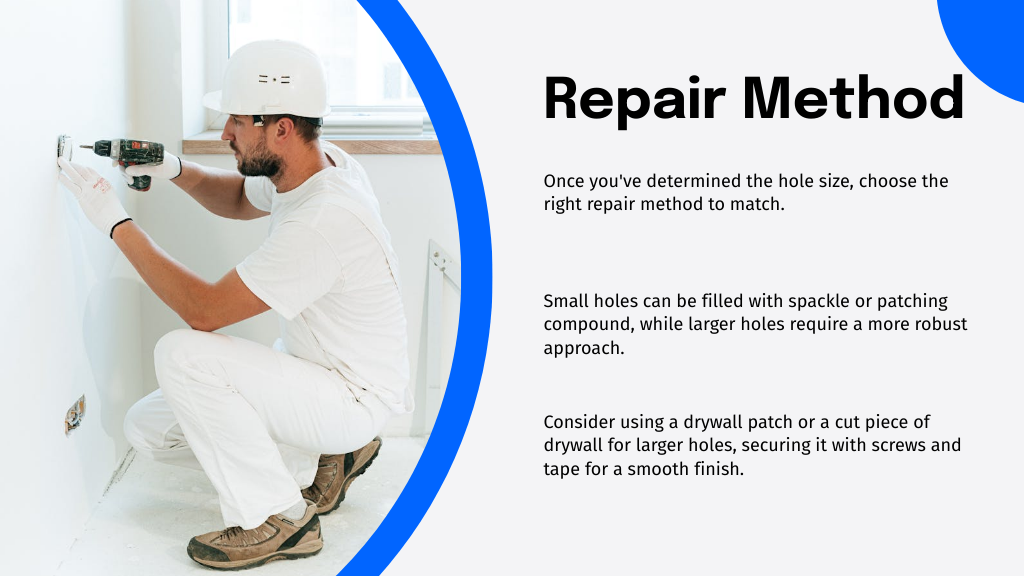
After evaluating the size of the hole, the next step is to choose the right repair method that suits the damage. If you're dealing with a small hole, a simple spackle or patching compound will do the trick. However, when it comes to how to patch a large hole in drywall, you'll need a more robust approach.
Consider using a drywall patch or a piece of drywall cut to fit the hole. You'll want to secure it with screws and tape the seams for a smooth finish. Remember, the method you choose should match not just the hole's size but also your skill level. With the right technique, you'll feel accomplished and ready to tackle more home projects!
Tools and Materials Needed for Repair
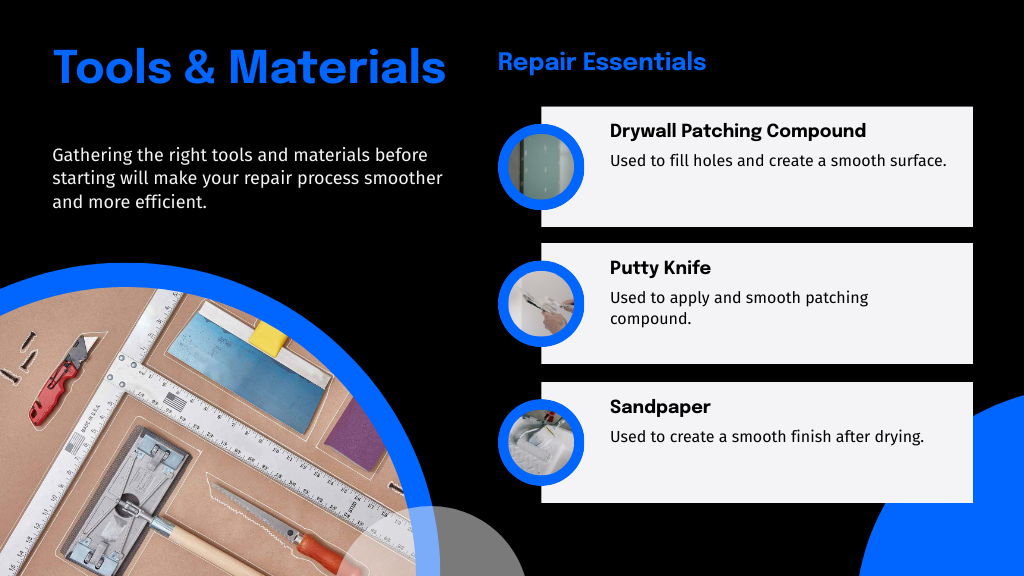
To successfully patch a hole in drywall, you'll need a few essential tools and materials at your disposal. Gathering the right items makes it easier to tackle repairs and feel accomplished in your space. Here's what you'll need:
- Drywall patching compound: For filling the hole.
- Putty knife: To apply and smooth the compound.
- Sandpaper: To create a smooth finish after drying.
- Paint: To blend in the repair with your wall.
Having these tools and materials needed for repair ready will help you understand how to patch a hole in the drywall with confidence.
Preparing the Area for Repair
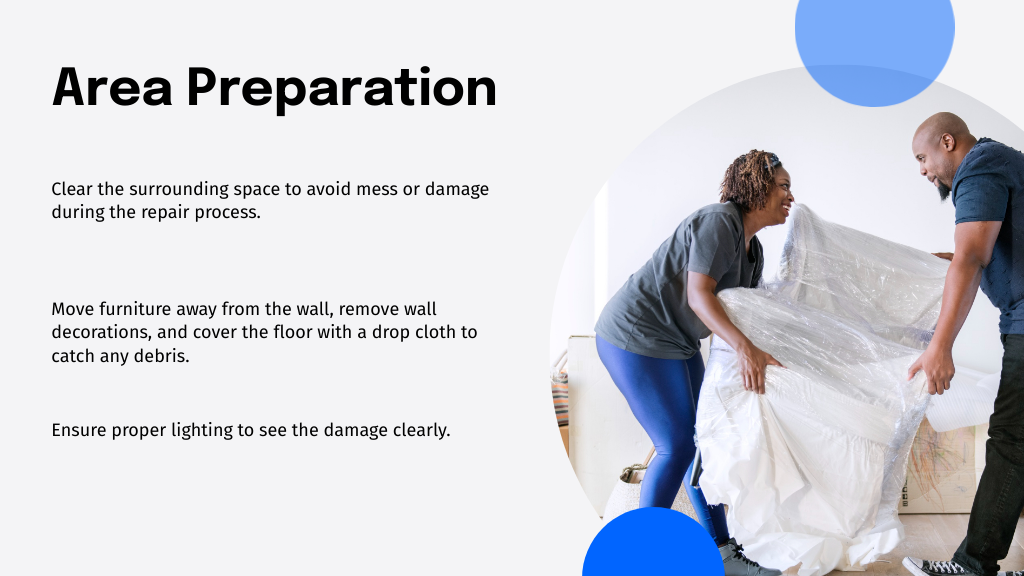
Before you start your drywall repair, it's crucial to clear the surrounding space to avoid any mess or damage. Make sure you gather all the necessary tools beforehand so you won't have to interrupt your work. A little preparation goes a long way in making the repair process smoother and more efficient.
Clear the Surrounding Space
When tackling a drywall repair, clearing the surrounding space is essential for a smooth process. You want to guarantee you have enough room to work comfortably and avoid any mishaps.
Here are some steps to help you clear the area effectively:
- Move furniture away from the wall.
- Remove wall decorations or fixtures near the repair site.
- Cover the floor with a drop cloth to catch any debris.
- Ensure proper lighting to see the damage clearly.
Gather Necessary Tools
Once you've cleared the surrounding space, it's time to gather the necessary tools for your drywall repair. To fix a hole in drywall effectively, you'll need a few essential items: a putty knife, drywall compound, sandpaper, a drywall patch (if the hole is large), and primer or paint to finish the job.
Don't forget a dust mask to keep yourself comfortable while you work. Having these tools at hand will make the process smoother and more enjoyable. Knowing how to fix a hole in drywall can empower you, giving you a sense of accomplishment as you restore your wall.
Using a Patch for Larger Holes
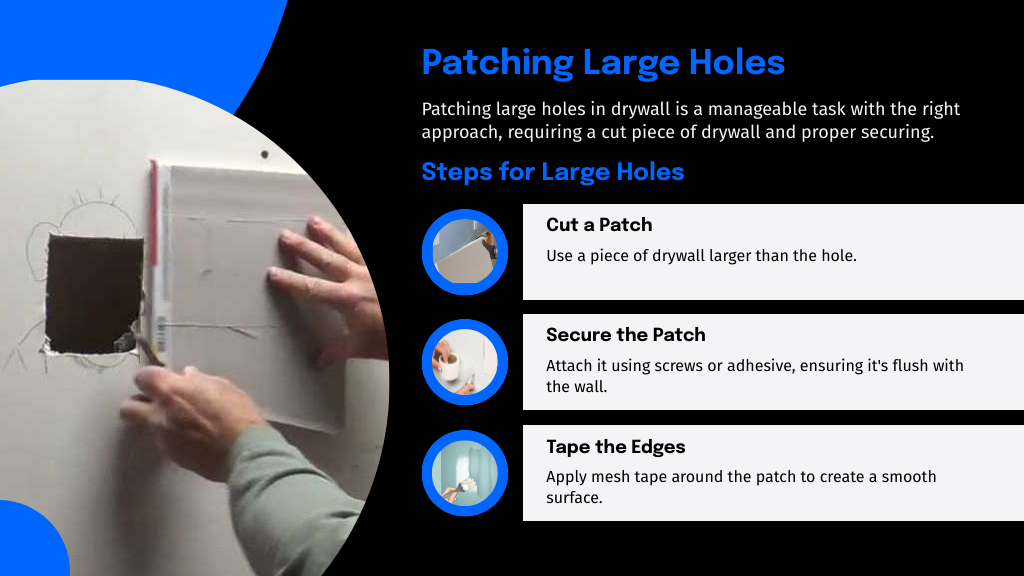
If you find yourself facing a larger hole in your drywall, don't worry—repairing it is a manageable task with the right approach.
Here's how to patch a big hole in drywall in a few simple steps:
- Cut a Patch: Use a piece of drywall larger than the hole.
- Secure the Patch: Attach it using screws or adhesive, ensuring it's flush with the wall.
- Tape the Edges: Apply mesh tape around the patch to create a smooth surface.
- Apply Joint Compound: Spread joint compound over the patch, feathering the edges for a seamless finish.
With these steps, you'll feel confident in your ability to restore your wall, making it look as good as new.
You've got this!
Filling Small Holes and Cracks
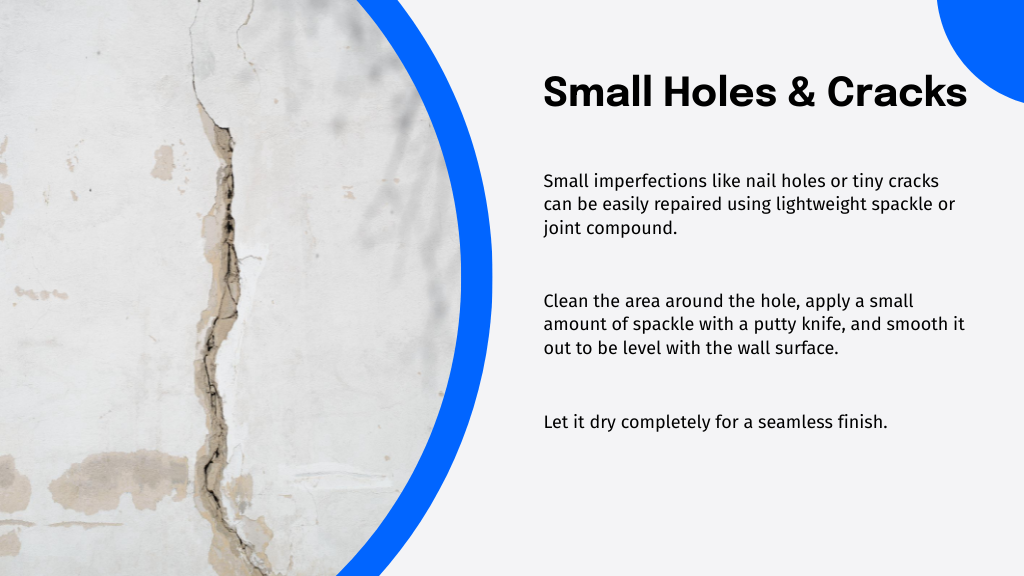
After tackling larger holes, you might come across the smaller imperfections in your drywall, like nail holes or tiny cracks. These small issues can be easily overlooked, but they can impact your room's overall look. So, how do you fix a small hole in the wall? Start by cleaning the area around the hole to remove any dust or debris. Then, grab some lightweight spackle or joint compound.
Using a putty knife, apply a small amount into the hole, pressing it in firmly. Smooth it out so it's level with the wall surface. Let it dry completely, and you're on your way to a seamless finish! Take pride in your repairs; they'll keep your space looking polished and inviting.
Applying Joint Compound
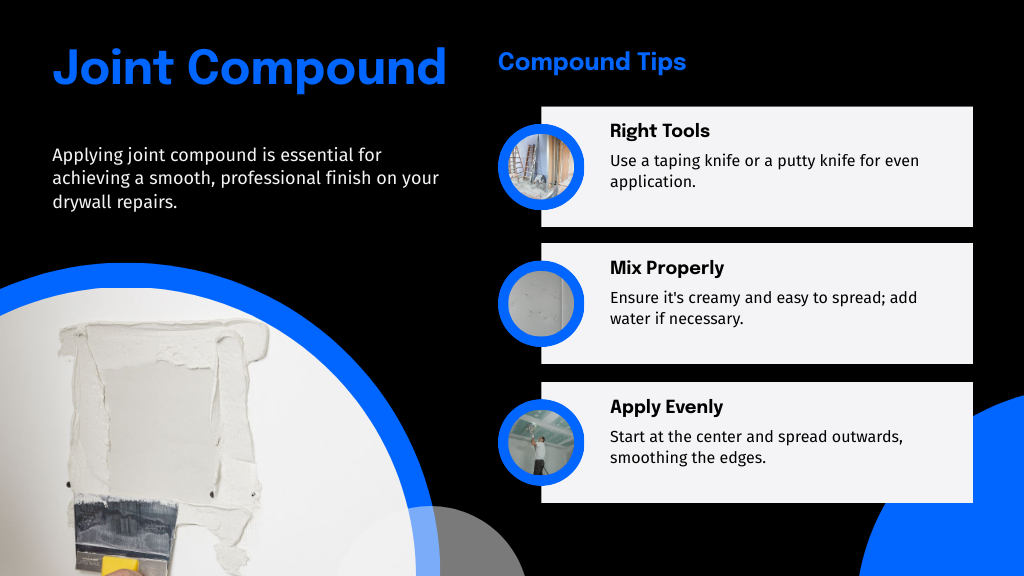
While applying joint compound may seem intimidating at first, it's an essential step in achieving a smooth, professional finish on your drywall repairs.
Here's how to make it easier:
- Choose the Right Tools: Use a taping knife or a putty knife for even application.
- Mix the compound: Verify it's creamy and easy to spread; add water if necessary.
- Apply Evenly: Start at the center of the repair and spread outwards, smoothing the edges.
- Layering: Don't rush! Apply multiple thin layers, allowing each to dry before adding the next.
Sanding the Repair Smooth
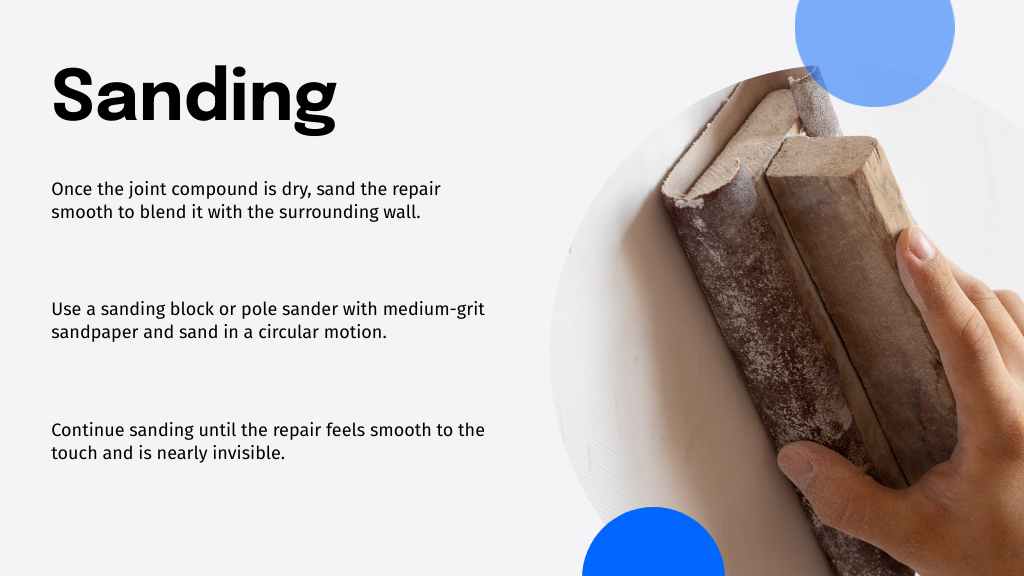
Sanding the repair smoothly is an essential step in achieving that flawless finish on your drywall. Once your joint compound is dry, grab a sanding block or pole sander and start with a medium-grit sandpaper. Gently sand the area in a circular motion, blending the patched spot with the surrounding wall.
Don't rush this step; take your time to guarantee an even surface. You'll know you're done when the repair feels smooth to the touch and is nearly invisible. After sanding, wipe down the area with a damp cloth to remove dust, making it ready for the next steps.
Priming the Repaired Area
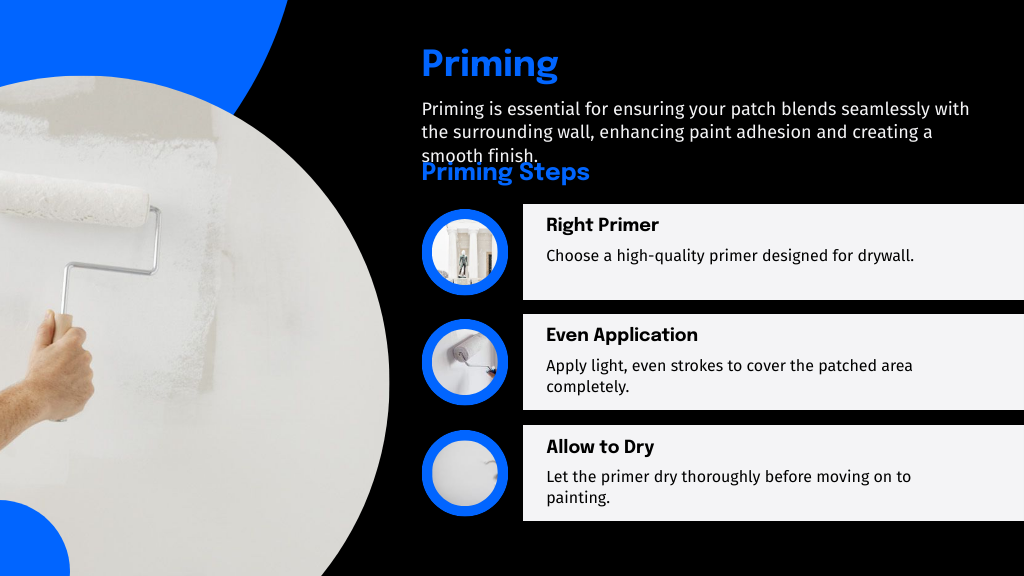
Once you've achieved a smooth surface from sanding, it's time to prime the repaired area. Priming is essential for ensuring your patch blends seamlessly with the surrounding wall. Here's how to get started:
- Choose the Right Primer: Opt for a high-quality primer designed for drywall.
- Prepare Your Tools: Gather a paintbrush or roller, a tray, and your primer.
- Apply Evenly: Use light, even strokes to cover the patched area completely, focusing on the edges.
- Allow to Dry: Let the primer dry thoroughly before moving on to painting.
Painting the Repaired Section
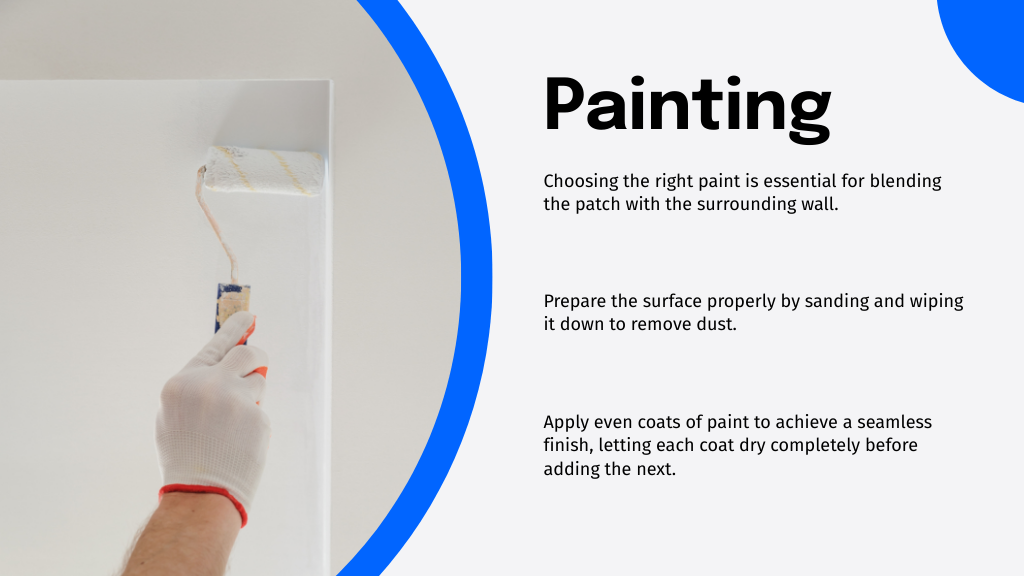
Now that you've primed the repaired area, it's time to focus on painting. Choosing the right paint is essential, as it helps blend the patch with the surrounding wall. Make sure to prepare the surface properly and apply even coats for a seamless finish.
Choosing the Right Paint
Choosing the right paint for your repaired drywall section is essential to achieving a seamless finish. You want your patch to blend in perfectly with the surrounding wall. Here are four key points to reflect on when choosing the right paint:
- Color Match: Use a sample or color-matching tool to verify the paint harmonizes with your existing wall color.
- Finish Type: Decide between matte, eggshell, or satin finishes based on your room's lighting and usage.
- Quality Matters: Invest in high-quality paint for better coverage and durability.
- Texture: If your wall has a specific texture, contemplate paint that mimics that finish.
Preparing the Surface
Preparing the surface of your repaired drywall is vital for a smooth painting process. If you've just learned how to fix a large hole in drywall, take a moment to confirm your patch is ready for paint. Start by sanding the patched area until it's flush with the surrounding wall. This helps eliminate any bumps or imperfections.
Next, wipe down the surface with a damp cloth to remove dust and debris, which can interfere with paint adhesion. Don't skip this step; a clean surface is essential for a professional finish.
Finally, consider applying a primer to the patched area. This step not only enhances paint adherence but also guarantees an even color, helping your repair blend seamlessly with the rest of your wall.
Applying Even Coats
With your surface prepped and primed, it's time to apply even coats of paint to your repaired section. This step is essential for a seamless drywall repair that blends in perfectly with the rest of your wall.
Here's how to make the process smooth:
- Choose the Right Paint: Match the paint type and finish to your existing wall.
- Use a high-quality brush or roller: This guarantees even application and reduces streaks.
- Apply Thin Coats: It's better to apply multiple thin layers rather than one thick coat.
- Allow Adequate Drying Time: Let each coat dry completely before adding the next.
Tips for Matching Wall Texture
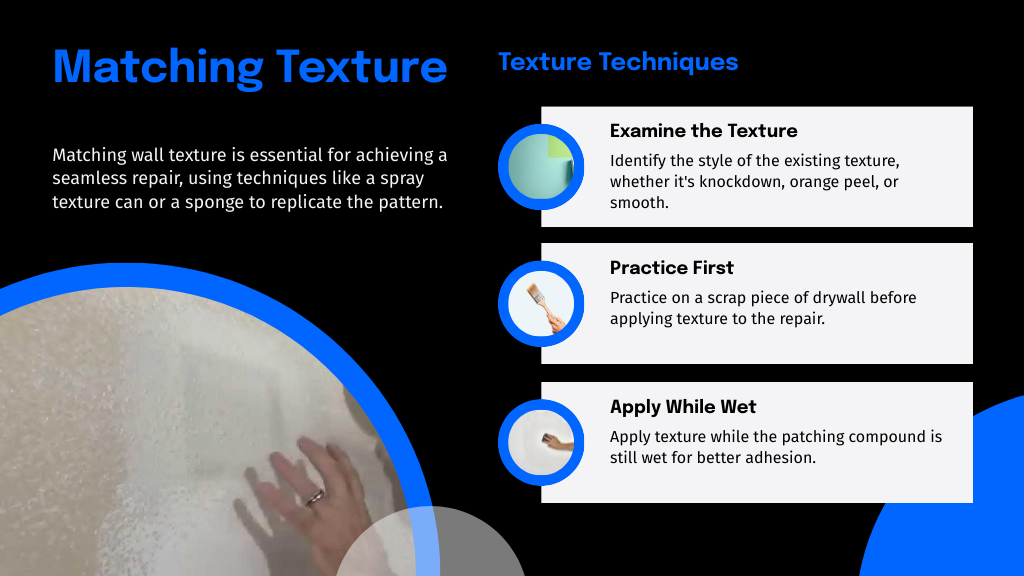
Although matching wall texture might seem challenging, it's essential for achieving a seamless repair. Start by examining your existing texture closely; whether it's knockdown, orange peel, or smooth, knowing the style is vital. For tips on matching wall texture, try using a spray texture can or a simple sponge technique to replicate the pattern.
Practice on a scrap piece of drywall to perfect your method. When you're ready to cover holes in the wall, apply the texture while the compound is still wet for better adhesion.
Finally, let it dry completely before painting, ensuring your repair blends in beautifully. With a little patience and practice, you'll create a flawless finish that feels like home.
Preventing Future Drywall Damage
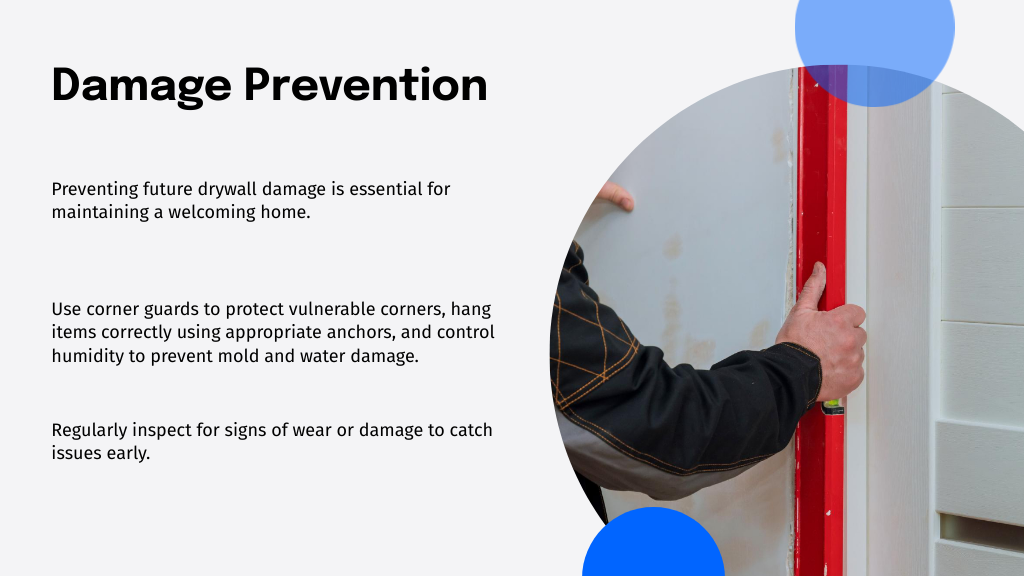
Once you've mastered matching wall texture, it's important to think ahead about how to keep your drywall in good shape. Preventing future drywall damage is essential for maintaining a welcoming home. Here are some practical tips:
- Use Corner Guards: Protect vulnerable corners from bumps and scrapes.
- Hang Items Correctly: Use appropriate anchors to avoid unnecessary stress on the drywall.
- Control humidity: Keep the area dry to prevent mold and water damage.
- Regular Inspections: Check for signs of wear or damage early to make a quick drywall fix.
When to Call a Professional
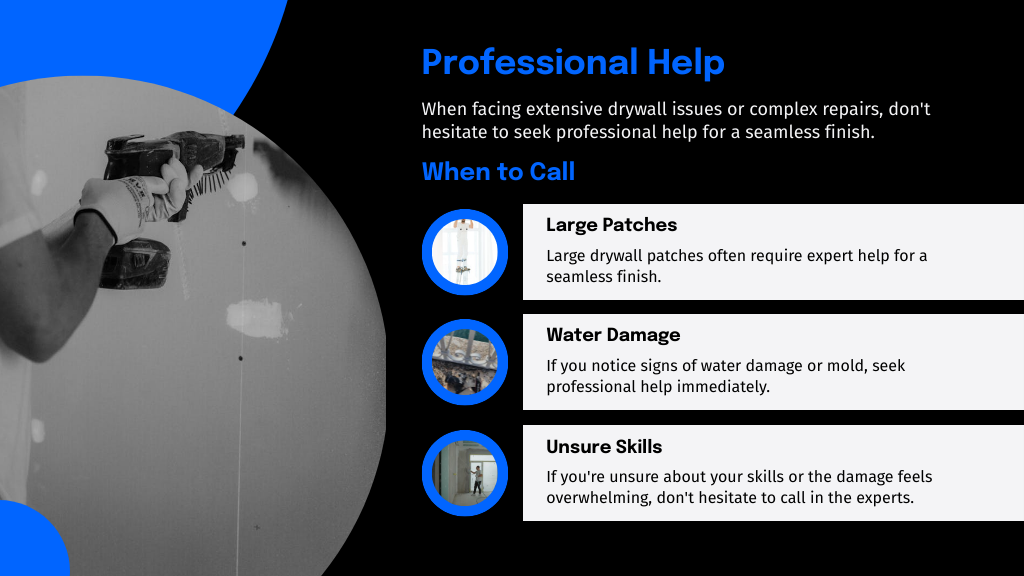
Knowing when to call a professional can save you time and prevent further damage, especially if you're facing extensive drywall issues. If you're dealing with a large drywall patch, it's often best to seek expert help. Professionals have the tools and expertise to guarantee a seamless finish, which can be challenging for DIYers.
Additionally, if you notice signs of water damage or mold, it's essential to act quickly. These issues can escalate, leading to costly repairs down the line. Don't hesitate to reach out if you're unsure about your skills or if the damage feels overwhelming.
Maintenance Tips for Drywall Longevity
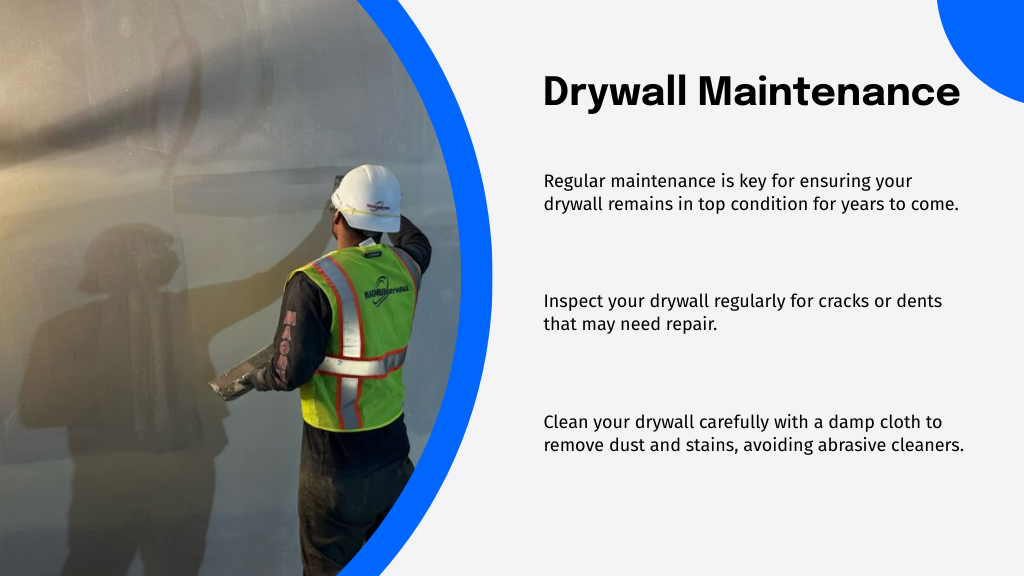
To guarantee your drywall remains in top condition for years to come, regular maintenance is key.
Here are four essential tips to keep your drywall looking great:
- Inspect Regularly: Check for cracks or dents that may need drywall repair.
- Clean Carefully: Use a damp cloth to wipe off dust and stains without damaging the surface.
- Control Humidity: Use a dehumidifier in damp areas to prevent mold and decay.
- Paint Periodically: A fresh coat of paint not only enhances aesthetics but also provides a protective barrier.
Conclusion
Now that you know how to tackle drywall holes like a pro, you can transform your walls from disaster zones to pristine masterpieces! With the right tools and techniques, you'll feel invincible against any wall damage. Remember, prevention is key, so keep your walls in tip-top shape to avoid future mishaps. If you ever feel overwhelmed, don't hesitate to call in the experts. Happy patching, and may your walls stand strong for ages to come!