
Leora J. Goodin
I'm a blogger dedicated to sharing insights on lifestyle and wellness. Through personal stories and practical tips, I aim to inspire and empower my readers to lead healthier, more fulfilling lives.
Students and teachers save a massive 71% on Creative Cloud All Apps
Black Friday and Cyber Monday 2023 Deals for Motion Designers, grab it now!
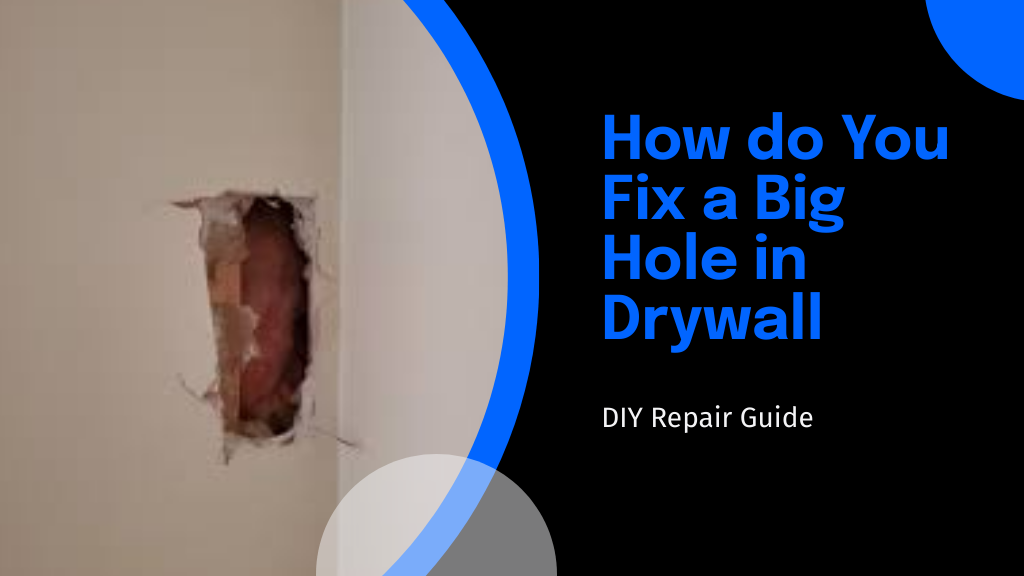
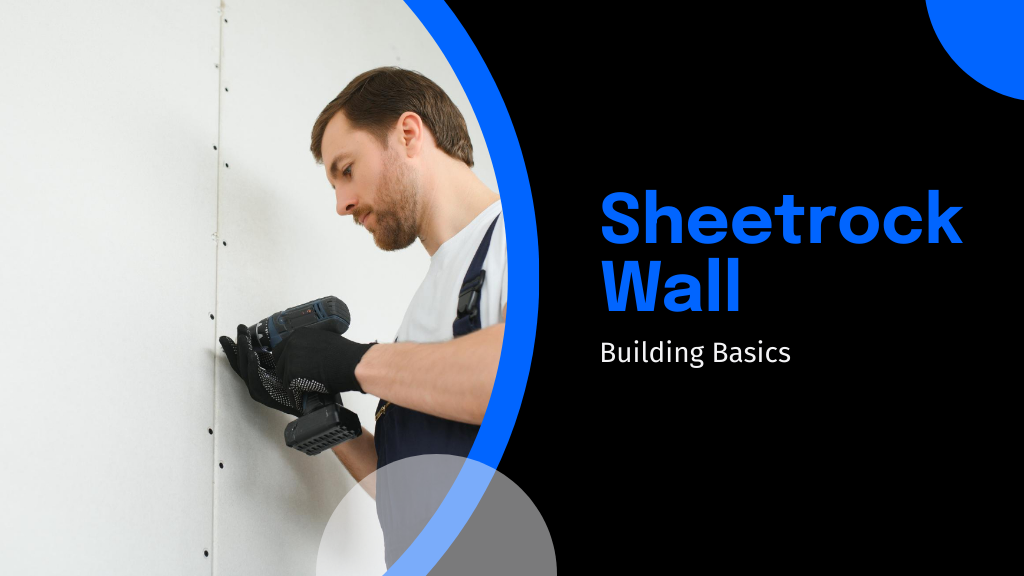
Get ready to transform your damaged drywall with these 10 essential steps, and discover the secrets to achieving a flawless finish!
To fix a big hole in drywall, start by evaluating the damage, then gather your tools like a utility knife and joint compound.
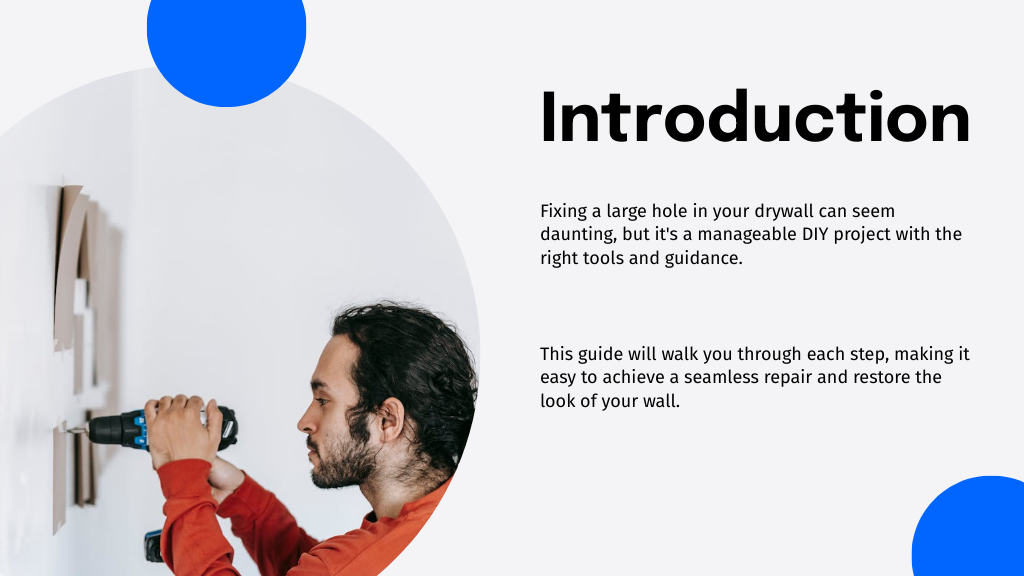
Prepare the area by removing furniture and covering the floor. Cut out the damaged drywall and measure a patch to fit. Secure the patch, apply joint compound, and sand it smooth. Finish by priming and painting the area. This effective method will leave your wall looking seamless, and there's more to explore in the process.
Before you grab your tools, take a moment to assess the damage.
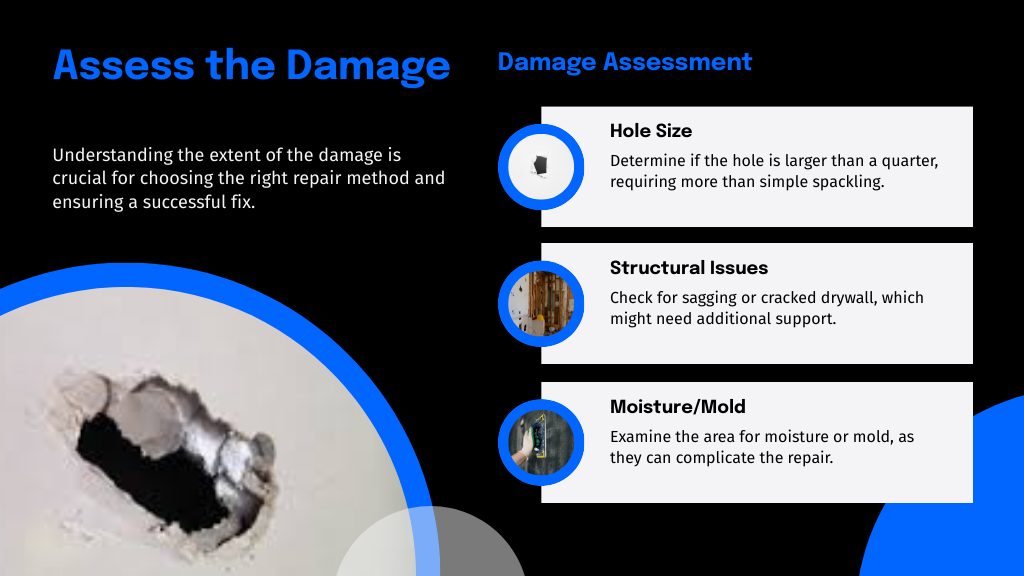
Start by examining the size and shape of the hole. If it's larger than a quarter, you'll need a different approach than simple spackling. Check for any underlying structural issues; if the drywall is sagging or cracked, it may require additional support. Look for moisture or mold, as these can complicate how to fix a big hole in the wall.
Also, determine if it's just the drywall that's damaged or if any electrical wiring or plumbing is affected. Knowing how do you fix a big hole in drywall means understanding the extent of the damage first. Once you've assessed everything, you'll be ready to move on to repairs.
Once you've assessed the damage, it's time to gather the necessary tools and materials for the repair.
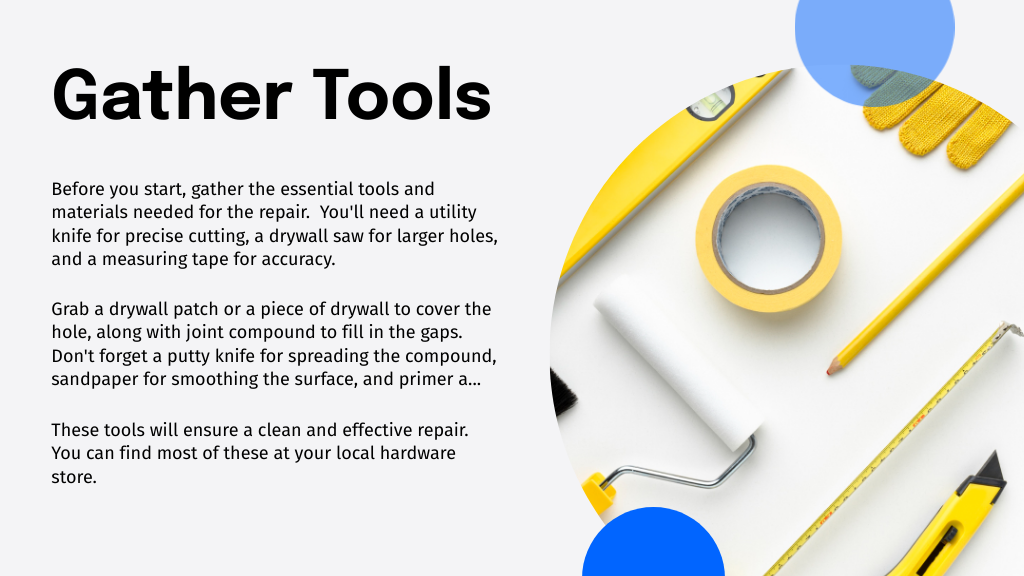
You'll need a utility knife to cut away any damaged drywall, a drywall saw for larger holes, and a measuring tape to guarantee a proper patch size. Grab a drywall patch or a piece of drywall to cover the hole, along with a joint compound, a putty knife, and drywall tape.
Don't forget sandpaper for smoothing the surface and a primer and paint to finish the job. If you're wondering how to fix a big hole in the wall drywall or how to fix a huge hole in the wall, having these tools and materials ready will make the process much smoother.
To effectively prepare the area for drywall repair, start by clearing the space around the damaged wall.
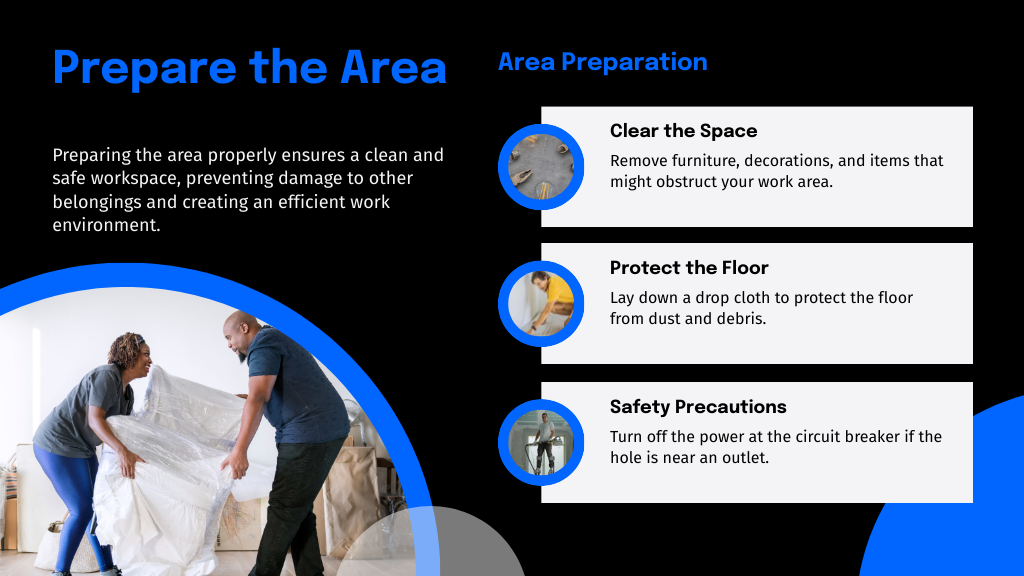
Remove any furniture, decorations, or items that might obstruct your work area. This gives you ample room to maneuver and reduces the risk of damaging other belongings. Next, lay down a drop cloth to protect your flooring from dust and debris. If the hole is near a light switch or outlet, turn off the power at the circuit breaker to guarantee safety.
Inspect the surrounding area for any loose paint or debris, and remove it to create a clean surface for repair. Finally, gather your tools and materials nearby so you're ready to start the repair process efficiently.
Start by using a utility knife to carefully cut around the damaged area of the drywall.
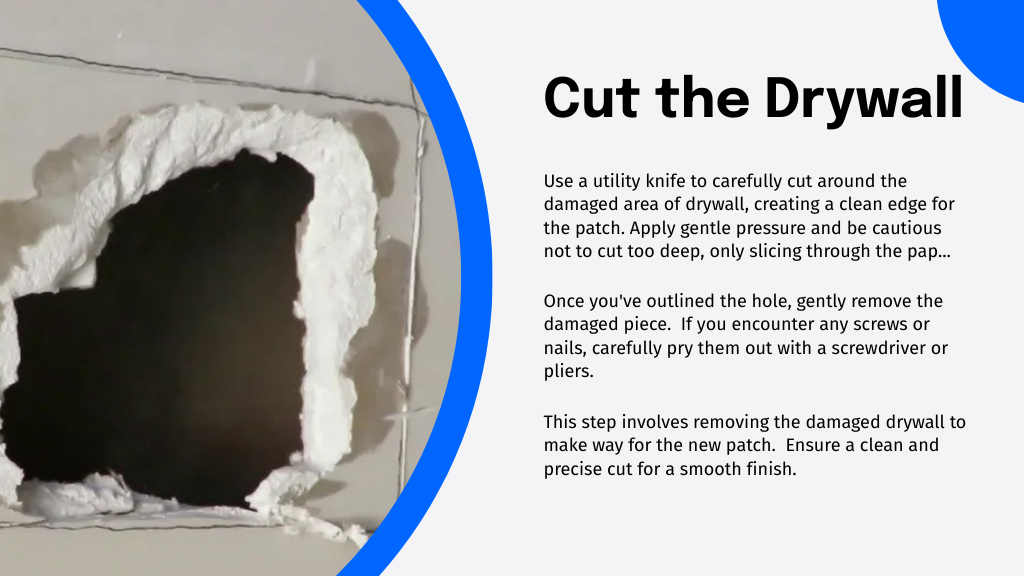
Make sure to cut straight lines, as this will help create a clean edge for the patch. Apply gentle pressure and be cautious not to cut too deep—just enough to slice through the paper backing. Once you've outlined the hole, gently remove the damaged piece. If you encounter any screws or nails, carefully pry them out with a screwdriver or pliers.
Here are some handy tips to keep in mind:
Measuring and cutting a patch for your drywall hole is an essential step that requires precision.
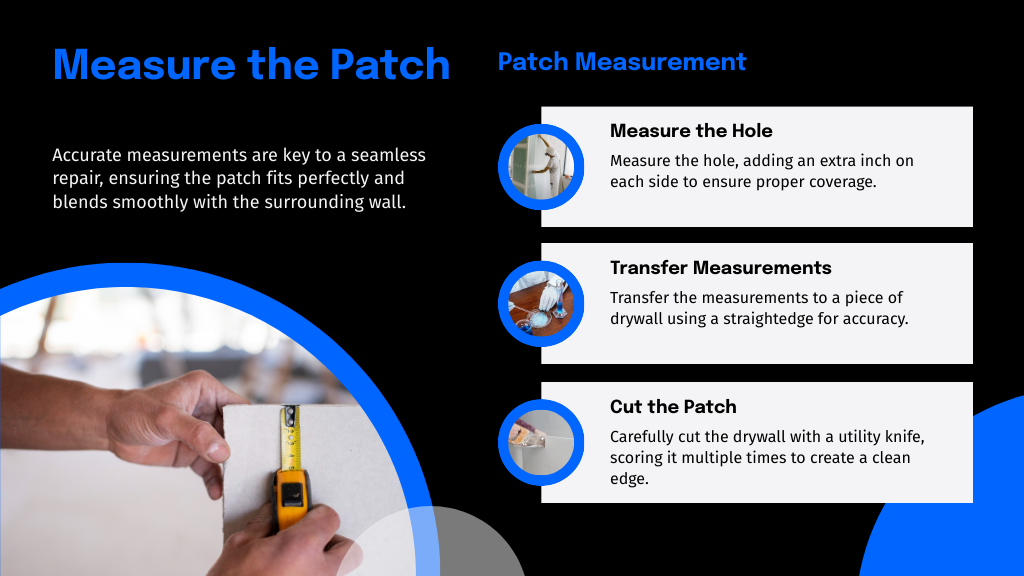
First, measure the dimensions of the hole, adding an extra inch on each side to guarantee proper coverage. Transfer these measurements to a piece of drywall using a straightedge for accuracy. Next, carefully cut the drywall with a utility knife, scoring it multiple times to create a clean edge. Use a drywall saw for any intricate cuts or corners.
Once cut, hold the patch up to the hole to check the fit; it should fit snugly but not too tight. If necessary, make small adjustments by trimming the edges. Your patch is now ready for installation!
Once you've cut your patch, it's time to secure it in place to confirm a solid repair.
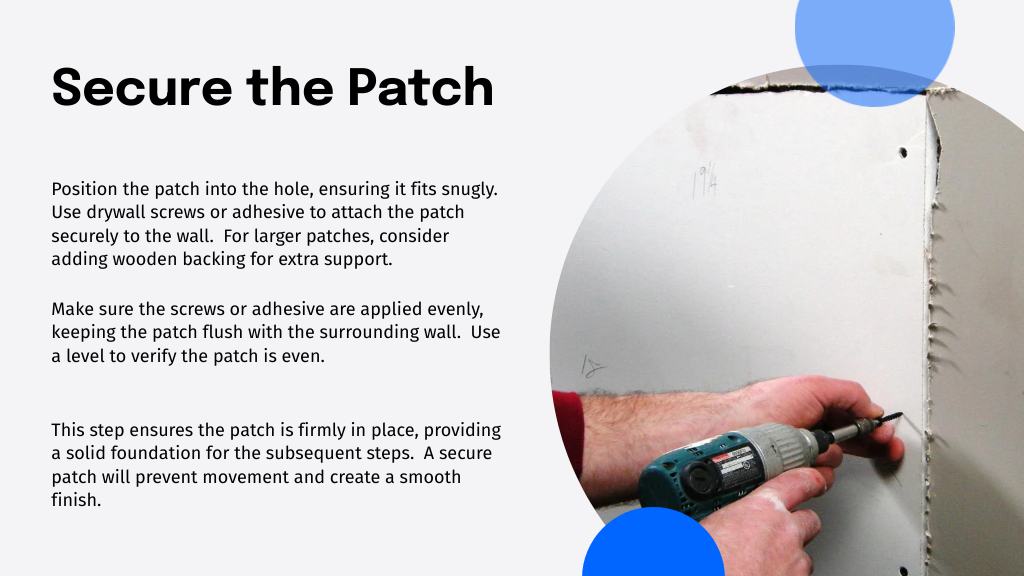
First, position the patch into the hole, verifying it fits snugly. Use drywall screws or adhesive to attach the patch securely to the wall. If your patch is large, consider adding wooden backing for extra support.
Here's what you'll need:
Make sure the screws or adhesive are applied evenly, keeping the patch flush with the surrounding wall. This step is essential for a smooth finish later on.
Now that your patch is securely in place, grab your joint compound to begin the finishing process.
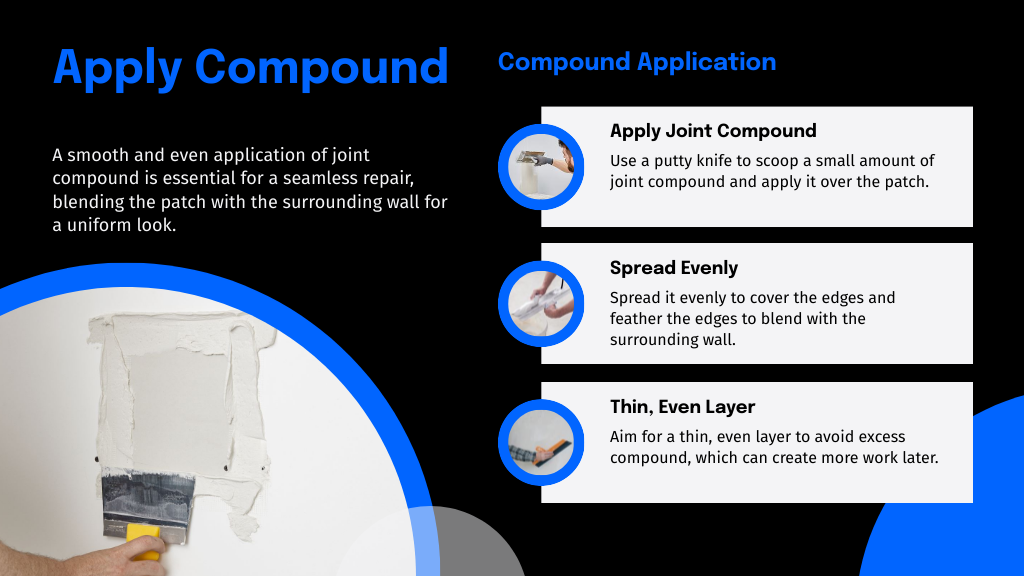
Using a putty knife, scoop a small amount of joint compound and apply it over your patch, spreading it evenly to cover the edges. Work in a smooth, sweeping motion, feathering the edges to blend with the surrounding wall. Aim for a thin, even layer—too much compound can create more work later.
Allow the first coat to dry completely, which usually takes a few hours. Once dry, you can add a second coat if needed, repeating the same application technique.
Start by grabbing a fine-grit sandpaper or a sanding block to smooth out the joint compound.
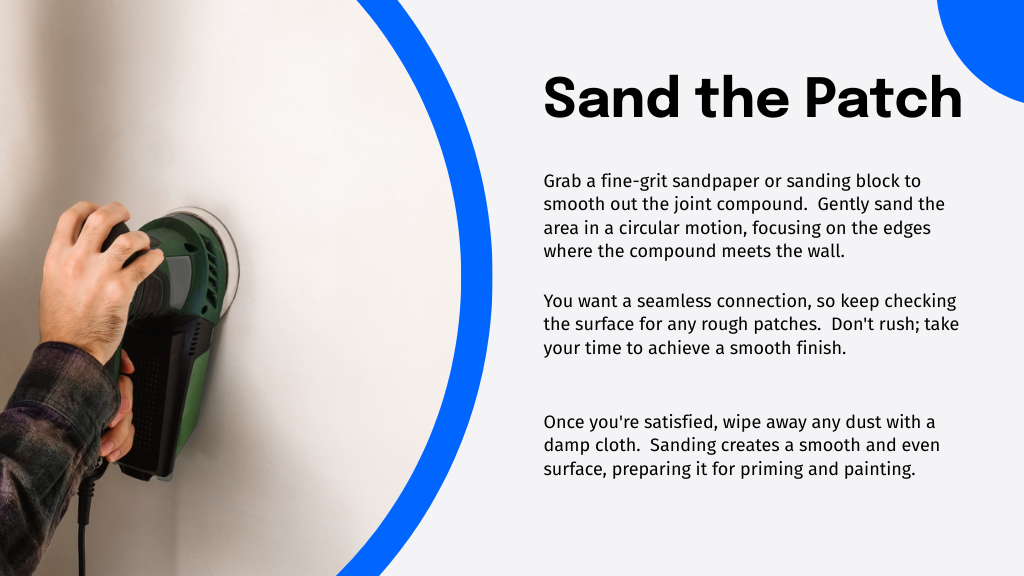
Gently sand the area in a circular motion, focusing on the edges where the compound meets the wall. You want a seamless connection, so keep checking the surface for any rough patches. Don't rush; take your time to achieve a smooth finish. Once you're satisfied, wipe away any dust with a damp cloth.
Here are some tips to keep in mind:
After sanding the area smooth, it's essential to apply primer before painting to guarantee an even finish and enhance paint adhesion.

Start by selecting a high-quality primer suitable for drywall. Using a brush or roller, apply a thin, even coat over the repaired area, extending slightly beyond the patch to blend it with the surrounding wall. Allow the primer to dry completely, following the manufacturer's instructions. Once dry, inspect the area for any imperfections and sand lightly if necessary.
After that, choose a paint that matches your wall color and apply it with a brush or roller. Two coats may be needed for full coverage. Let the paint dry thoroughly between coats for the best results.
A clean workspace is essential for maintaining safety and ensuring a professional finish after your drywall repair.
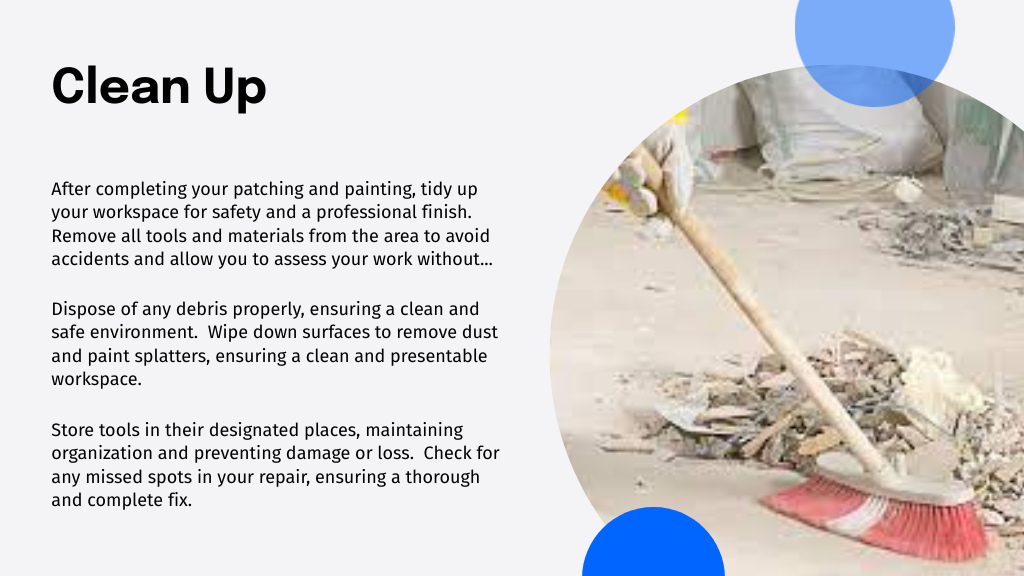
Once you've completed your patching and painting, it's time to tidy up. Start by removing all tools and materials from the area. This not only helps you avoid accidents, but it also allows you to assess your work without distractions.
Once you've followed these ten steps, you'll be amazed at how seamlessly your wall looks.
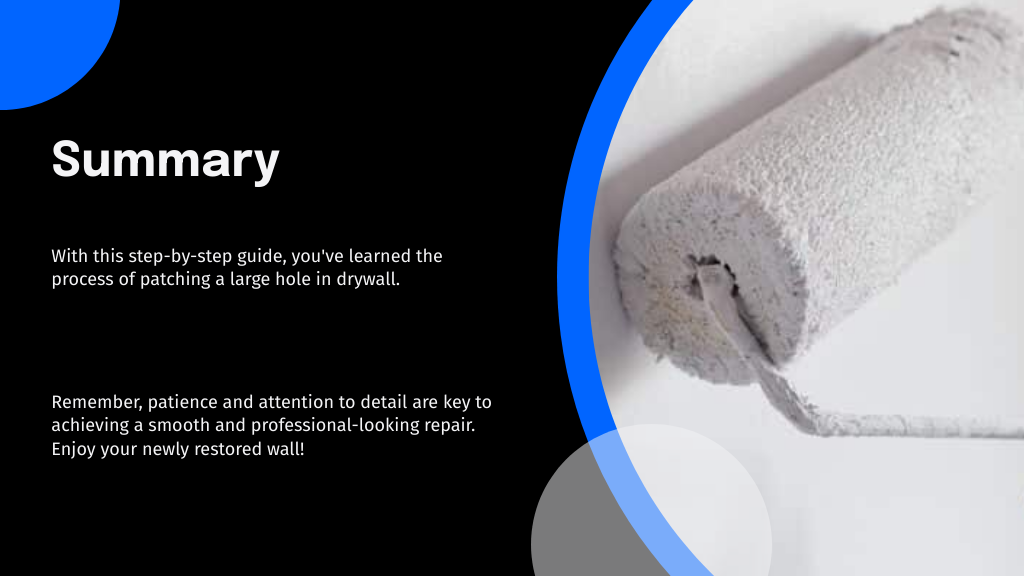
Curiously, around 30% of homeowners tackle DIY repairs like this to save money and gain satisfaction from their handiwork. Remember, patience is key—allow the joint compound to dry fully before sanding and painting for the best results. With your newly patched wall, you can take pride in your skills and enjoy your refreshed space. Happy repairing!

I'm a blogger dedicated to sharing insights on lifestyle and wellness. Through personal stories and practical tips, I aim to inspire and empower my readers to lead healthier, more fulfilling lives.
Your email address will not be published. Required fields are marked *