To screen record on your HP laptop, you can use Windows' Xbox Game Bar by pressing the Windows key + G, then start recording by clicking the record button or pressing Windows + Alt + R. For more advanced features, consider downloading third-party software that allows customizable settings and enhanced recording options. Save your recordings in the 'Videos' > 'Captures' folder. For detailed guidance on settings and extra tips, see further below to improve your recording experience.
Understanding Your HP Laptop's Built-in Recording Capabilities
Before diving into the specifics of how to screen record, it's vital you understand the built-in recording capabilities of your HP laptop.
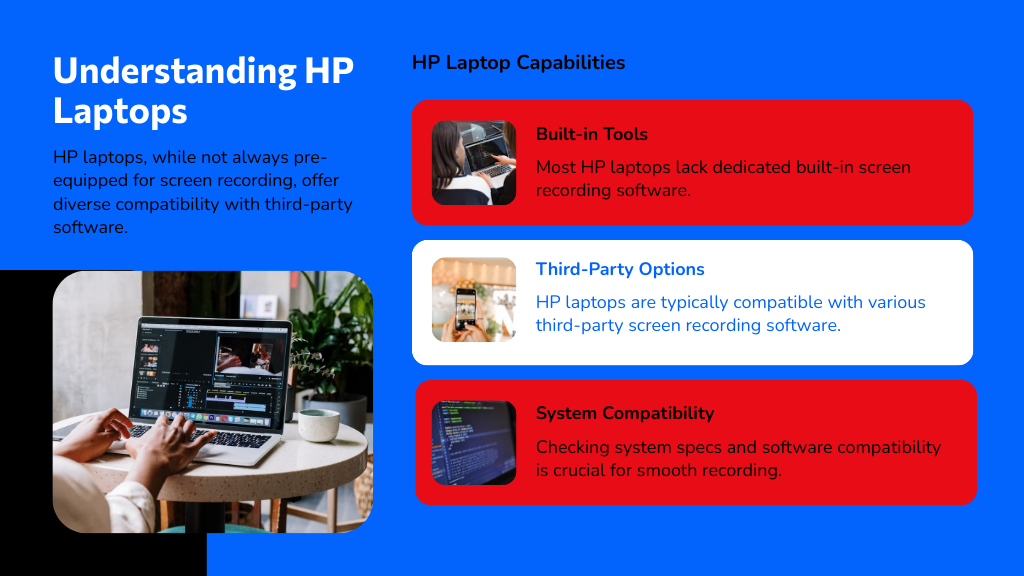
Many HP models don't come with a pre-installed tool that'll screen record for the HP laptop to show face directly. However, you can still learn how to screen record on an HP laptop using various third-party applications that are compatible with your system.
Knowing whether your HP laptop supports these applications will determine how effectively you can capture video and audio simultaneously. It's important to check your system's compatibility and performance capabilities.
This foundation will guarantee that when you start recording, your laptop will handle the task without hitches, providing smooth, clear video output.
Setting Up Screen Recording on Windows 10 and 11
If you're using a Windows 10 or 11 HP laptop, setting up screen recording is straightforward thanks to the built-in Xbox Game Bar. First, verify the Game Bar is enabled by going to Settings, selecting 'Gaming', and then clicking on 'Xbox Game Bar'. Here, toggle the switch to ‘On'.
Next, customize your shortcuts by clicking 'Game Bar shortcuts'. This allows you to tailor how you activate and control recording features.
You'll want to check your system's video and audio settings too, to verify that your recordings capture exactly what you need. Simply go to 'System' in Settings, select 'Sound' for audio, and 'Display' for video adjustments.
These steps will prep your laptop for smooth recording sessions.

Using the Xbox Game Bar for Screen Recording
If you're ready to start recording your screen on your HP laptop, the Xbox Game Bar is a handy tool built into Windows 10 and 11. You can activate it with a simple keyboard shortcut, then follow a few steps to capture your activities. Once done, accessing your recorded videos is straightforward, allowing you to review or share your captures with ease.
Activate Xbox Game Bar
While setting up for screen recording on your HP laptop, activating the Xbox Game Bar is vital. It's built right into Windows 10 and Windows 11, so you don't need to install anything extra.
First, verify it's enabled by going to Settings, then Gaming, and finally to the Xbox Game Bar section. Here, make sure the toggle for "Open Xbox Game Bar using this button on a controller" is switched on. Even if you're not using a controller, this step is important.
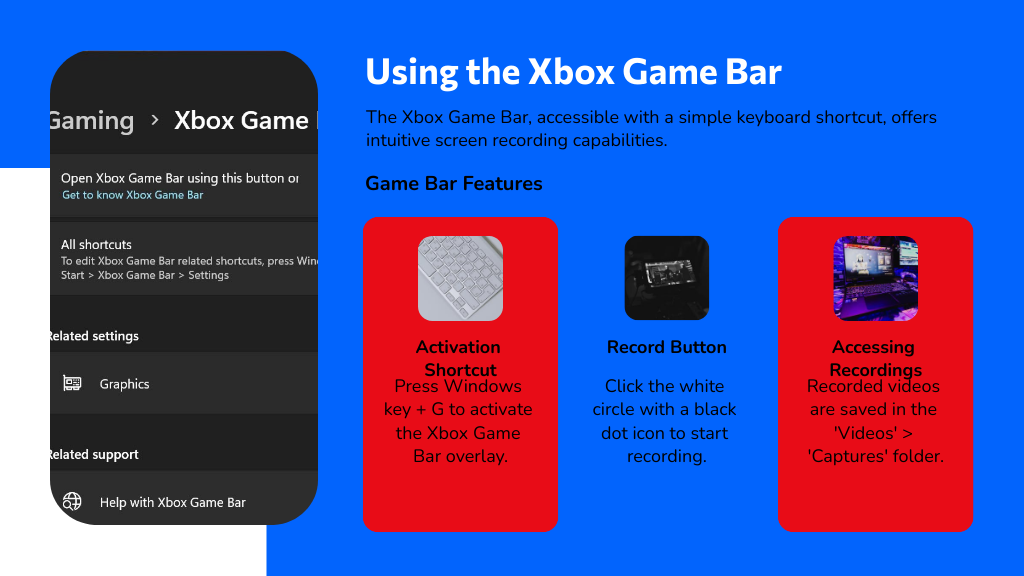
Next, simply press the Windows key + G on your keyboard. This shortcut brings up the Xbox Game Bar overlay on your screen, which means you're all set to start recording your activities or gameplay.
Record Screen Steps
Once you've activated the Xbox Game Bar, recording your screen is straightforward. Press the Windows key + G to bring up the Game Bar. You'll see a widget with several icons; click on the one that resembles a white circle with a black dot – that's the record button.
Before you start, you can click the settings icon to adjust video quality and other preferences. To begin recording, simply hit the record button or press Windows + Alt + R. A small timer at the top-right corner of your screen will indicate that recording is underway.
To stop recording, click the stop button on the Game Bar or press Windows + Alt + R again. It's as simple as that!
Accessing Recorded Videos
After you've stopped recording your screen using the Xbox Game Bar, you'll probably want to view or edit your captured videos. To find them, navigate to the "Videos" folder in your File Explorer, then open the "Captures" subfolder. Here, all your recordings are saved automatically by default.
If you're planning to make some edits, simply right-click on the desired video file and choose "Open with" to select an editing program installed on your laptop.
For quick access in the future, consider pinning the "Captures" folder to your Quick Access menu or creating a shortcut on your desktop. This way, you won't have to dig through folders each time you want to find your videos.
Exploring Third-Party Screen Recording Software Options
If the built-in options don't meet your needs, you might want to consider third-partyscreen recording software. You'll need to look at popular software features, check compatibility with your HP laptop, and understand the cost and licensing options. It's important to find a program that fits both your technical requirements and budget.
Popular Software Features
While many HP laptops come with basic screen recording capabilities, exploring third-party software options can considerably expand your feature set.
These advanced tools provide features that cater to a range of needs, from professional tutorials to casual game captures.
Here's a look at what you can expect:
- Customizable Capture Areas: Select specific screen regions, entire windows, or full screens.
- Simultaneous Webcam Recording: Capture your face and screen at the same time.
- Annotation Tools: Draw, highlight, or type directly on your recording.
- Scheduled Recordings: Set your software to start and stop recording at predetermined times.
- Advanced Editing Suites: Trim, add effects, and adjust audio within the software.
These features can considerably enhance your screen recording experience.
Compatibility and Requirements
Before you plunge into downloading third-party screen recording software for your HP laptop, it's vital to check compatibility and system requirements. Several programs may require specific operating systems, such as Windows 10 or newer, or demand a certain amount of RAM and processor speed to function effectively.
You'll also want to verify the software supports the file formats you need, whether it's MP4, AVI, or another type. To avoid hiccups, look up the software's specs on their official website or read through user reviews. These often highlight any common issues with certain laptop models or operating systems.
Don't skip this step—it's important to confirm you're not wasting time on software that won't work smoothly on your device.
Cost and Licensing Options
Several third-party screen recording software options are available, each varying in cost and licensing terms.
Here's what you need to know:
- Freeware: Tools like OBS Studio are completely free and open-source, perfect if you're on a tight budget.
- One-time purchase: Programs like Snagit offer a single-payment model, giving you full access without recurring fees.
- Subscription-based: Software like Camtasia features a subscription model, which includes regular updates and support.
- Free trials: Many premium options offer free trials, allowing you to test features before committing financially.
- Educational discounts: If you're a student or educator, check for discounts, which can greatly reduce costs.
Choose wisely based on your budget and needs!
Tips for Recording High-Quality Video and Audio
To guarantee you capture high-quality video and audio, first check that your recording environment is quiet and well-lit. Verify your HP laptop's microphone and camera (if applicable) are fully functional. It's a good idea to do a test recording to confirm that both the sound and picture are up to your standards.
Use external microphones and additional lighting if necessary to enhance quality. Close any unnecessary applications to free up system resources and minimize lag during recording.
Adjust the recording settings on your screen recording software to select the highest possible resolution and best audio quality. This might involve tweaking bitrate and frame rate settings to match your specific needs.

Saving and Sharing Your Recorded Screen Content
Once you've finished recording your screen on your HP laptop, it's essential to save the file properly to guarantee no data is lost. After saving, you might want to share your video to showcase your work or guide others. Here's how to save and share your screen recordings effectively:
- Choose a Reliable Format: Save your video in a widely accepted format like MP4 for broad compatibility.
- Pick a Safe Location: Store your file in a secure folder or external drive.
- Use Compression Tools: Compress large files without losing quality to facilitate easier sharing.
- Cloud Services: Upload to services like Google Drive or Dropbox for easy access.
- Share Privately: When needed, use password protection or encrypted links for sharing sensitive content.
Conclusion
Now that you're equipped with the tools and tips from the digital age's own magic wand, you can effortlessly capture every moment on your HP laptop. Whether it's heroic gaming victories or essential work tutorials, you're ready to record and share your screen with the world. Think of it as your personal cinema reel—where you're both the director and the star. So, hit record and let the magic begin!