

Leora J. Goodin
I'm a blogger dedicated to sharing insights on lifestyle and wellness. Through personal stories and practical tips, I aim to inspire and empower my readers to lead healthier, more fulfilling lives.
Students and teachers save a massive 71% on Creative Cloud All Apps
Black Friday and Cyber Monday 2023 Deals for Motion Designers, grab it now!
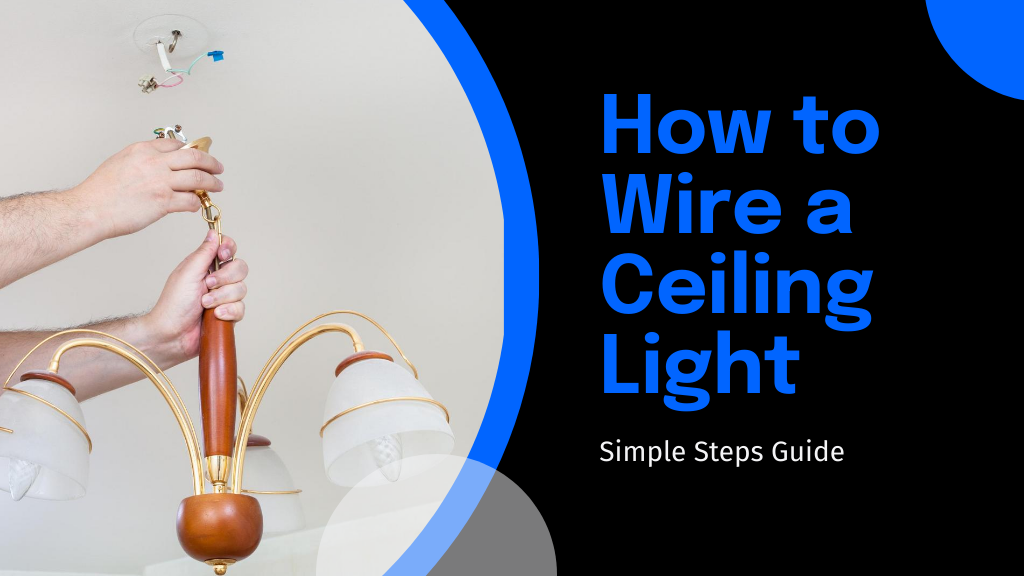
Learn how to wire a ceiling light with this step-by-step guide. Discover five easy steps to safely install and illuminate your space.
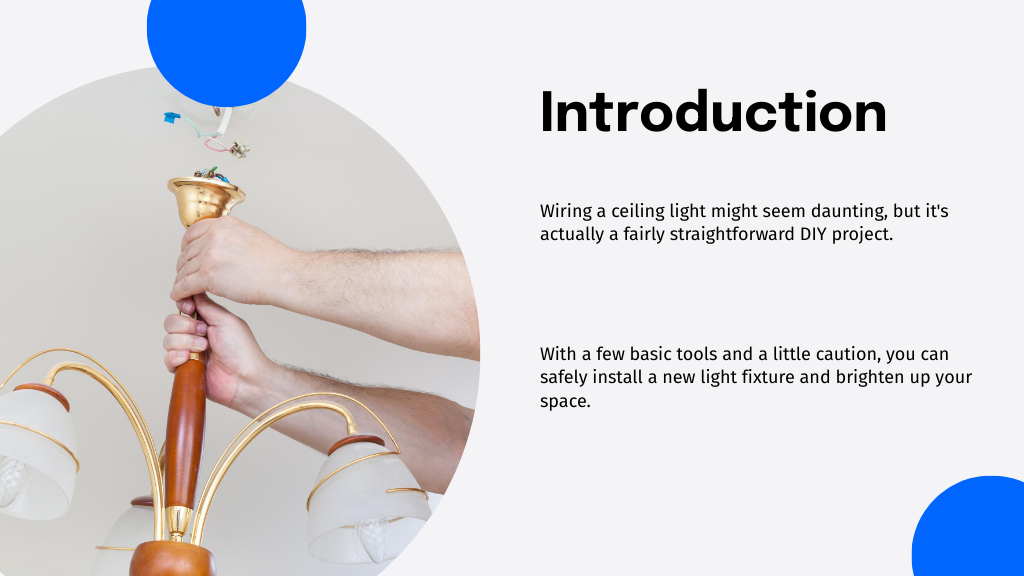
To wire a ceiling light, first gather your tools and turn off the power to guarantee safety. Remove the old fixture, then connect the wires: black to black, white to white, and ground to ground using wire nuts. Secure the new fixture to the mounting bracket and test it by turning the power back on. With these steps, you'll have your ceiling light installed and ready to illuminate your space, revealing further insights into home DIY projects.
Before you begin the task of wiring a ceiling light, it's vital to have all the necessary tools and materials at hand. To tackle how to wire a ceiling light effectively, you'll need a screwdriver, wire strippers, a voltage tester, electrical tape, and wire nuts. Don't forget the ladder for easy access to your ceiling.
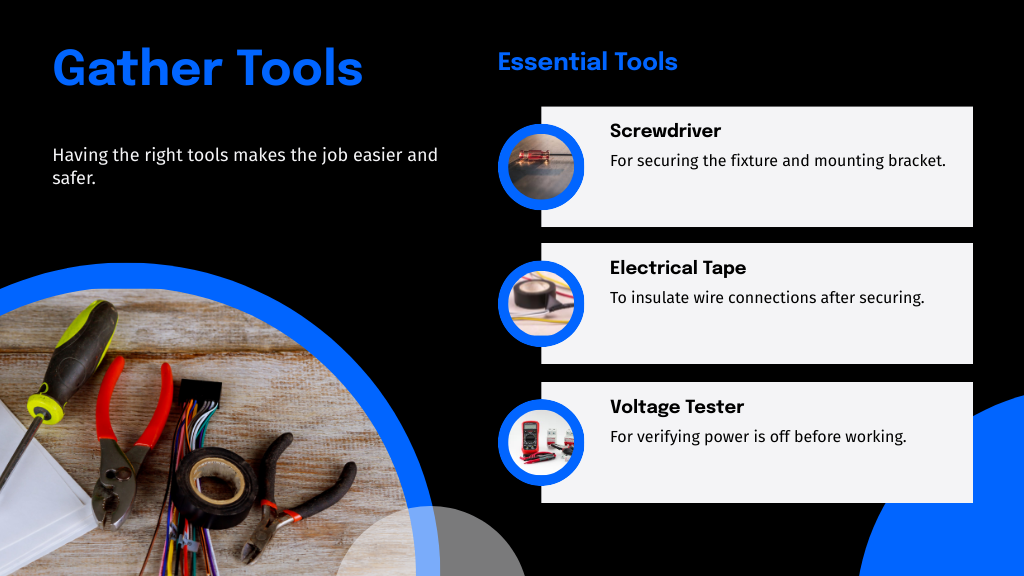
When you're learning how to add a ceiling light, it's also important to have the light fixture and appropriate bulbs ready. Make certain you have enough wiring, typically 14/2 or 12/2 cables, depending on your home's electrical setup. Gathering these items beforehand streamlines the process, letting you focus on the installation without interruptions.
Once you've gathered your tools and materials, the first vital step is to confirm your safety by turning off the power. This is essential to prevent any electrical shocks or accidents while you're working on your ceiling light.
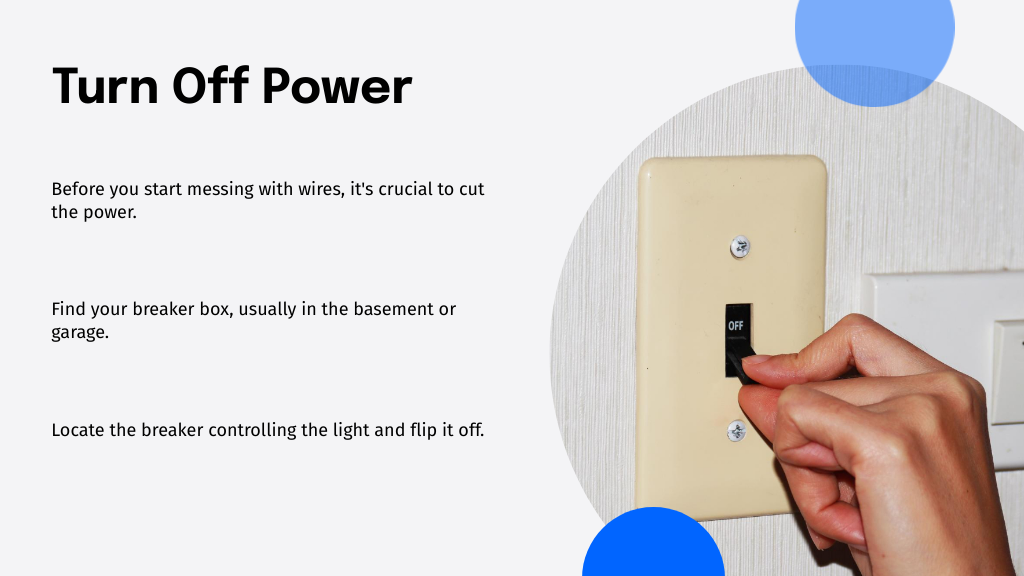
Here's how you can verify the power is off:
Begin by unscrewing the old fixture from the ceiling while carefully supporting its weight with one hand. As you loosen the screws, make sure you've got a firm grip to prevent the fixture from falling.
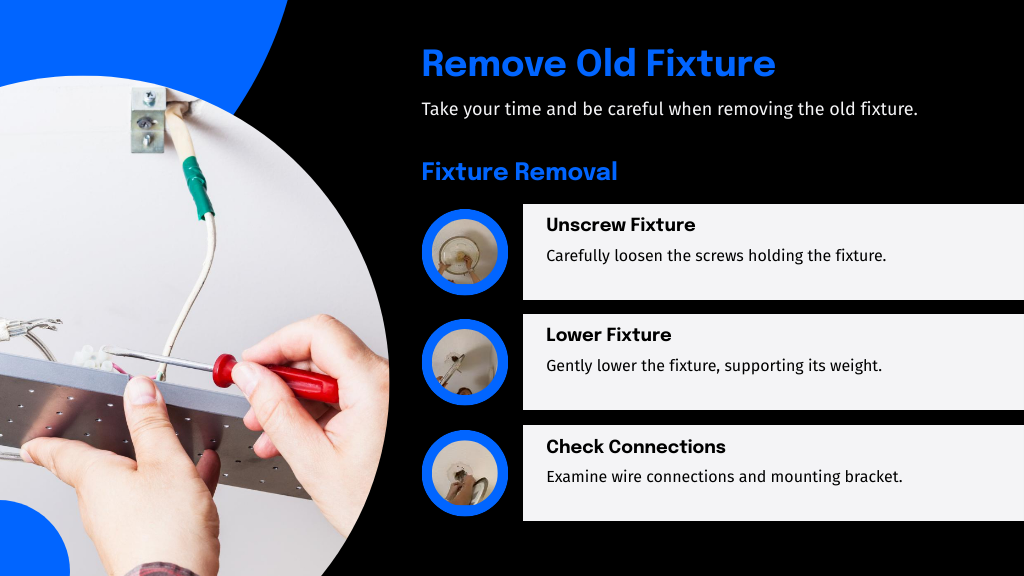
Once the screws are removed, gently lower the fixture. Check if there are any wire nuts or additional supports that need handling before fully detaching it. Next, examine the mounting bracket. If it's in good condition and fits the new fixture, you can leave it in place.
However, if it shows signs of wear or doesn't match the new setup, you'll need to remove it as well. Unscrew the bracket from the electrical box, being careful not to strip the screw heads.
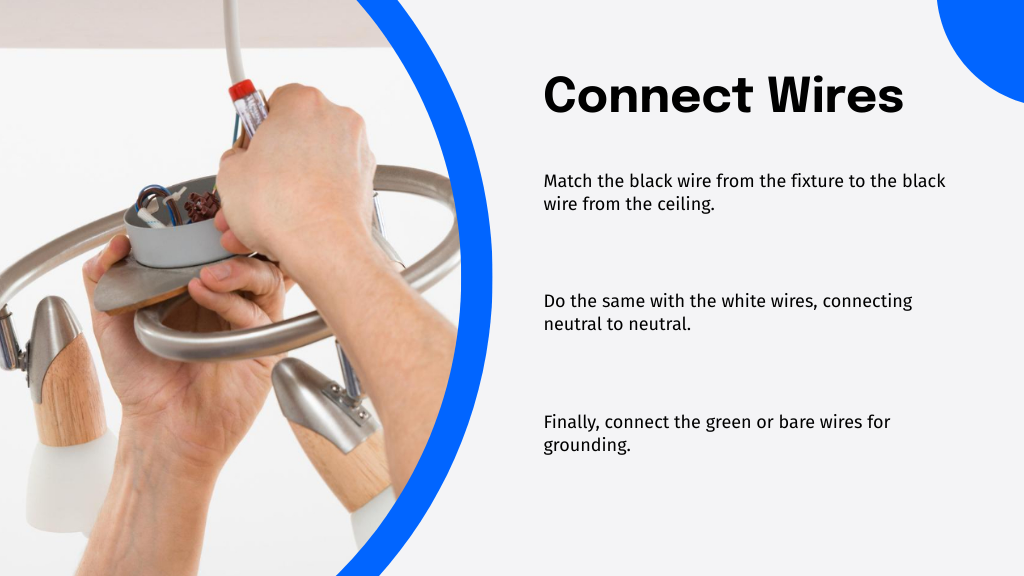
After removing the old fixture and ensuring the mounting bracket is secure, it's time to connect the wires of your new ceiling light.
Once the old fixture is removed and the mounting bracket is secured, proceed to wire your new ceiling light.
Here's how to do it:
Secure the new ceiling light to the mounting bracket using the provided screws or clips. Make certain it's snug and properly aligned with your ceiling's features. Once it's in place, you're ready to see your handiwork in action.
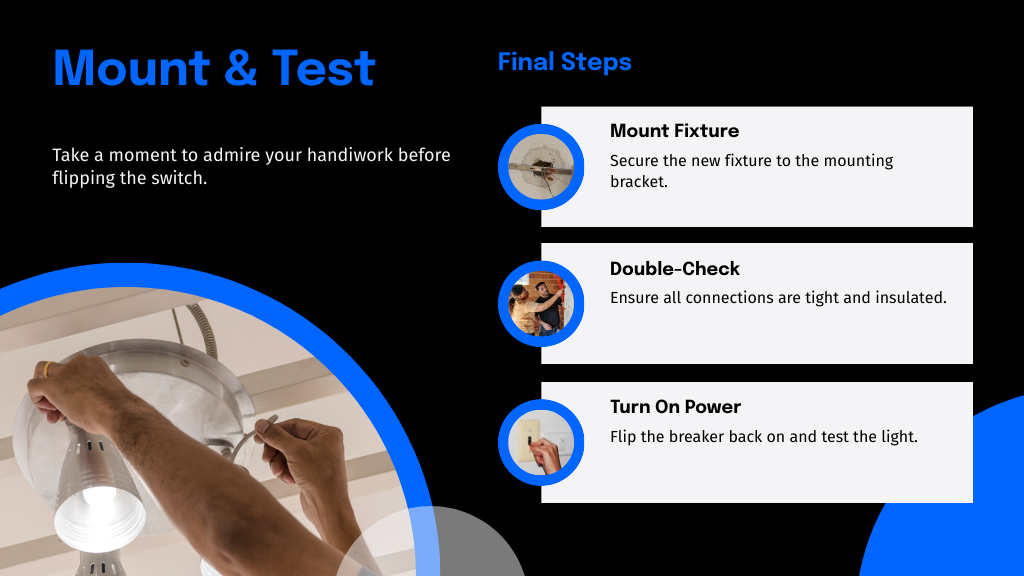
Before flipping the switch, double-check that all your connections are tight and correctly insulated. Safety first! Now, turn on the power at your circuit breaker.
Head back to your light switch, take a deep breath, and turn it on. If all goes well, your new ceiling light should illuminate beautifully. If it doesn't, don't panic!
Double-check your wiring connections and confirm the power source is functioning. With a bit of troubleshooting, you'll have your space brightly lit in no time.
You've done it! By following these steps, you've successfully installed your new ceiling light. If you're worried about messing with wires, remember that with the power off and a bit of care, it's safer than you think. Now, flip that switch and bask in the glow of your handiwork. Not only have you brightened your room, but you've also proven that tackling home improvements yourself is totally within your reach. What's next on your DIY list?


I'm a blogger dedicated to sharing insights on lifestyle and wellness. Through personal stories and practical tips, I aim to inspire and empower my readers to lead healthier, more fulfilling lives.
Your email address will not be published. Required fields are marked *