
Leora J. Goodin
I'm a blogger dedicated to sharing insights on lifestyle and wellness. Through personal stories and practical tips, I aim to inspire and empower my readers to lead healthier, more fulfilling lives.
Black Friday and Cyber Monday 2023 Deals for Motion Designers, grab it now!
Students and teachers save a massive 71% on Creative Cloud All Apps
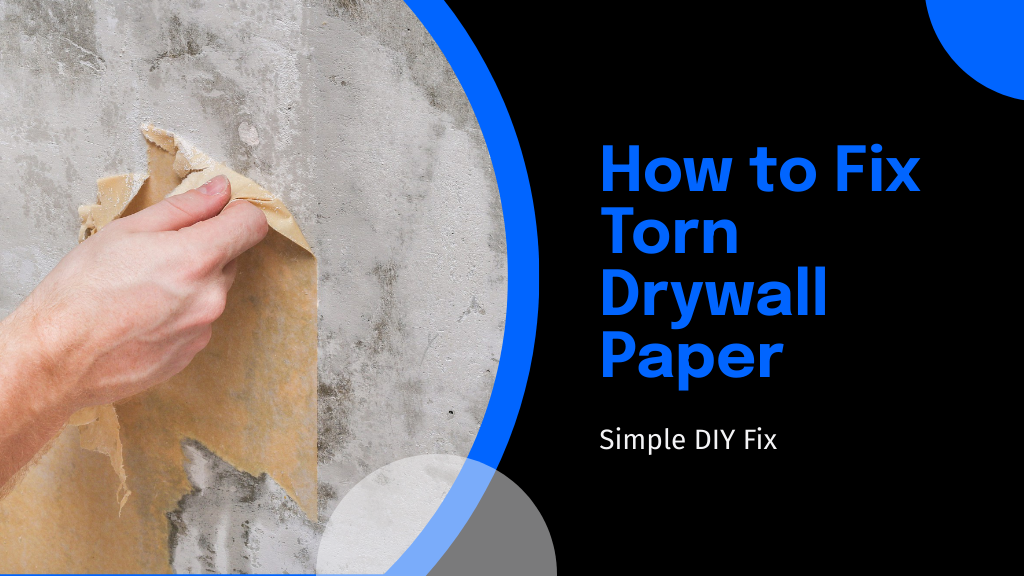
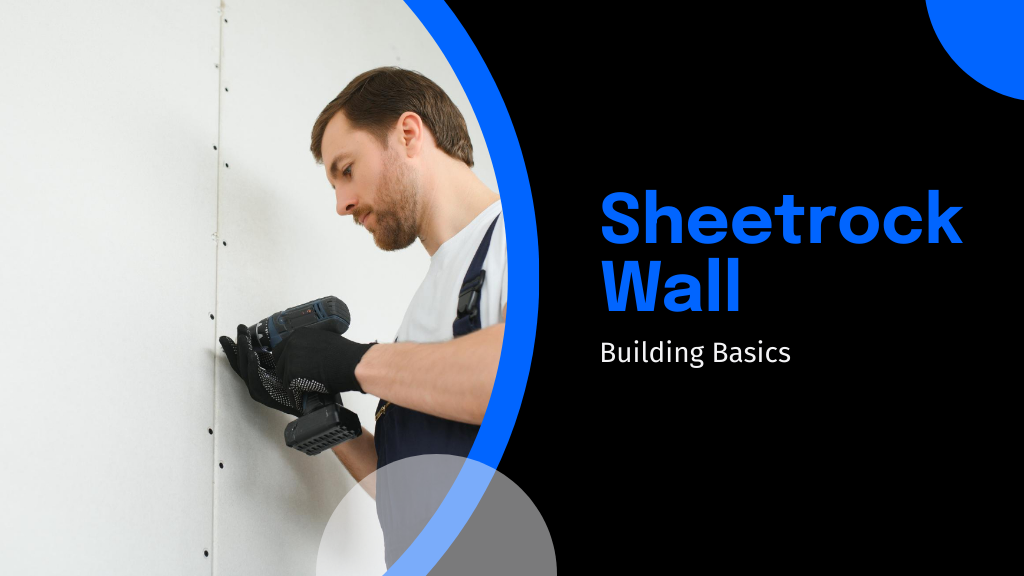
Tackle torn drywall paper with ease using our step-by-step guide; discover how to seamlessly repair and paint your walls for a flawless finish.

To fix torn drywall paper, first assess and clean up the damaged area by trimming loose paper using a utility knife. Next, apply an oil-based sealer and a thin coat of joint compound, smoothing edges as you go. Once dry, sand it gently for a smooth finish and paint over it to match the existing wall. These steps will restore your wall seamlessly; keep exploring for further tips and detailed guidance on maintaining its new look.
Before you begin repairs, it's crucial to thoroughly assess the extent of the damage to your drywall. When you're dealing with torn drywall paper, don't rush the prep work. Start by gently removing any loose paper around the edges of the tear, using a utility knife to create a clean, smooth line. Be careful not to peel away more paper than necessary.
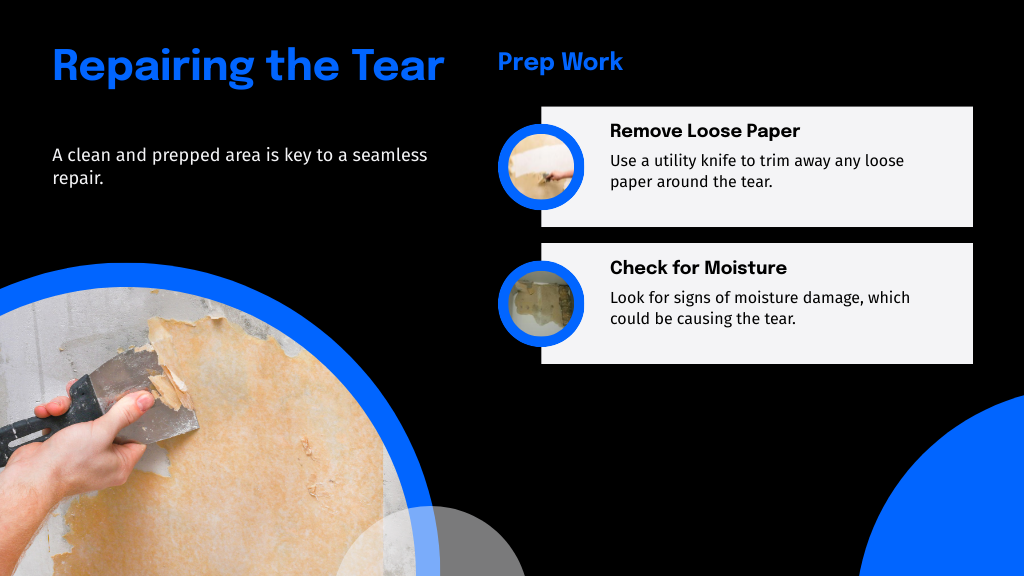
Next, check for underlying issues like moisture or structural damage that may have caused the paper to tear. Addressing these problems first guarantees a more durable repair. Once you've prepped the area, you're ready to move on to the next steps of how to repair torn drywall paper and secure a seamless fix.
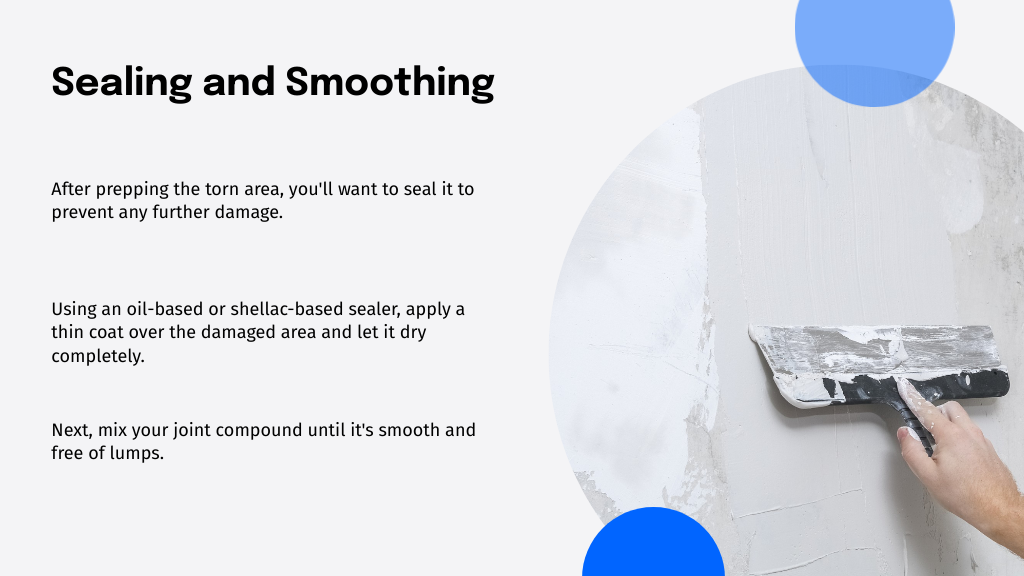
Now that you've prepared the area, it's time to seal the torn drywall paper to prevent further damage. You'll need a sealer, specifically an oil-based or shellac-based primer, to lock down the paper and stop any bubbling that can occur when moisture hits the exposed gypsum.
Apply a thin coat over the damaged area and let it dry completely; this usually takes about an hour. Next, mix your joint compound until it's smooth and free of lumps. Using a putty knife, apply a thin layer of compound over the sealed area.
Be sure to feather the edges outwards to blend seamlessly with the undamaged parts of the wall. Let this layer dry fully before you add another layer if needed.
Once the joint compound has fully dried, you'll want to sand the area to make certain it's perfectly smooth. Start with a fine-grit sandpaper and gently work over the compound, feathering out the edges to blend seamlessly with the existing wall.
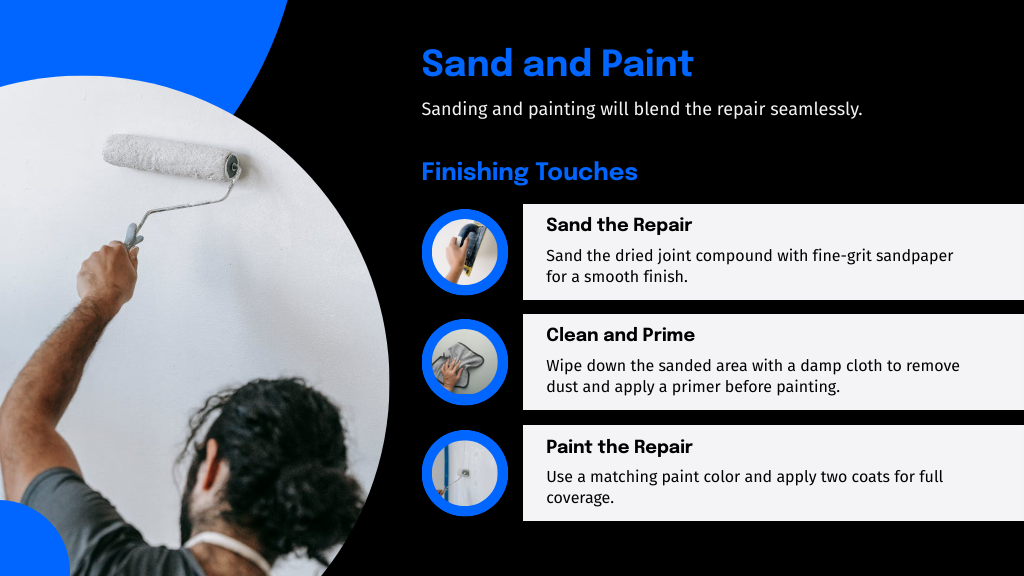
Here's how you should tackle the painting:
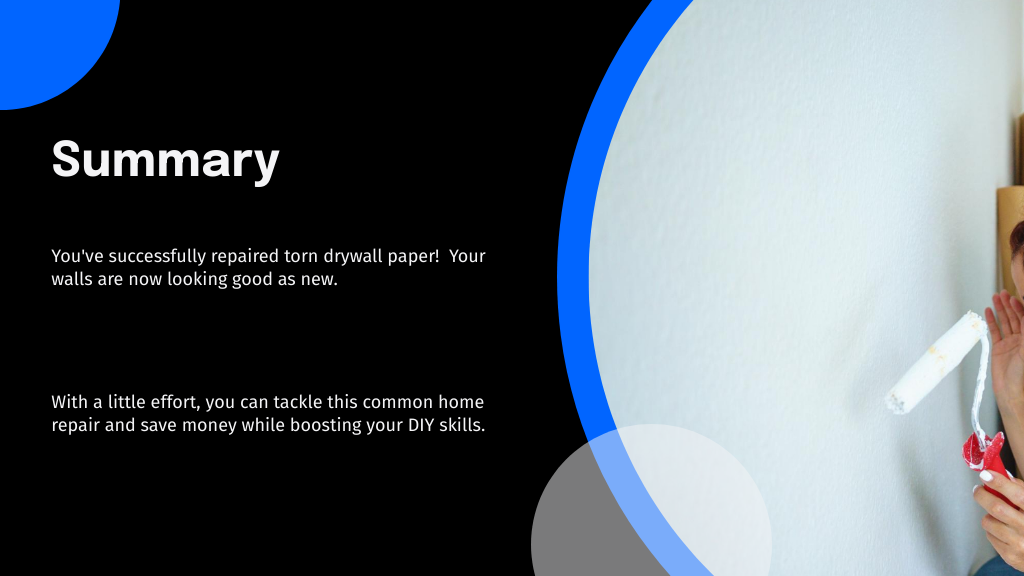
Now, step back and admire your work—it'll look as good as new!
Now that you've mastered fixing torn drywall paper, you're part of a savvy group! Did you know that DIY home repairs can save you up to 75% of potential professional repair costs? That's a huge saving! Just guarantee the area is smooth and the paint matches perfectly. With your newfound skills, you're not only enhancing your living space but also boosting your home's value. Go ahead, give yourself a pat on the back for a job well done!

I'm a blogger dedicated to sharing insights on lifestyle and wellness. Through personal stories and practical tips, I aim to inspire and empower my readers to lead healthier, more fulfilling lives.
Your email address will not be published. Required fields are marked *