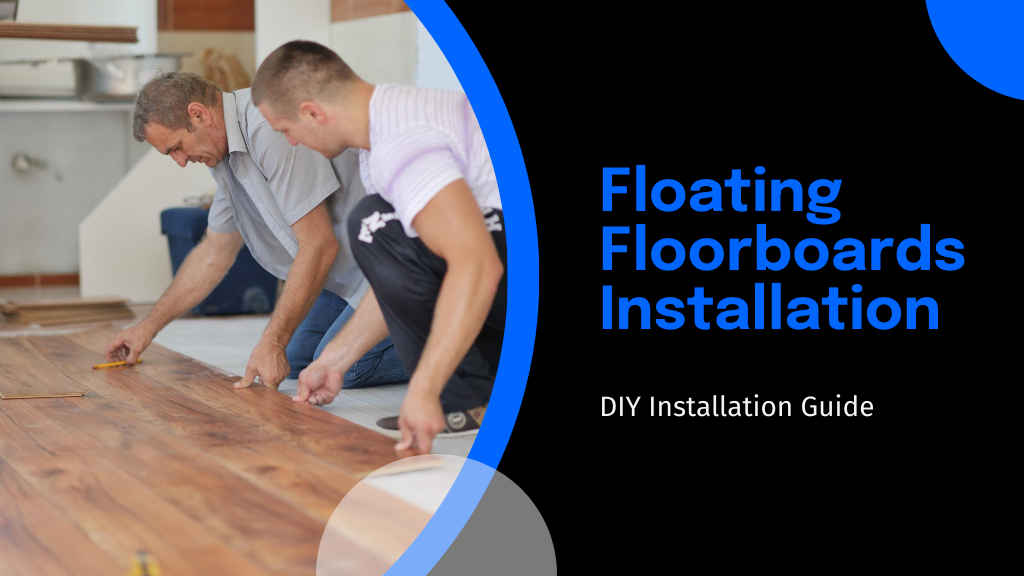
To install floating floorboards yourself, start by selecting the right material—like laminate for living areas or vinyl for kitchens—based on durability and moisture resistance. Prepare your space by cleaning and leveling the subfloor, then begin laying the boards from a corner, maintaining a gap for expansion. For obstacles, measure and cut precisely. Finish with a trim and a clean-up for a professional look. Follow these steps, and you'll see how simple upgrading your floors can be.
Selecting the Right Floating Floorboards
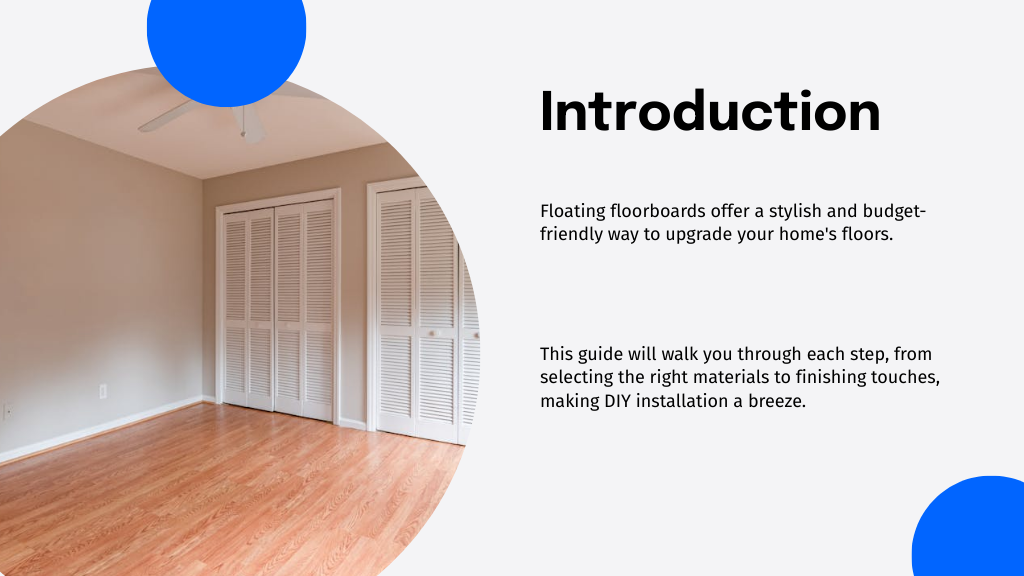
Choosing the right floating floorboards can be intimidating, but it's vital to match your needs with the features of various materials. When planning your floating floor installation, consider factors like durability, moisture resistance, and ease of maintenance.
You'll find options in materials such as laminate, engineered wood, and luxury vinyl, each offering distinct advantages depending on your lifestyle and the room's function.
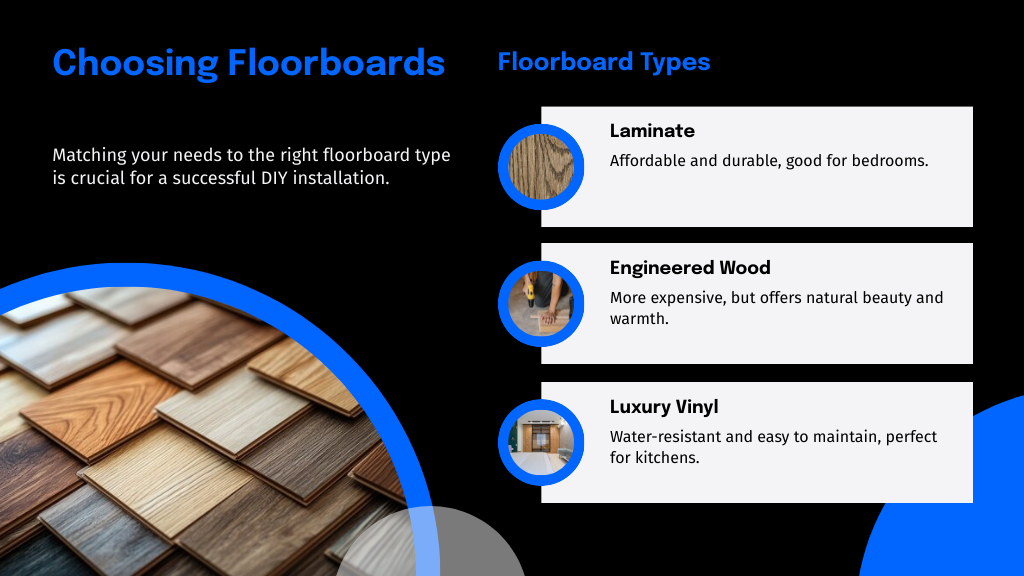
For instance, if you're aiming for a cozy bedroom, softwood laminates might be your best bet. In moisture-prone areas like kitchens, opt for vinyl.
Always check the compatibility of your subfloor with the floorboards you choose. Proper selection is significant for a successful floating floorboards installation, ensuring longevity and ease of care in your home.
Preparing the Installation Area
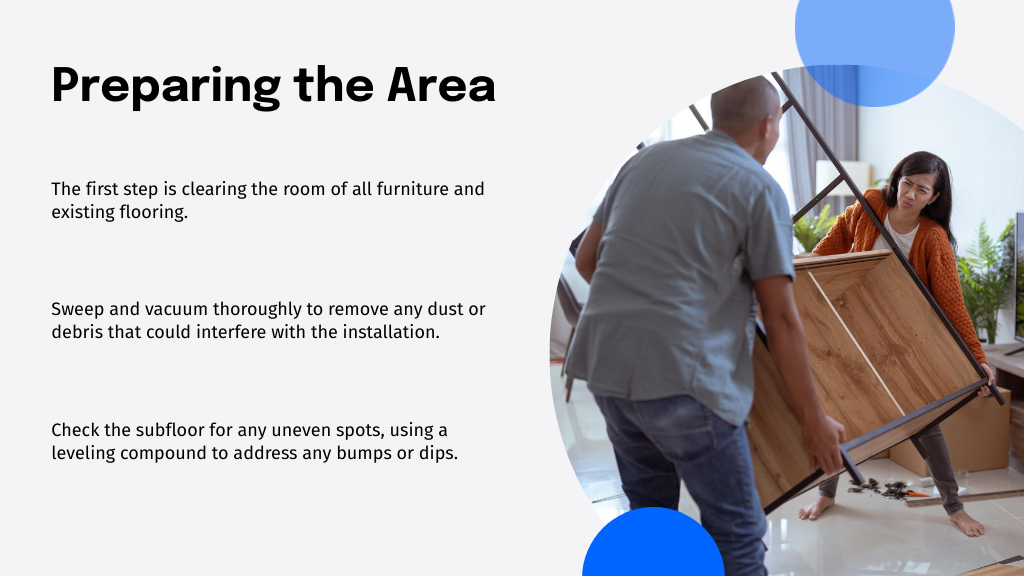
Before you lay down your new floating floorboards, it's crucial to prepare the installation area properly. Confirming the subsurface is ready will make the installation smoother and the final result more satisfying.
Here's how you can prep:
- Clear the Room: Remove all furniture and existing flooring. The area should be completely bare.
- Clean Thoroughly: Sweep and vacuum to eliminate any dust and debris that could affect the floorboards.
- Level the Subfloor: Check for any uneven spots and use a leveling compound if necessary.
- Check Moisture Levels: Use a moisture meter to verify the subfloor isn't too damp.
- Acclimate the Floorboards: Let the floorboards sit in the room for at least 48 hours to adjust to the environment.
These steps will set the foundation for a successful installation.
Laying the Floorboards
Once you've prepped the installation area, it's time to lay the floorboards. Start by placing the first board in the corner of the room, guaranteeing the tongue side faces the wall. Maintain a gap of about 10mm between the wall and the board for expansion, using spacers.
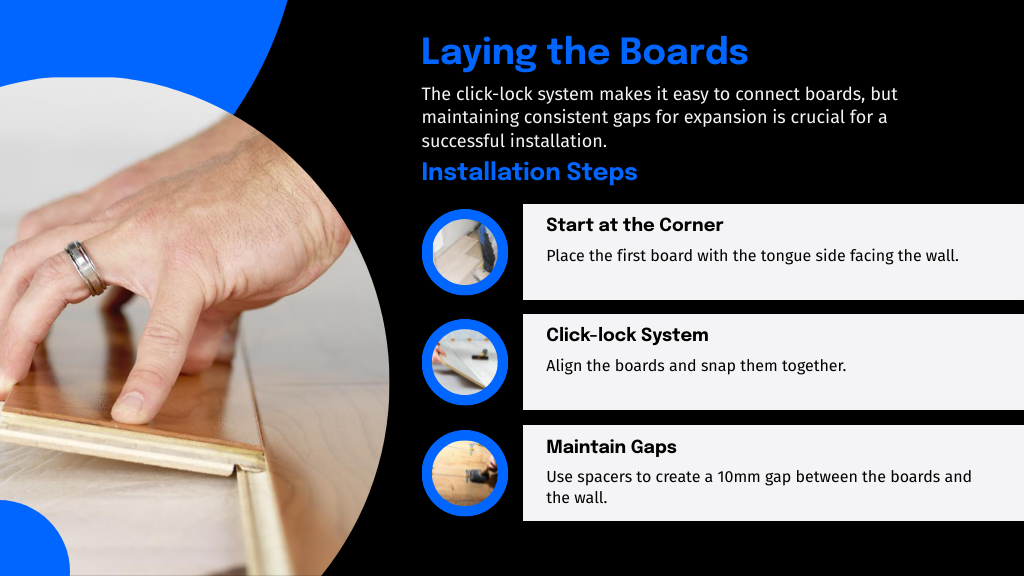
Next, align another board at one end and click it into place. Continue this process across the floor, board by board, row by row.
Cutting and Fitting Floorboards Around Obstacles
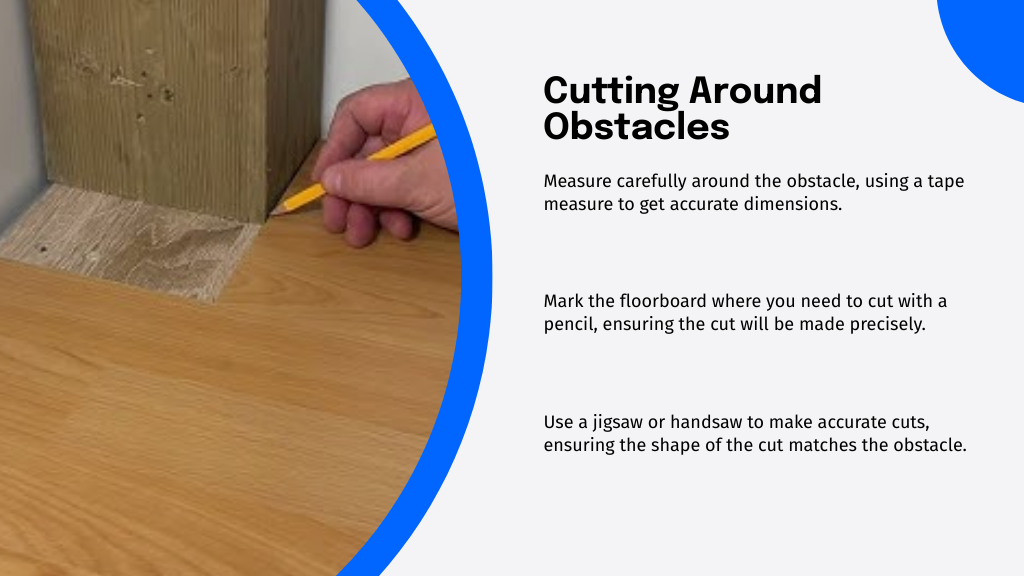
As you continue laying your floorboards, you'll encounter obstacles like pipes, cabinetry, or columns that require precise cuts for a proper fit.
Here's how to tackle these tricky spots:
- Measure Carefully: Use a tape measure to get exact distances around each obstacle.
- Mark the Floorboard: With a pencil, draw where you need to cut on the board.
- Use the Right Tools: A jigsaw or handsaw will help you make curved or straight cuts accurately.
- Dry Fit First: Before gluing or snapping the piece in place, make certain it fits perfectly around the obstacle.
- Keep it Clean: Remove any sawdust or debris from the cuts to guarantee a snug fit.
This attention to detail will give your floor a professional look.
Finishing Touches and Cleaning Up
After you've installed your floorboards, it's time to add the finishing touches and clean up the workspace. Start by inspecting each board for gaps. If there are any, use color-matched wood putty to fill them in.
Next, install baseboardsor quarter-round molding along the edges of the room to hide the expansion gap and enhance the look of your floor. Make sure to nail the trim to the wall, not the floorboards, to allow for natural movement.
Install baseboards or quarter-round molding along the room's edges to neatly conceal the expansion gap and elevate your floor's appearance.
Now, clean up. Sweep or vacuum any debris and dust from the installation. For a pristine finish, use a damp mop with a mild cleaner designed for laminate or wood flooring. Finally, step back and admire your handiwork!

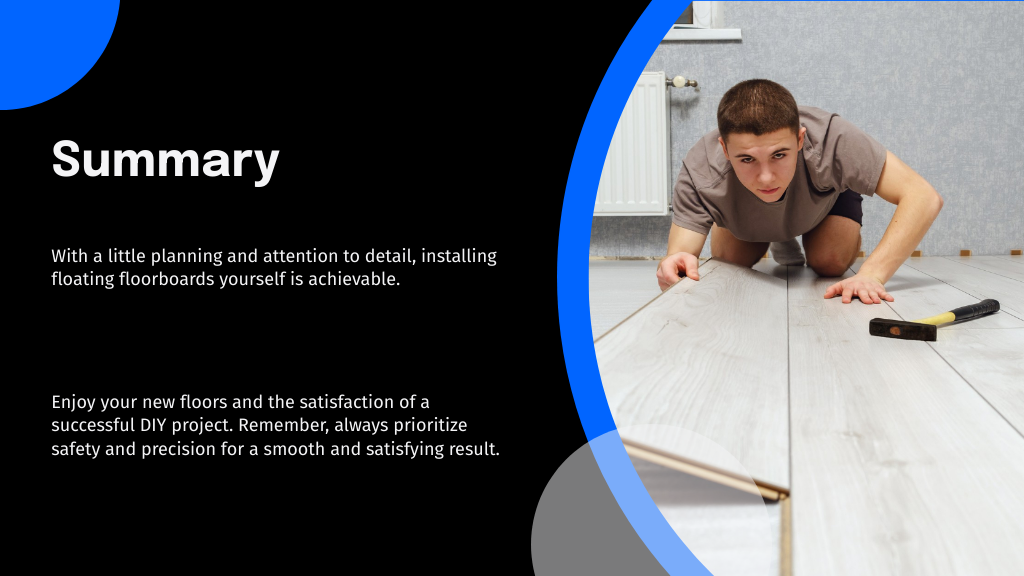
Conclusion
Now that you've mastered installing floating floorboards, you'll appreciate the transformation in your space. Imagine this: just like the Smiths, who revamped their tired-looking kitchen into a stylish, modern hub, your room can shine too. It's all about the effort you put in. So, give it a final once-over, clear up any mess, and step back to admire your handiwork. You've not only enhanced your home's aesthetic but also boosted its value. Well done!