To master canvas painting with acrylic colors, start with quality supplies like paints, brushes, and a primed canvas.

Familiarize yourself with basic brushstrokes and blending techniques for vibrant effects. Choose simple projects that inspire you, like sunsets or silhouettes. Follow a step-by-step process from sketching to layering colors. Don't forget to protect your artwork with varnish and proper storage methods. Keep exploring these exciting techniques to elevate your acrylic painting skills even further!
Essential Materials for Acrylic Painting
To commence acrylic painting, you'll need a few essential materials that will set you up for success. Start with high-quality acrylic paints; vibrant colors will make your canvas painting with acrylic paint pop. Invest in a selection of brushes, including flat and round shapes, to achieve various textures and strokes.
Don't forget a palette for mixing colors and a container for water, which is vital for cleaning your brushes. A sturdy easel will support your work as you explore how to paint with acrylics. Finally, grab a palette knife for mixing and applying paint.

With these materials, you'll be well-equipped to create stunning acrylic on canvas masterpieces, releasing your creativity and enjoying the process!
Preparing Your Canvas
Preparing your canvas is an essential step that sets the stage for your artwork. You'll want to choose the right canvas type, explore priming techniques, and create a workspace that inspires creativity. Let's get started on making your canvas ready for those vibrant acrylic colors!

Choosing the Right Canvas
How can you guarantee your canvas is perfect for your acrylic painting journey? Choosing the right canvas is vital for successful canvas painting with acrylic colours.
Start by considering these four essential factors:
- Material: Opt for cotton or linen canvas for durability and texture.
- Weight: Heavier canvases (around 10 oz) provide better support for thick applications.
- Finish: Decide between a smooth or textured surface based on your desired painting style.
- Size: Select a size that inspires you to create but also fits your workspace.
Priming Techniques Explained
Once you've chosen the perfect canvas, the next step is priming it to guarantee that your acrylic paints adhere well and achieve the desired finish.
You can use acrylic gesso, which is specifically designed for this purpose. Start by applying a thin, even layer of gesso with a brush or roller, making sure to cover all edges. Let it dry completely before adding a second coat, which will enhance the surface texture and paint adherence.
If you prefer a smoother finish, sand the surface lightly between coats. Remember, priming not only prepares your canvas but also helps prevent paint absorption, ensuring your colors remain vibrant.
Setting Up Workspace
Before diving into your painting, it's essential to set up a workspace that inspires creativity and keeps you organized. A well-prepared environment can enhance your artistic flow and reduce distractions. Here's how to create the perfect setup:
- Choose a clean, well-lit area: Natural light can boost your mood and help you see true colors.
- Gather your supplies: Keep your acrylic paints, brushes, and palette within arm's reach.
- Secure your canvas: Use a sturdy easel or place it on a flat surface to guarantee stability as you paint.
- Add personal touches: Include music or artwork that motivates you, making your space feel uniquely yours.
With the right setup, you're ready to release your creativity!
Understanding Basic Brushstrokes
As you immerse yourself in the world of acrylic painting, mastering basic brushstrokes will enhance your skills and boost your confidence. Start with the flat brush, perfect for bold strokes and broad areas. Use it for creating backgrounds or filling in large shapes. The round brush offers versatility, allowing you to create fine lines, dots, and curves.
Practice the fan brush for textured effects like foliage or clouds. Finally, the detail brush is ideal for intricate work, helping you refine your subjects. Remember to keep your wrist relaxed and use a light touch to achieve different effects. Experiment with each brushstroke, and don't be afraid to make mistakes—every stroke is a step towards improvement!

Techniques for Blending Colors
While blending colors might seem intimidating at first, it's an essential technique that can elevate your acrylic paintings to new heights.
To master this skill, try these effective methods:
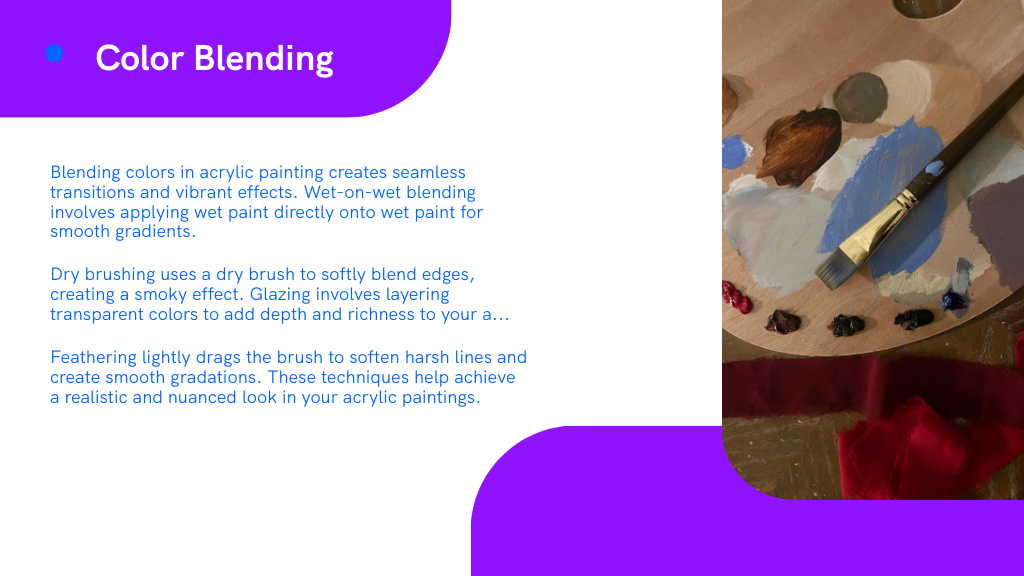
- Wet-on-wet: Apply wet paint directly onto wet paint for seamless shifts.
- Dry brushing: Use a dry brush to softly blend edges, creating a smoky effect.
- Glazing: Layer transparent colors to add depth and richness.
- Feathering: Lightly drag your brush to soften harsh lines and create smooth gradations.
Exploring Layering in Acrylics
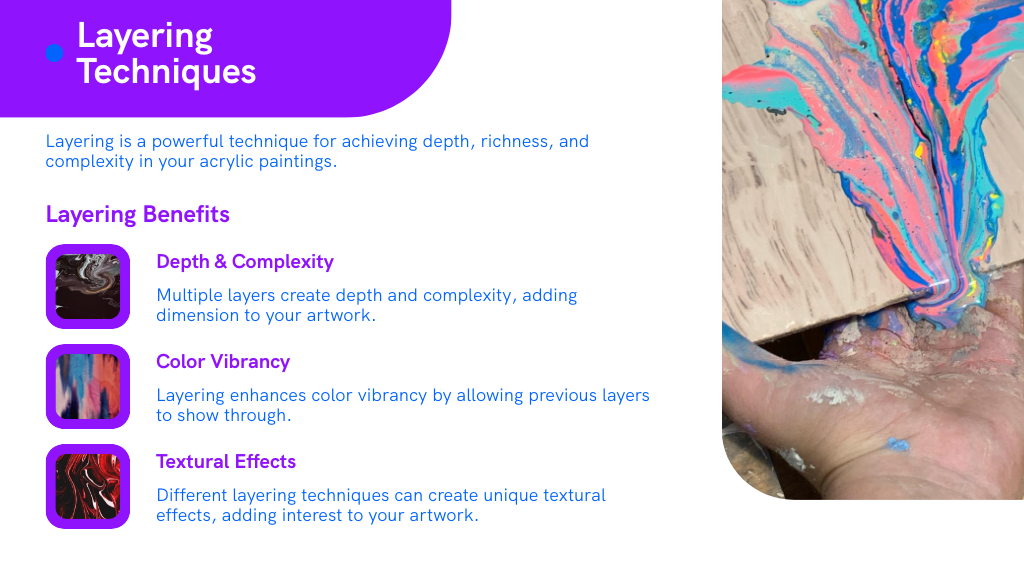
Building on your blending skills, layering is another powerful technique that can transform your acrylic paintings. By applying multiple transparent or semi-transparent layers, you can create depth and complexity in your work.
Start with a solid base layer and let it dry completely. Then, use a soft brush to apply your next layer, allowing some of the previous layer to show through. This not only adds dimension but also enhances color vibrancy.
Experiment with different colors and opacities; remember, you can always build up more layers, but it's harder to remove them! Don't be afraid to play around and make mistakes—each layer brings you closer to your desired outcome.
Enjoy the process and watch your artwork come alive!
Choosing a Simple Painting Project
What painting project should you tackle first? Start with something simple that sparks your creativity and builds your confidence. Here are four easy ideas to evaluate:
- A Colorful Sunset: Capture the beauty of nature with vibrant hues and soft blends.
- Abstract Shapes: Let your imagination fly by experimenting with colors and forms.
- Silhouettes: Create dramatic scenes with simple outlines against a colorful background.
- Floral Designs: Paint easy flowers for a fresh, cheerful vibe in your space.

Choosing a manageable project helps you enjoy the process without feeling overwhelmed. Embrace the chance to express yourself, and remember, each stroke is a step toward mastering your skills!
Step-by-Step Painting Process
To create a stunning acrylic painting, you'll want to start with a well-prepared canvas.
Once your surface is ready, mastering layering techniques will help you build depth and vibrancy in your artwork. Let's break down these essential steps to set you up for success!
Preparing Your Canvas
Preparing your canvas is an essential first step in the painting process, and it sets the stage for your artistic journey. A well-prepared canvas not only enhances your painting experience but also guarantees your artwork stands the test of time.
Here's how to get started:
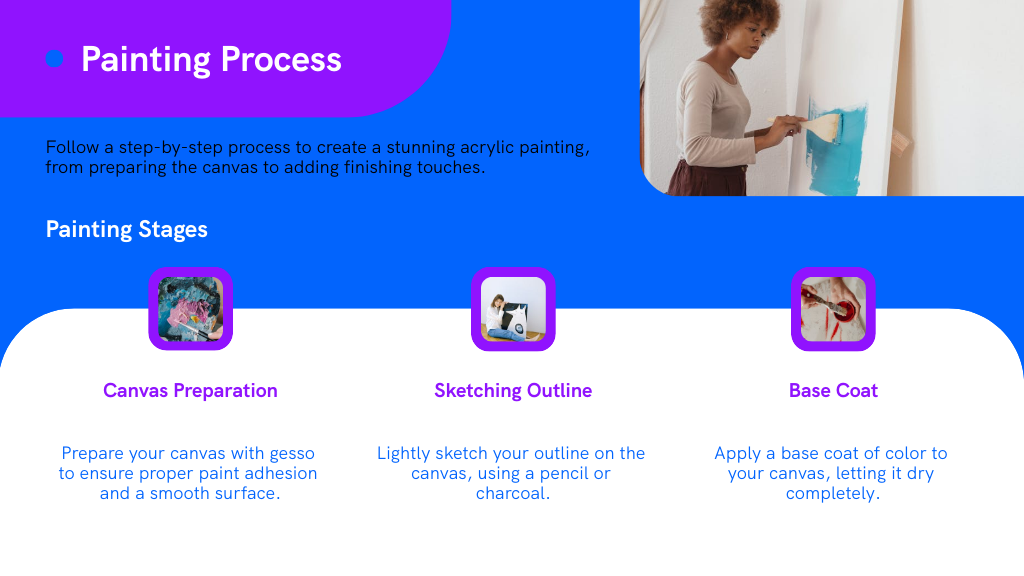
- Choose the right canvas: Select a size and texture that resonate with your vision.
- Clean the surface: Wipe away dust or debris to create a fresh start.
- Apply gesso: This primer helps create a smooth, paint-ready surface and improves adhesion.
- Allow to dry: Let the gesso cure completely before diving in, assuring vibrant colors.
With these steps, you're ready to release your creativity!
Layering Techniques Explained
As you immerse yourself in the world of acrylic painting, mastering layering techniques can greatly enhance your artwork and allow you to build depth and texture.
Start by applying a base layer of color and letting it dry completely. Next, use a lighter or darker shade to create shadows or highlights, applying it gently with a dry brush technique. This adds dimension without overwhelming the base color.
Once your second layer is dry, experiment with glazing—mix a small amount of transparent medium with your paint and apply it with a soft brush. This adds richness and complexity.
Tips for Finishing and Preserving Your Artwork
Finishing and preserving your artwork is essential to ensuring its longevity and vibrancy.
Here are some tips to help you protect your masterpiece:
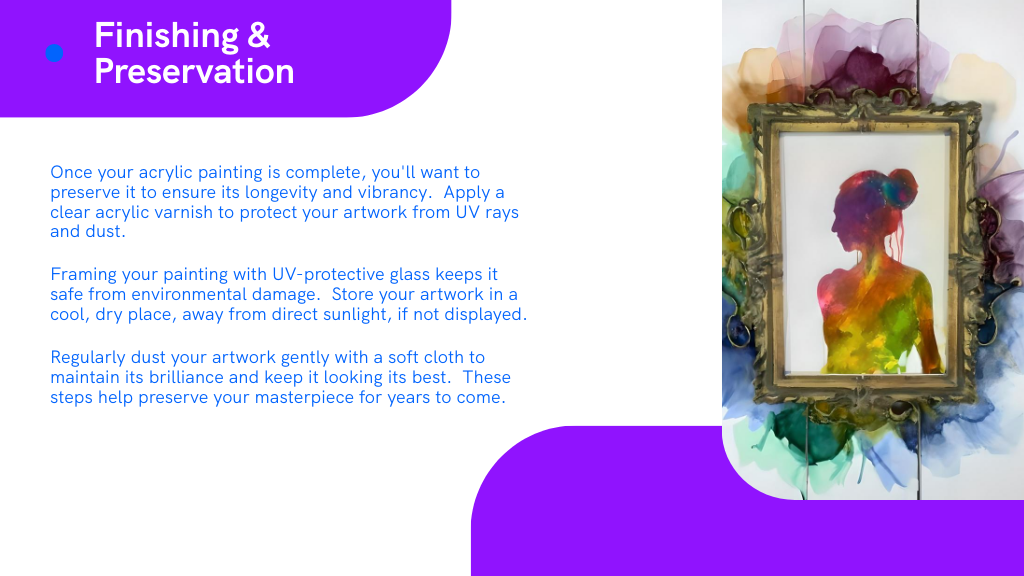
- Varnish: Apply a clear acrylic varnish to shield against UV rays and dust.
- Framing: Use a frame with UV-protective glass to keep your painting safe from environmental damage.
- Storage: If not displayed, store your artwork in a cool, dry place, away from direct sunlight.
- Regular Care: Dust your artwork gently with a soft cloth to maintain its brilliance.
Conclusion
As you embrace the vibrant world of acrylic painting, remember that each brushstroke is a step toward expressing your unique vision. The theory that creativity is innate is often challenged; with practice and exploration, you can access your artistic potential. So, don't be afraid to experiment and make mistakes—each one brings you closer to mastering your craft. Immerse yourself, enjoy the process, and let your imagination flow onto the canvas, transforming your ideas into stunning realities.