Leora J. Goodin
I'm a blogger dedicated to sharing insights on lifestyle and wellness. Through personal stories and practical tips, I aim to inspire and empower my readers to lead healthier, more fulfilling lives.
Students and teachers save a massive 71% on Creative Cloud All Apps
Black Friday and Cyber Monday 2023 Deals for Motion Designers, grab it now!
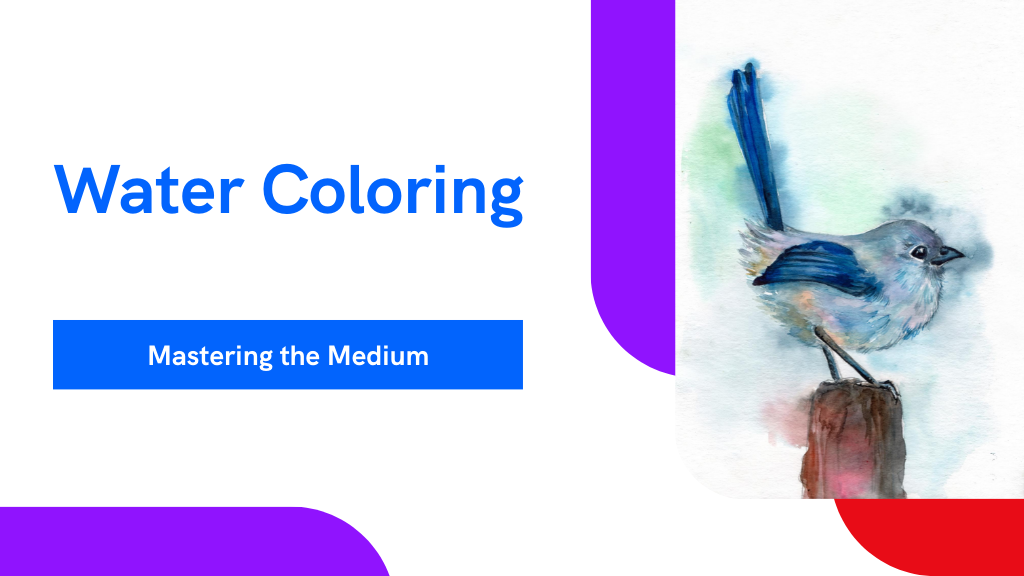
Sharpen your watercolor skills with essential techniques that transform your art, and discover how blending and texturing methods can elevate your creative

Master wet-on-wet and wet-on-dry techniques to bring depth and soft blends to your watercolor artworks. Start by experimenting with color mixing on wet paper for vibrant effects, then refine your skills with gradients and washes for subtle shifts in tone. Learn to control water and pigment ratios to express finer details and textures in your painting. Don't forget, continuous practice and experimentation will reveal even more creative possibilities in your watercolor journey.
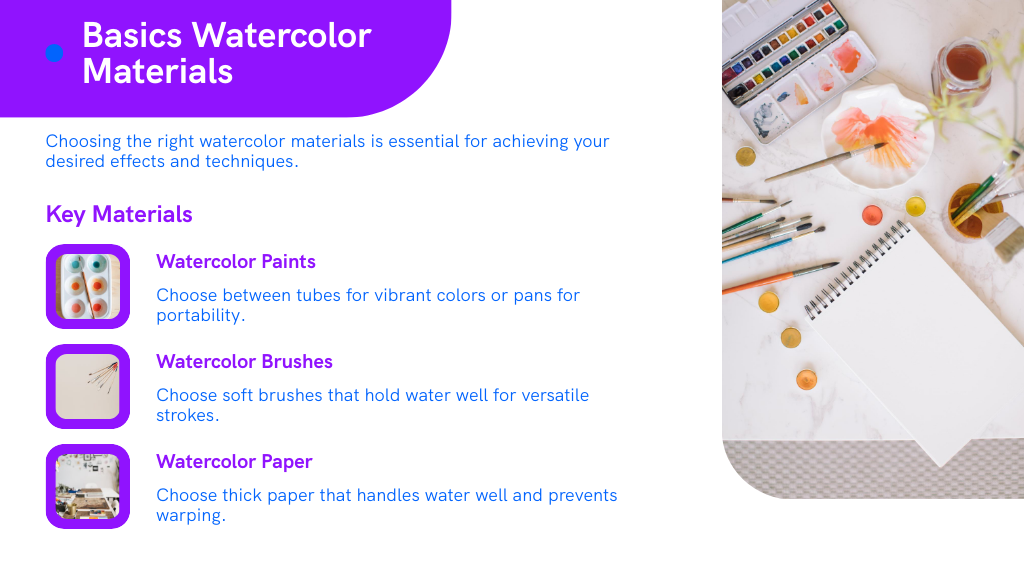
When diving into watercolor painting, it's vital to familiarize yourself with the key materials involved.
Embark on your watercolor journey by mastering the essential materials needed for this artistic endeavor.
You'll need watercolor paints, which come in tubes or pans. Tubes offer fresh, vibrant colors, ideal for larger areas, while pans are great for their portability and ease of setup. A high-quality watercolor brush is essential; look for ones with soft bristles that hold water well.
Your paper choice also impacts your painting outcome; watercolor paper is thicker to handle more water without warping. Understanding these basics enhances your ability to watercolor effectively.
As you explore various techniques in water coloring, you'll appreciate how each material plays a role in achieving the beautiful, translucent effects that make this medium so enchanting.
Now that you're familiar with the primary materials used in watercolor painting, let's focus on the wet-on-wet technique, a fundamental method for creating soft blends and subtle color shifts.
This approach involves applying wet paint onto a wet surface, allowing the colors to flow and merge naturally. You'll start by evenly wetting your paper with a clean brush.
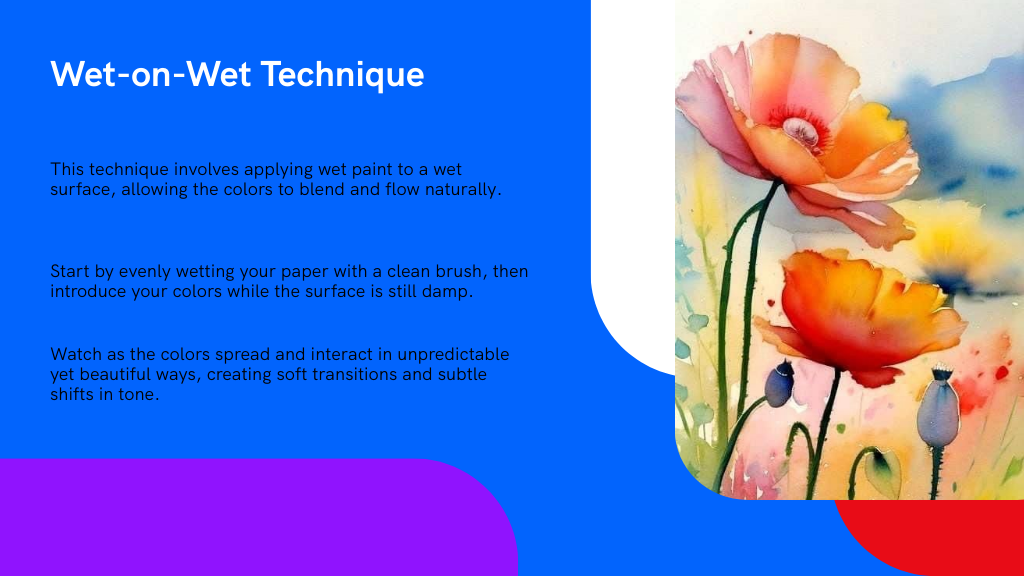
Then, introduce your chosen colors while the surface is still damp. Watch as they spread across the wet surface, interacting in unpredictable yet beautiful ways.
It's essential you work swiftly, as the effect diminishes as the paper dries. Experiment with different levels of moisture and pigment ratios to see how they influence the flow and fusion of the colors.
Why not shift gears and explore the wet-on-dry technique? This approach involves painting with a wet brush on dry paper, offering you distinct control and crisp edges, ideal for detailed work.
Discover the precision and clarity of the wet-on-dry watercolor technique with this simple guide to mastering it.
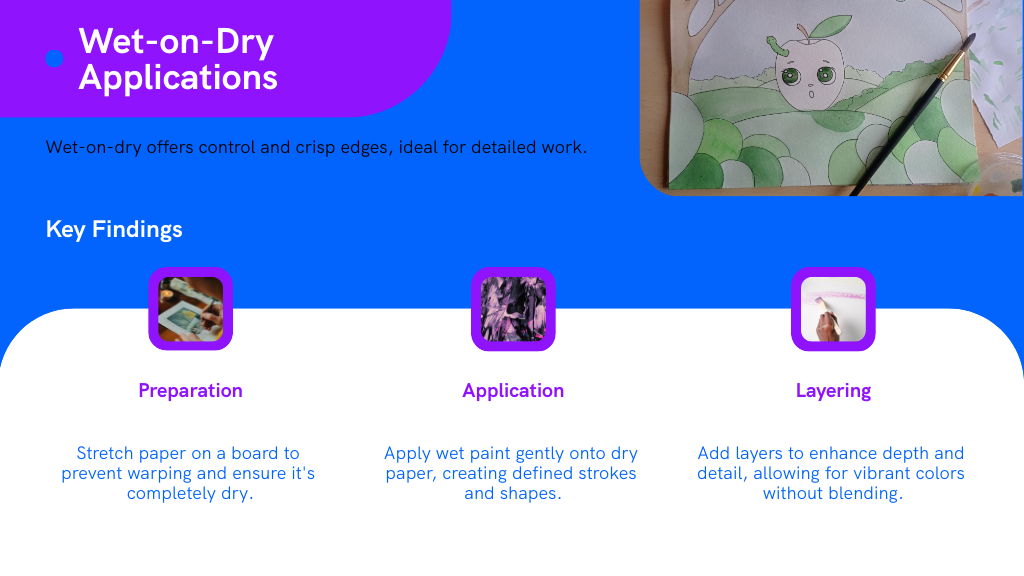
Here's how you can master it:
Effective color mixing is essential to mastering the art of watercolor. To start, you'll need a basic understanding of the color wheel. Recognize primary, secondary, and tertiary colors. Mixing colors adjacent to each other creates harmonious blends, while combining opposites offers vibrant contrasts.
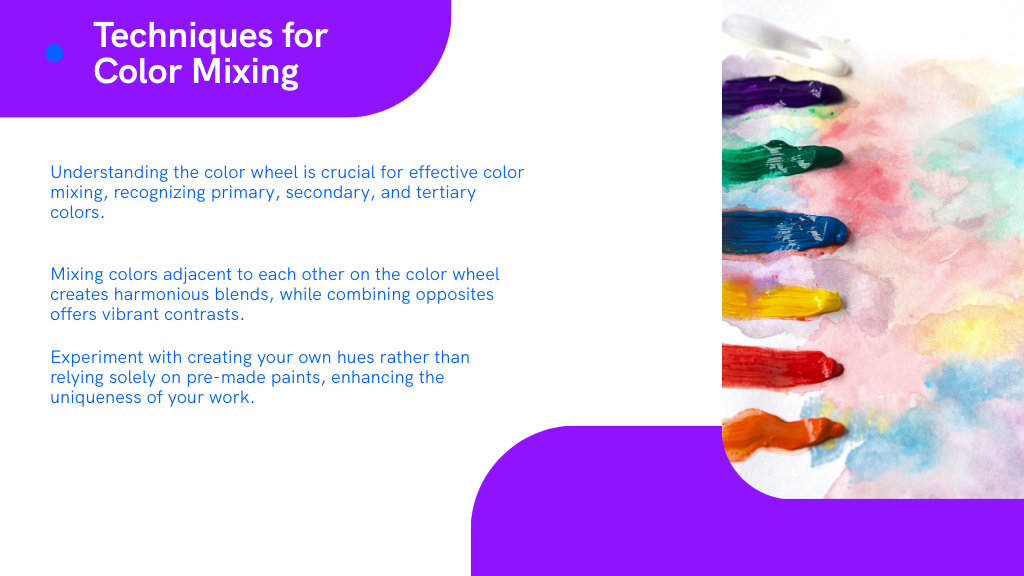
Experiment with creating your own hues rather than relying solely on pre-made paints. This not only broadens your palette but also enhances the uniqueness of your work. Start with light washes, gradually adding darker tones to avoid overpowering your piece.
You'll find that mastering the balance between water and pigment is essential for different techniques in watercolor painting.
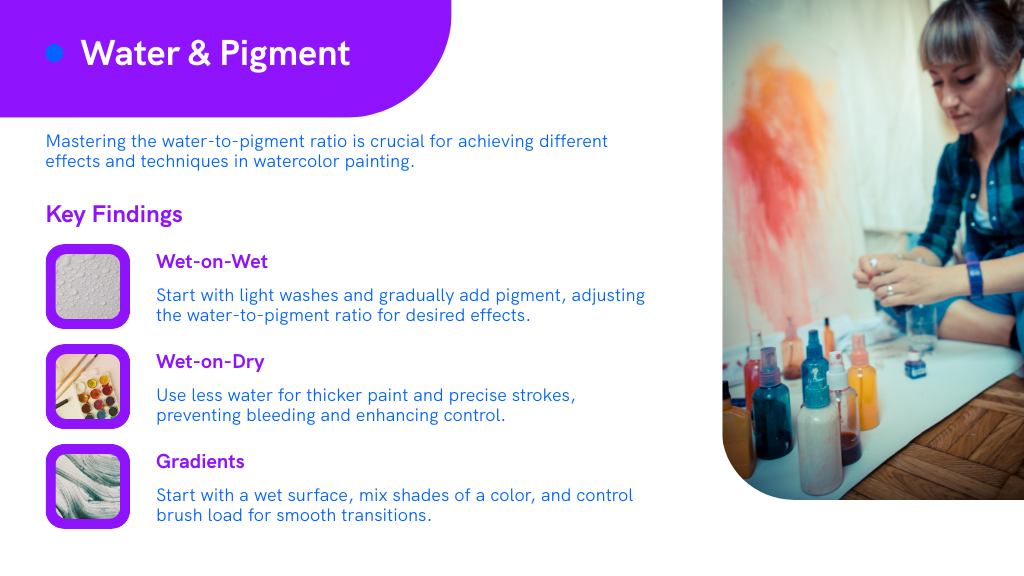
Whether you're working with wet-on-wet for soft, diffusive effects or employing wet-on-dry for more defined strokes, understanding this balance will enhance your control.
Perfecting gradient techniques further relies on this skill, allowing you to create smooth changes and sophisticated washes.
How do you navigate the delicate balance between water and pigment in wet-on-wet watercolor techniques? It's all about practice and intuition, but here are a few tips to get you started:
While mastering wet-on-wet offers its own set of challenges, shifting to wet-on-drywatercolor techniques can greatly enhance your control over the final artwork.
In this approach, you'll apply wet paint to dry paper, allowing for sharp, clean edges and precise detail. It's essential you understand how much water and pigment to mix.
Start with less water to keep the paint thick and manageable, which prevents it from bleeding outside your intended areas. You'll notice that the brush strokes remain exactly where you place them, offering a great way to add fine details or textures to your piece.
Experiment with different brush sizes and shapes; they each interact uniquely with the paper and paint mixture, contributing to your overall control.
Building on your skills from wet-on-dry techniques, perfecting gradient techniques is the next step in mastering watercolor painting. Creating smooth shifts in your artwork hinges on how well you control the mix of water and pigment.
Here's how you can refine this skill:
Mastering these steps will elevate your watercolor techniques considerably.
When you're aiming to maintain the pristine whites in your watercolor paintings, utilizing masking fluid is an indispensable technique. This fluid acts as a resist, keeping select areas of your paper free from pigment.
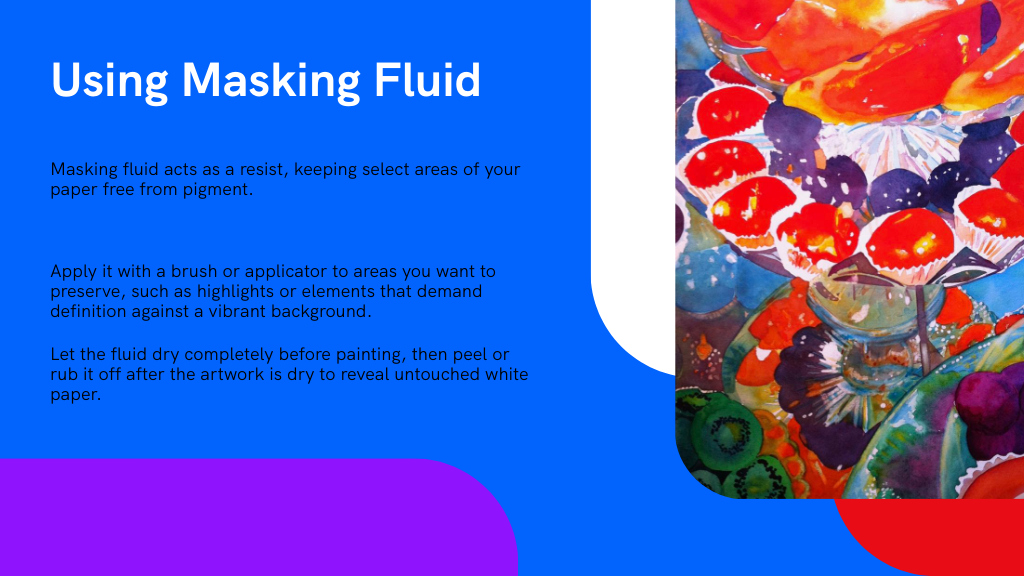
You'll apply it with a brush or applicator to the spots you wish to preserve—think highlights or specific elements that demand definition against a vibrant background.
Let the fluid dry completely before you start painting. Once your artwork is dry, you can peel or rub off the masking fluid, revealing the untouched, brilliant white paper beneath.
After mastering the use of masking fluid, you might want to explore creating unique textures in your watercolor paintings using salt and other materials. These unconventional tools can transform your artwork by adding intriguing effects that mimic natural elements.
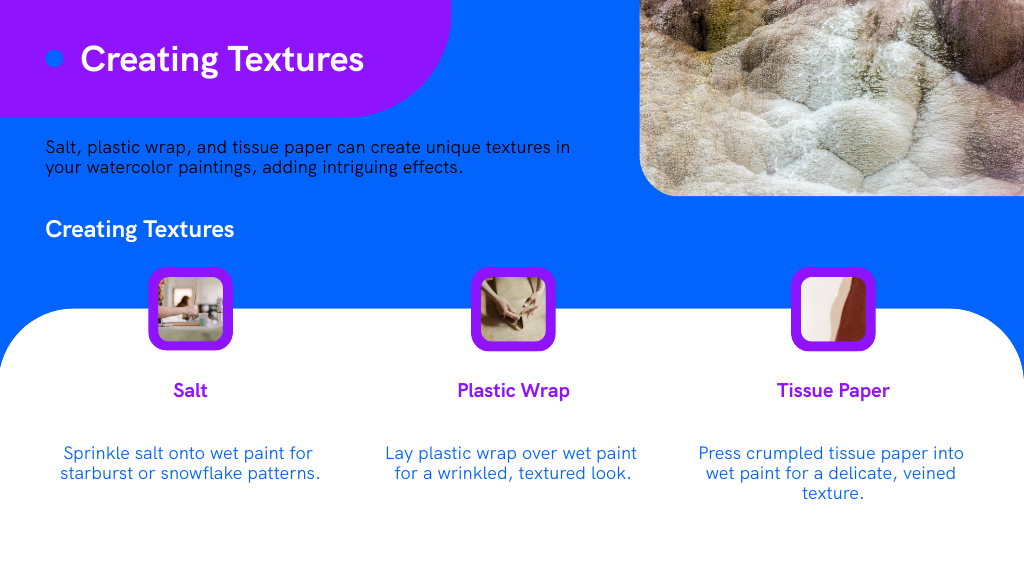
Experiment with these to enhance your watercolor landscapes or abstracts.
As you explore the domain of watercolor, mastering lifting techniques can greatly enhance your ability to correct and create dynamic effects.
Understanding how to effectively layer your paints will also allow you to build depth and richness in your artwork. These skills are essential for bringing out subtle details and achieving the desired mood in your paintings.
Lifting techniques in watercolor art allow you to remove some color after it's applied, offering a unique way to correct mistakes or enhance depth and texture in your painting.
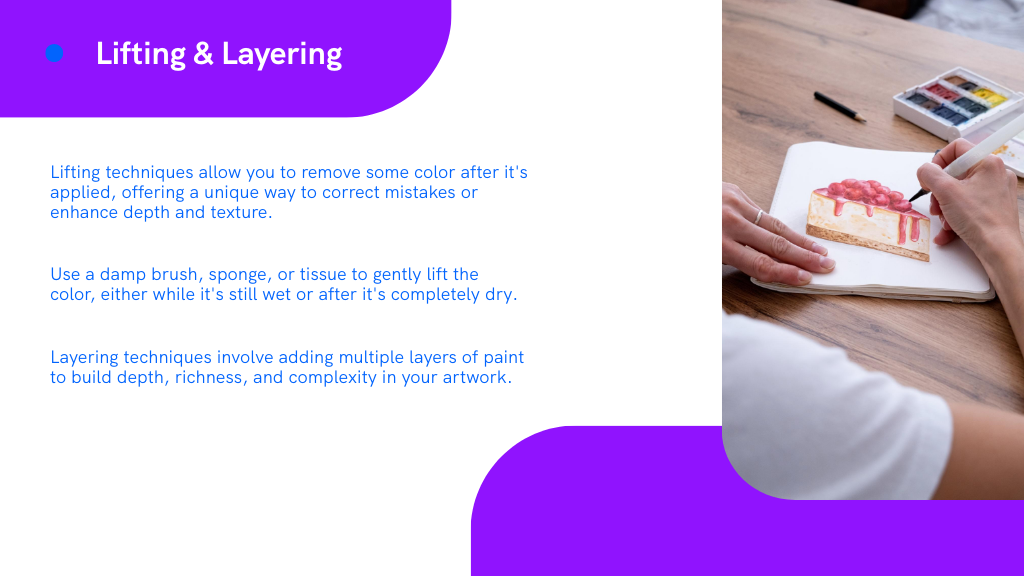
Here's how you can master this method:
Experiment and see what works for you!
When you start layering in watercolor painting, you'll discover it's a powerful technique that can transform the depth and intricacy of your artwork. Each layer you add allows for a richer, more complex expression.
You're not just putting color on paper; you're building a visual story, piece by piece.
Layering also gives you the flexibility to correct and enhance. If a shade isn't quite right, adding a new layer can adjust the tone or intensity without starting over. It's like having an undo button!
Furthermore, you can experiment with different opacities and hues to achieve effects like glowing light or deep shadows. This method isn't just about adding; it's about enhancing, refining, and perfecting your painting with each stroke.
Mastering gradients and washes in watercolor painting can dramatically enhance your artwork, allowing you to create smooth changes and subtle color shifts that mimic natural lighting and depth.
Here's how you can perfect these techniques:
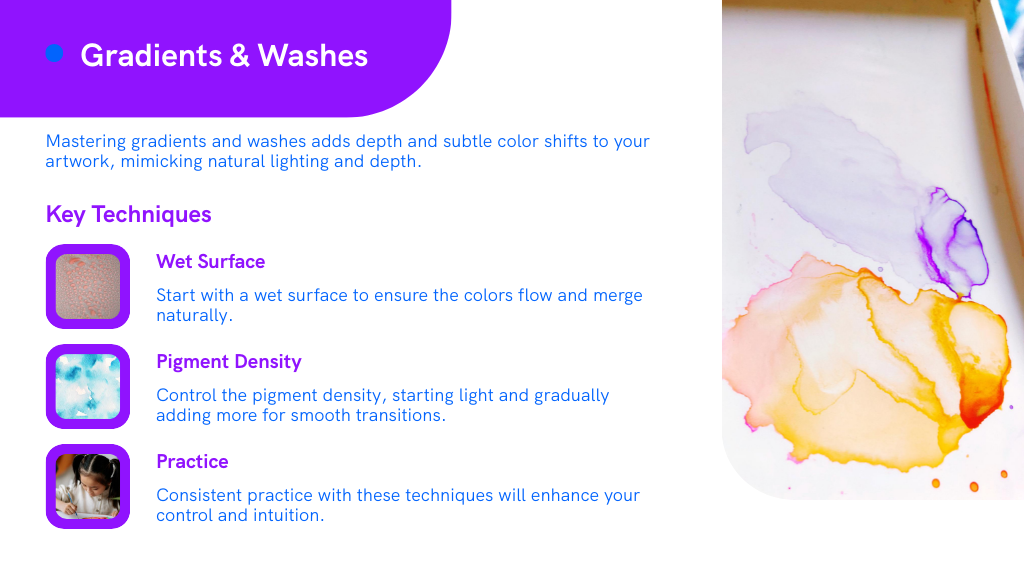
Experiment with different brushes and water amounts to see what effects you can achieve.
As you've now dipped your toes into the vibrant world of watercolors, remember that each stroke and blend is a step on a path of endless possibilities. Don't be disheartened if your initial attempts don't quite capture your vision—consider these moments as simply finding new ways to see light and color. Embrace each challenge as an opportunity to flourish. Keep experimenting, and let every canvas be a playground where your creativity knows no bounds.

Your email address will not be published. Required fields are marked *