To record your monitor screen, first pick screen recording software like OBS Studio or Xbox Game Bar. Set up your audio and webcam preferences, then grant any necessary permissions for microphone and camera access. Start recording by selecting your capture area—whether a window, browser tab, or full screen—with audio options enabled. After finishing, you can edit and export the video file in MP4 format for easy sharing. Keep exploring to discover useful tips for enhancing and sharing your recordings.
Choose the Right Screen Recording Software
When choosing screen recording software, you'll want to focus on the features that matter most to you, like webcam overlay, audio input options, and editing tools.
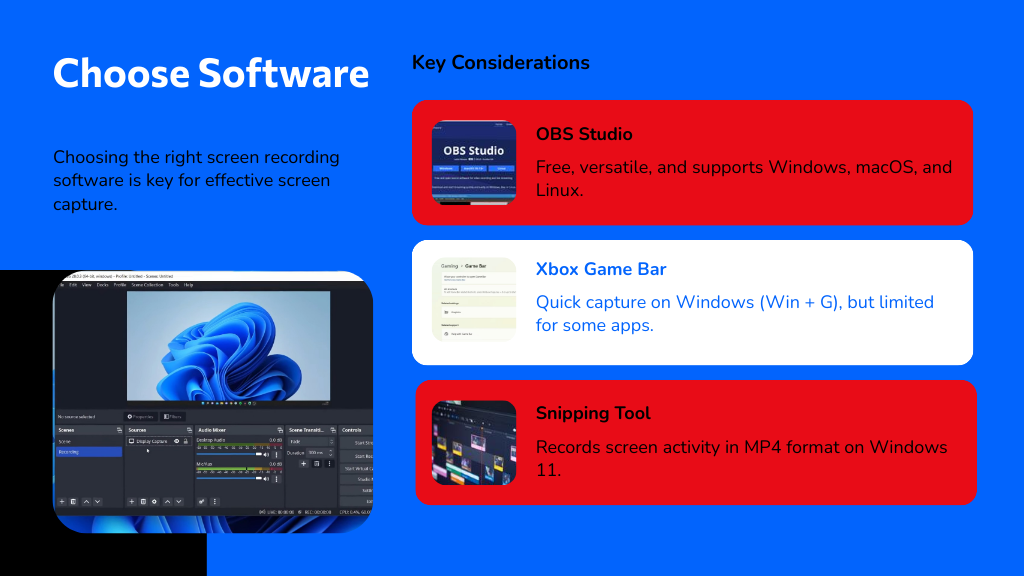
Knowing how to record computer screen effectively means picking a tool that fits your needs. OBS Studio is a great free option, supporting Windows, macOS, and Linux, with customizable resolution and frame rates.
Effective screen recording starts with choosing the right tool, like the versatile and free OBS Studio.
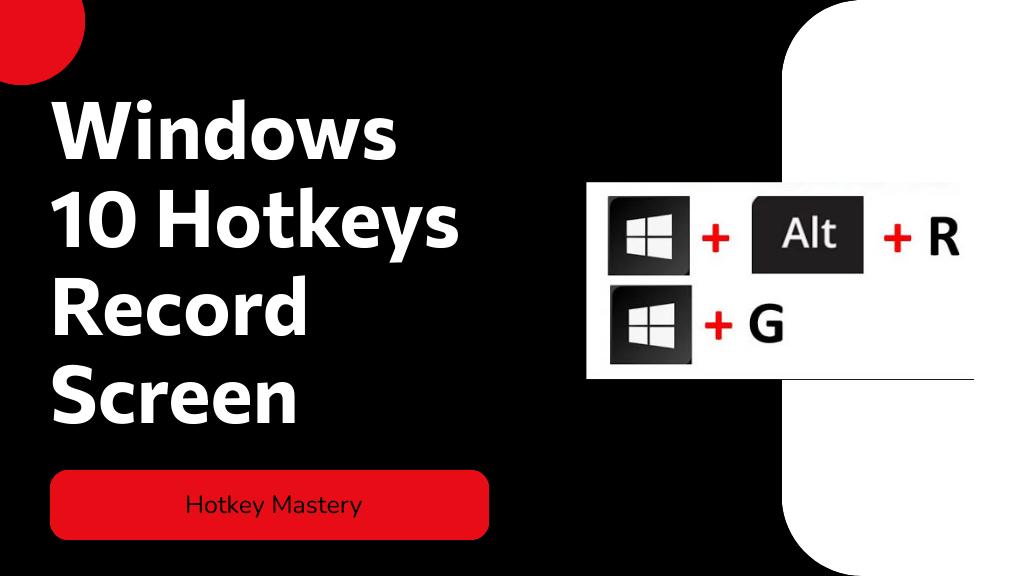
If you're on Windows, the Xbox Game Bar offers a quick way to capture your screen using Windows Key + G, though it’s limited for some apps. Windows 11’s Snipping Tool also records screen activity and saves as MP4, ideal for simple tasks.
For secure offline recording with easy sharing, ScreenRec is worth considering. Choosing the right software simplifies how to record computer screen smoothly.
Set Up Screen and Audio Recording Preferences
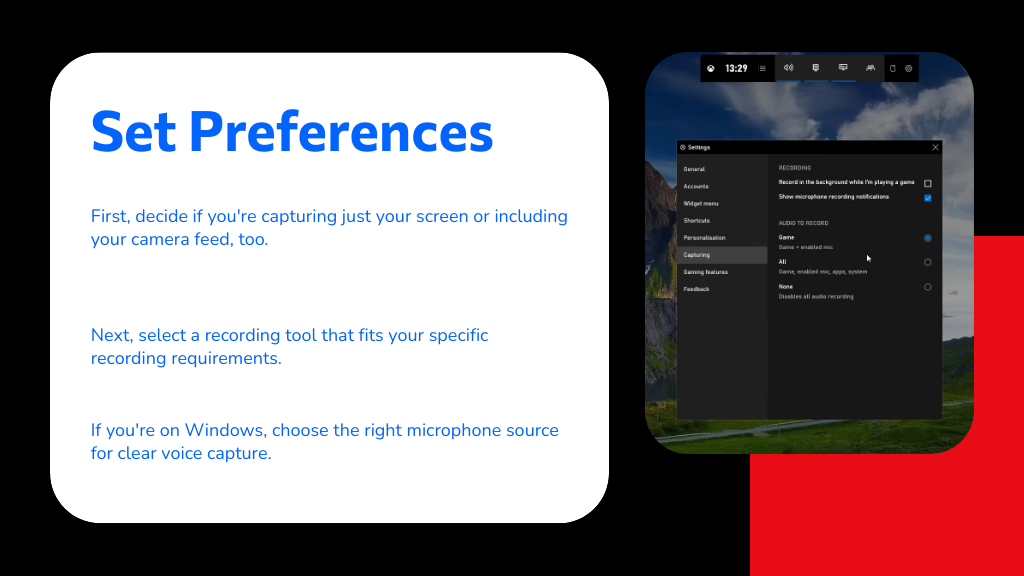
Setting up your screen and audio recording preferences starts with choosing whether you want to capture just your screen or include your camera as well.
Once you've selected the right option, pick the correct recording tool that fits your needs. When learning how to record video on Windows 10, make sure you select the proper microphone source to capture your voice clearly.
Don’t forget to toggle the audio sharing option if you want to record system sounds along with your voice. Before you hit record, review your settings to confirm both audio and video quality are optimized.
Taking these steps guarantees your recording captures exactly what you need with clear visuals and sound, making your projects look professional and polished.
Grant Camera and Microphone Permissions
When you start recording for the first time, a popup will ask you to grant camera and microphone access. You’ll need to allow these permissions to capture both your screen and audio properly. If you’ve changed settings before, check your current permissions by clicking the lock icon near the browser’s address bar.
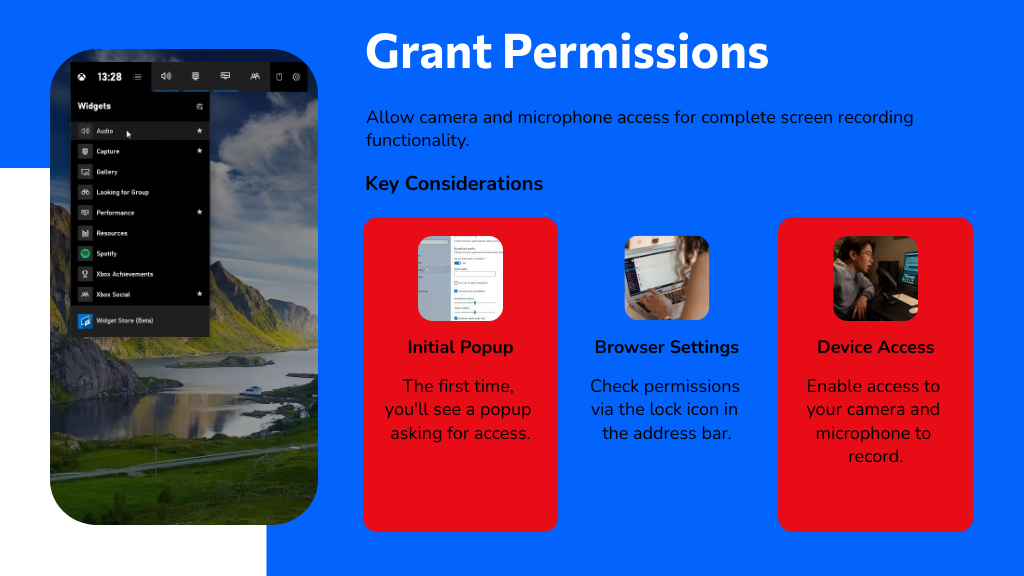
Before you start recording your screen, you'll see a popup asking for permission to access your camera and microphone. This step is essential when learning how to screen record on laptop because it enables capturing both video and audio.
If you’ve denied these permissions before, the popup might look different or may not appear at all. In that case, you’ll need to check and adjust your settings manually. Granting access guarantees full functionality during your screen recording sessions.
Without these permissions, you won’t be able to record audio or include your camera feed, limiting what you can capture. Remember, you can always review or change these permissions by clicking the Lock icon near your browser’s address bar before starting your recording.
Managing Browser Permissions
How do you make certain your browser lets your screen recording tool access your camera and microphone? When you first use the tool, a popup will ask for permission to use these devices.
If you’ve denied access before, the popup mightn't appear as expected, so managing browser permissions becomes essential. To verify or change permissions, click the Lock icon next to the browser’s address bar and check that camera and microphone access is allowed for the recording site.
Granting these permissions guarantees your tool can capture both audio and video, improving recording quality. Without enabling them, webcam and audio features won’t work during your screen recording sessions. Regularly managing browser permissions keeps your recordings smooth and fully functional.
Enabling Device Access
Although you might expect the screen recording tool to work right away, it won’t capture your camera or microphone without your permission.
When learning how to record on computer, the first time you use a screen recorder like Clipchamp, a popup will ask you to grant access to your camera and microphone. If you don’t see this prompt, check the Lock icon next to your browser’s address bar to adjust permissions.
Keep in mind, if you’ve granted access before, the popup may look different or not appear at all, so it’s important to verify these settings. Without enabling device access, you won’t be able to record audio or video from your camera, limiting your recording capabilities.
Initiate and Customize Your Screen Recording
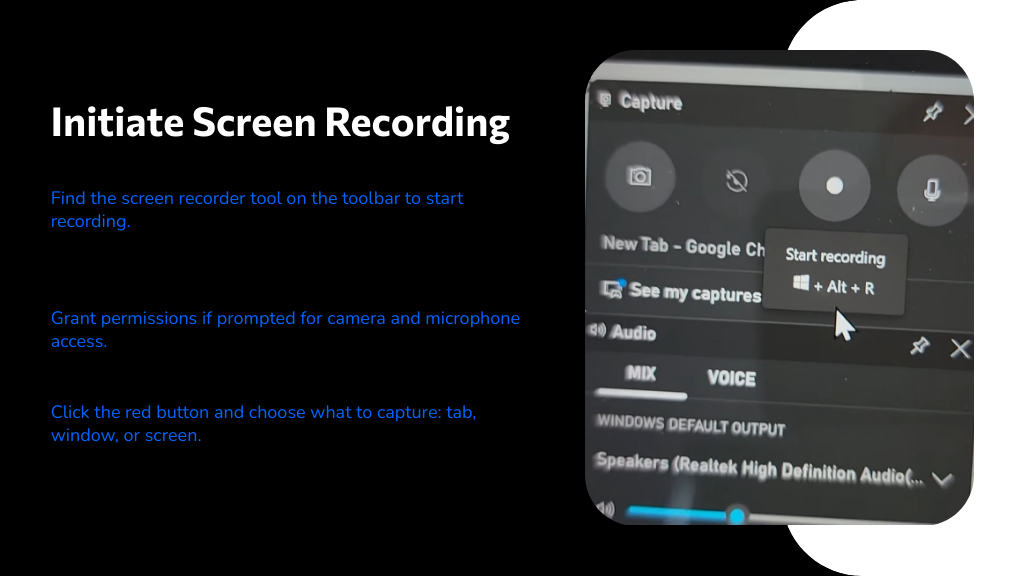
Start your screen recording by finding the screen recorder tool on the toolbar and selecting either the screen tool or the screen & camera tool, depending on what you want to capture.
If you’re wondering how to record on PC, Clipchamp makes it straightforward. After choosing your tool, grant permission for camera and microphone access if prompted.
Click the red button to start recording, then decide whether to capture a browser tab, a specific window, or your entire screen. To include computer audio, toggle on audio sharing.
Before you begin, customize your microphone source and adjust any speaker coach settings as needed. Finally, click the share button to launch your recording session. This setup lets you tailor your screen recording precisely to your needs.
Edit Your Recording for Quality and Clarity
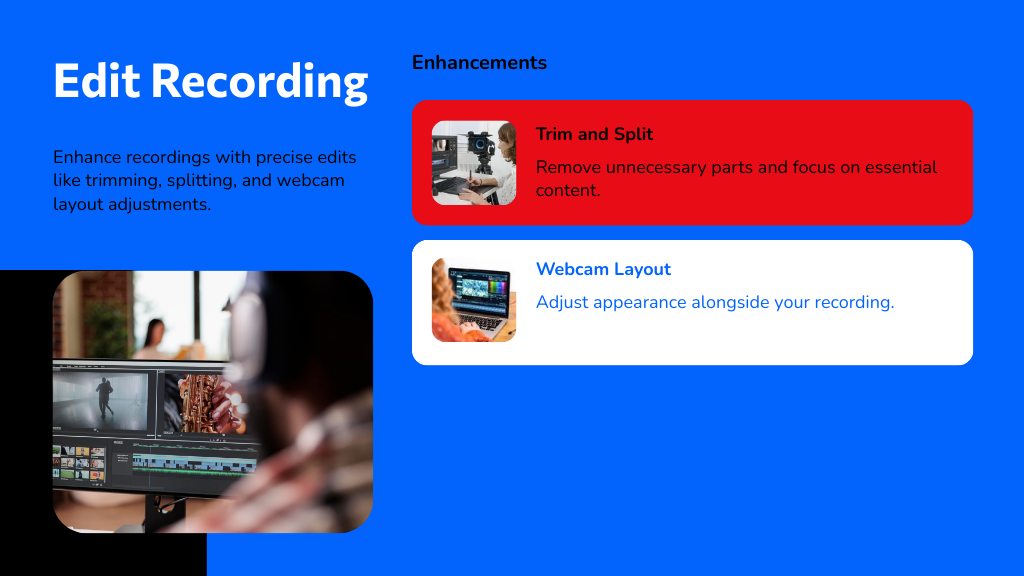
Once you've captured your screen, you’ll want to trim and split clips to remove any unnecessary parts and keep your video focused. Adjusting the webcam layout can also enhance how you appear alongside your recording. These simple edits make your final video clearer and more engaging.
Trim and Split Clips
Trim and split clips to sharpen your screen recording and eliminate unnecessary parts. When learning how to record monitor screen, trimming helps you cut unwanted sections at the start or end using the timeline’s trimming tool.
To remove specific segments within the video, use the split feature by selecting the precise point on the timeline where you want to divide your clip. This way, you can delete or rearrange parts for better flow.
Splitting also lets you detach audio tracks, so you can adjust sound independently. Using the timeline effectively guarantees precise edits, improving your recording’s clarity and quality.
Mastering these trim and split clips techniques greatly enhances your final screen recording, making it more polished and viewer-friendly.
Adjust Webcam Layout
Adjusting your webcam layout is key to making your screen recording more engaging and clear. When you learn how to record on laptop, you’ll find the webcam clip appears as a separate item on the timeline, so you can move and position it independently within the video frame. Simply drag and drop the webcam recording in the preview window to find the best spot for focus.
You can also use editing options like fit, crop, picture-in-picture, rotate, flip horizontal, and flip vertical to enhance your presentation. Access the media property panel for even more customization.
Adjust Webcam and Screen Layouts
You’ve got several options to customize how your webcam appears alongside your screen recording. Since the webcam clip is a separate item on the timeline, you can easily adjust webcam and screen layouts by dragging and dropping the webcam feed anywhere in the preview window. Use the media property panel to fit, crop, or resize the webcam clip to match your project’s aspect ratio.
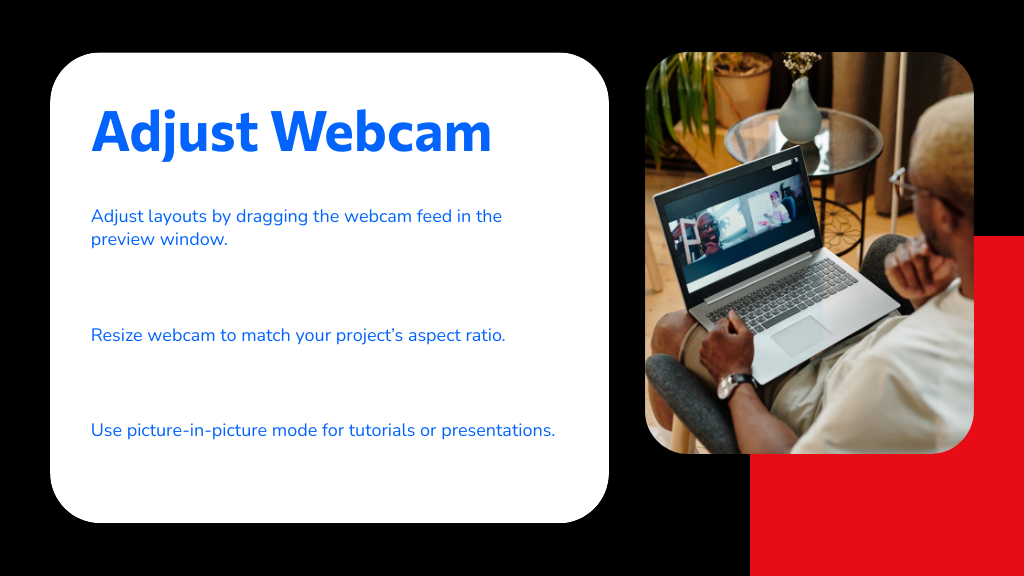
You can enable picture-in-picture mode, which places the webcam in a smaller window over the screen recording—great for tutorials or presentations. Plus, you can rotate or flip the webcam layout horizontally or vertically to create the perfect visual balance.
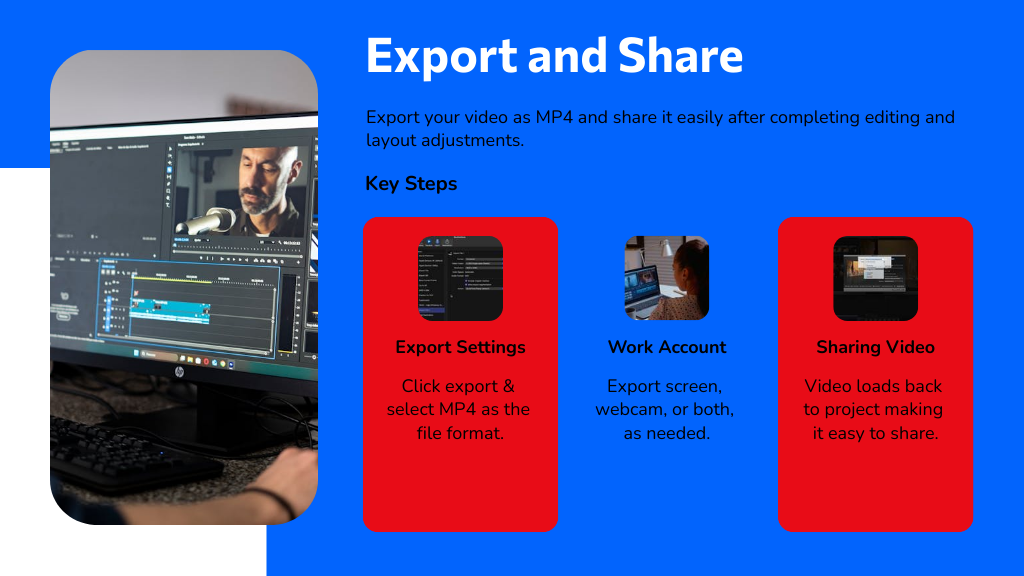
Export and Share Your Final Video
Once your webcam and screen layouts look just right, it’s time to export your final video. To do this, click the export button in the top right corner of your editing interface and select MP4 as your file format. You can choose a specific folder or stick with the default downloads folder for quick access.
If you’re using a work account, you have options to export just the screen, webcam only, or both together, depending on your needs. You can also disable audio recording during export if you don’t want sound in your final video.
After exporting, your video will automatically load back into the editing project, making it easy to share or store. That’s how to record and seamlessly share your completed monitor screen recording.
Conclusion
Congrats, you’ve mastered the ancient art of screen recording—because who needs real human interaction when you can just capture your screen? Just remember to pick the “perfect” software that promises the moon, tweak those endless settings until you’re dizzy, and grant every permission like a digital doormat. After all, nothing says productivity like spending hours editing your own face and awkward desktop. Now go ahead, record away—your future self will definitely thank you... or not!