To film your Mac’s screen, you can use the built-in Screenshot toolbar by pressing Shift + Command + 5, letting you capture the entire screen or just a portion, and even record video with optional audio input. Alternatively, QuickTime Player offers screen recording with adjustable settings and easy saving. Both tools let you start and stop recordings smoothly. For advanced features like editing or simultaneous audio capture, third-party apps help. Keep going to explore tips and tricks for the best results.
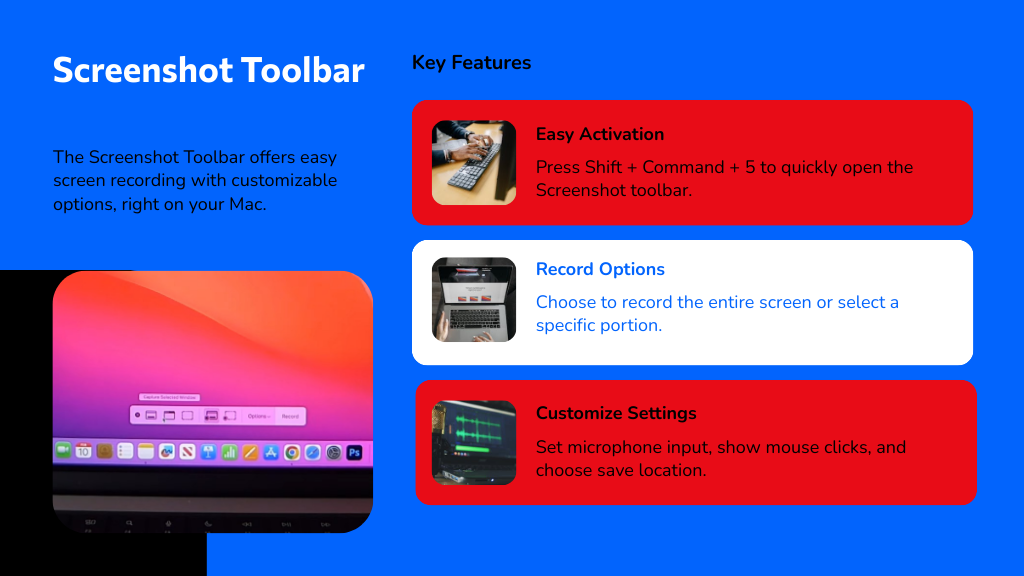
When you want to film your Mac's screen, the Screenshot toolbar makes it simple—just press Shift + Command + 5 to open it. This built-in computer screen recorder Mac tool offers options to capture still images or record video.
Wondering can you screen record on a Mac? Yes, you can choose to record the entire screen or a selected portion by clicking the appropriate icon.
To customize how to record on Mac, click Options to select microphone input, show mouse clicks, and set where your recording saves.
Start recording by hitting the Record button, and stop it with the Stop icon in the menu bar or Command + Control + Escape. Your recording saves automatically on your desktop as a .mov file for easy access.
Recording With Quicktime Player
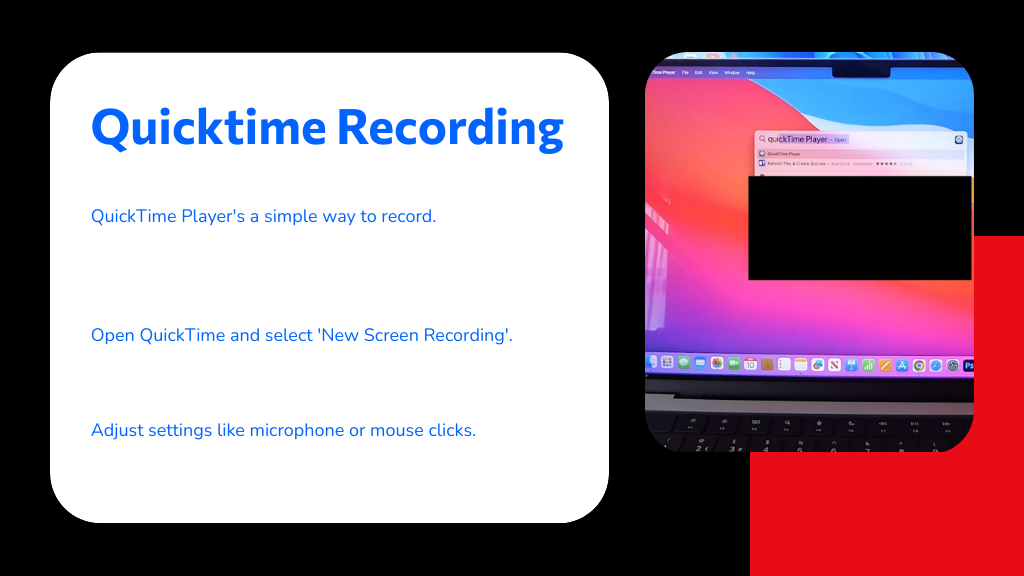
Besides the Screenshot toolbar, QuickTime Player is another straightforward option for recording your Mac’s screen.
To record video of the computer screen Mac, open QuickTime Player, click "File," then select "New Screen Recording" or press Control-Command-N. If you’re wondering, "how can I record my computer screen Mac?" just click the arrow next to the Record button to adjust settings like microphone input or mouse clicks.
When ready, hit Record, then choose to capture the entire screen or a portion. To stop, click the Stop button in the menu bar or press Command-Control-Esc.
QuickTime Player automatically opens your recording for review. Finally, save your file via "File" > "Save." This method simplifies how to film a computer screen Mac with quick, clear results.
Adjusting Audio Settings for Screen Recordings
One key step in capturing great screen recordings on your Mac is adjusting the audio settings properly. When using the Screenshot app, click Options to choose your audio input, whether it’s the built-in microphone or an external source for narration.
In QuickTime Player, click the arrow next to the Record button to select your microphone and adjust audio levels with the volume slider to ascertain clear sound.
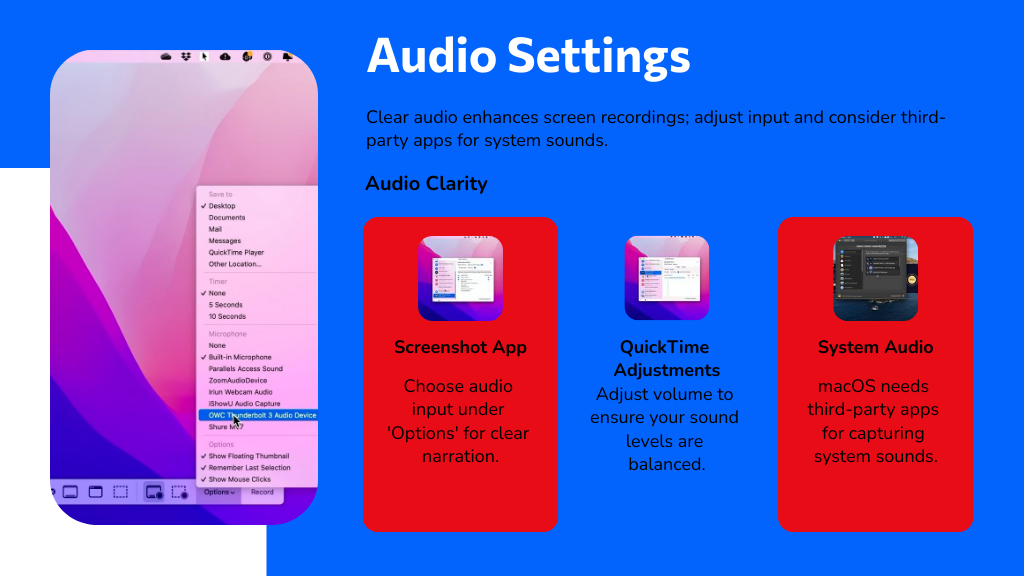
Remember, the built-in macOS recorder doesn’t capture system audio by default, so if you want both system and microphone sounds, consider third-party apps like Aisessoft screen recorder.
Properly selecting and monitoring your audio input guarantees your recordings have clear, high-quality sound that complements your visuals perfectly.
Choosing the Recording Area on Your Mac
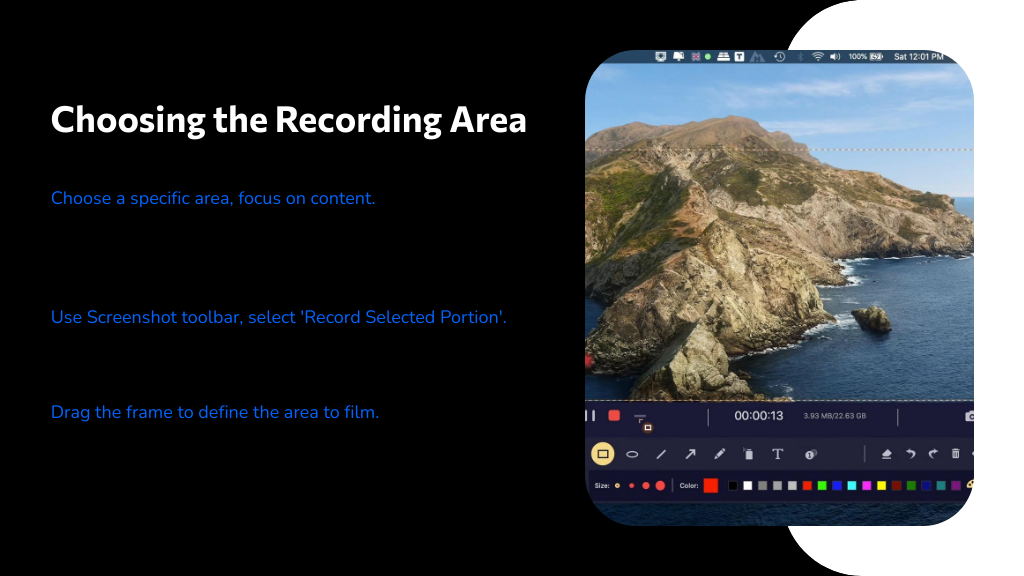
Although you can record your entire screen, choosing a specific recording area lets you focus on just the content you want to capture. Press Shift + Command + 5 to open the Screenshot toolbar, then select “Record Selected Portion.”
Drag the frame to define the exact area you want to film. You can adjust this frame before starting, making sure only essential content is included.
If you prefer QuickTime Player, click the Record button and choose to record either the full screen or a selected portion following the prompt.
Don’t forget to check the “Options” button in the Screenshot toolbar to enable or disable mouse click recording, depending on your focus needs. Once set, click Record to start capturing your chosen area.
Starting and Stopping Screen Recordings Efficiently
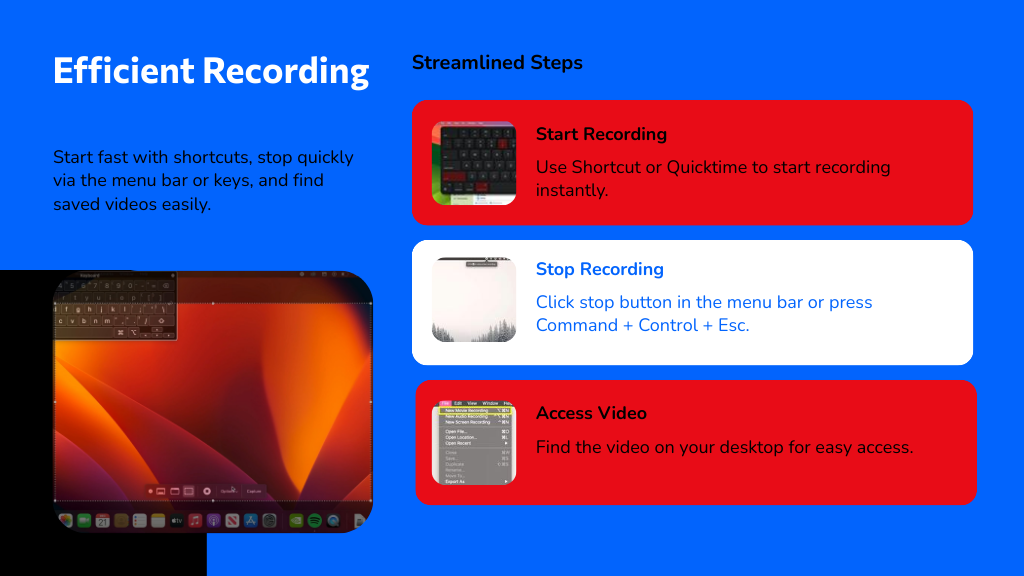
Once you've selected the area you want to record on your Mac, it's time to start capturing your screen efficiently. Use Shift + Command + 5 to open the Screenshot app, then click the Record button to capture the whole screen or a portion. Alternatively, launch QuickTime Player, choose File > New Screen Recording, and hit Record to begin.
To stop recording, click the Stop button in the menu bar or press Command + Control + Esc for a quick exit. Remember to check your System Preferences under Privacy & Security to allow screen recording for your chosen app.
Here’s a quick rundown:
- Press Shift + Command + 5, select your screen area, then click Record.
- Use QuickTime Player’s New Screen Recording option.
- Stop recording via the menu bar or Command + Control + Esc.
- Find your saved video thumbnail on the desktop for easy access.
Editing Screen Recordings on Mac
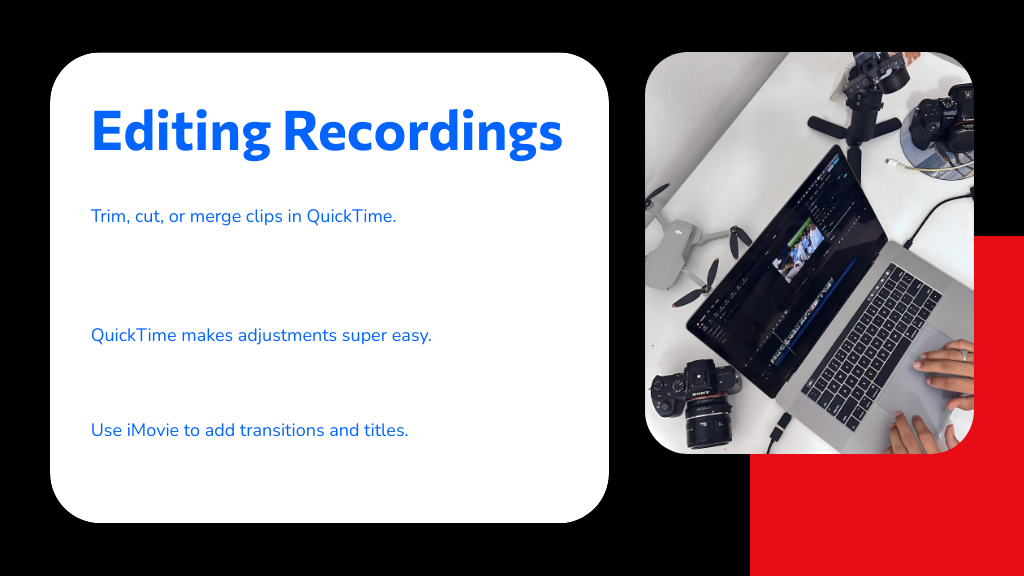
While you can record your screen effortlessly on a Mac, editing those recordings is just as straightforward. Once you stop a recording in QuickTime Player, it opens automatically, letting you trim, cut segments, or merge multiple clips into one seamless file. This makes quick adjustments super easy without needing extra software.
After stopping a QuickTime recording, edit by trimming, cutting, or merging clips instantly—no extra software needed.
If you want to polish your video further, iMovie is a great option, allowing you to add transitions, titles, and audio tracks for a professional touch.
QuickTime saves your edits in the .mov format, compatible with most players and editors. For simple editing, QuickTime suffices, but for anything more complex, you might consider other tools. Still, for basic edits, Mac’s built-in options cover your needs efficiently.
Using Third-Party Software for Enhanced Features
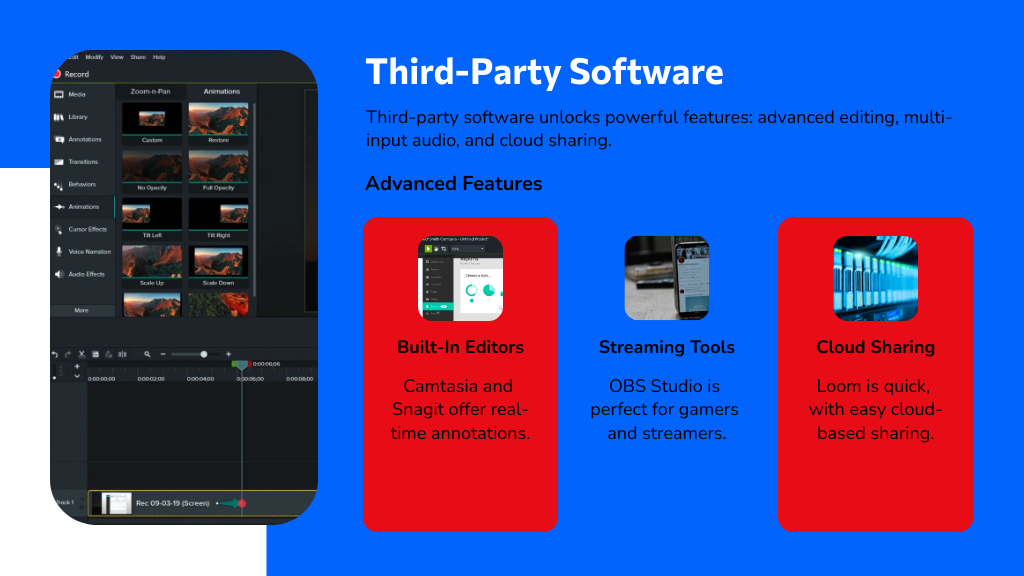
If you're looking to go beyond basic screen recording on your Mac, third-party software can offer powerful features that built-in tools don’t provide. These apps enhance your recordings with advanced options tailored to different needs.
For example, Camtasia and Snagit include built-in editors and real-time annotations, perfect for professional videos. OBS Studio suits gamers and streamers with extensive customization but requires some learning. Loom is great for quick, cloud-based sharing of instructional clips, while Apowersoft lets you record screen and webcam simultaneously without installation.
Consider these features when choosing software:
- Multi-input audio recording for clear commentary
- Real-time annotations to highlight important parts
- Scheduling and customizable export formats
- Cloud sharing and easy collaboration options
Managing and Saving Screen Recordings
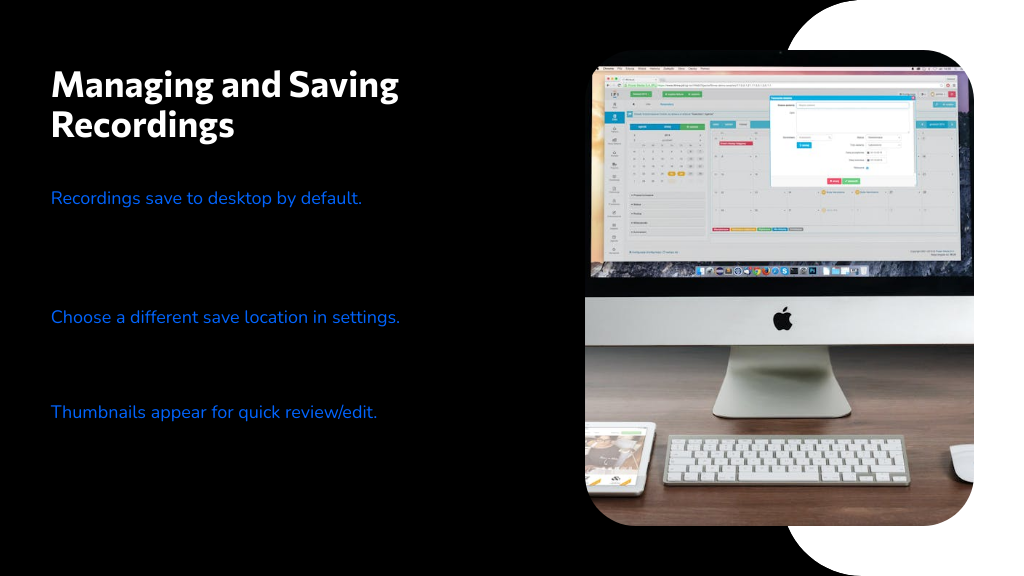
Managing your screen recordings on a Mac is straightforward, as they're saved by default to your desktop with a clear timestamp. This makes it easy to find them right after recording.
If you want to save your files elsewhere, just click the "Options" button in the Screenshot app or QuickTime Player before you start recording to choose a different location.
Once you stop, a thumbnail appears in the corner, letting you quickly review or edit the clip. QuickTime Player also opens the recording automatically, giving you playback, editing, and sharing options.
To keep your Mac running smoothly, regularly organize or delete old recordings since they can take up a lot of space over time. This helps you maintain efficient storage management without hassle.
Tips for High-Quality Screen Capture on Mac
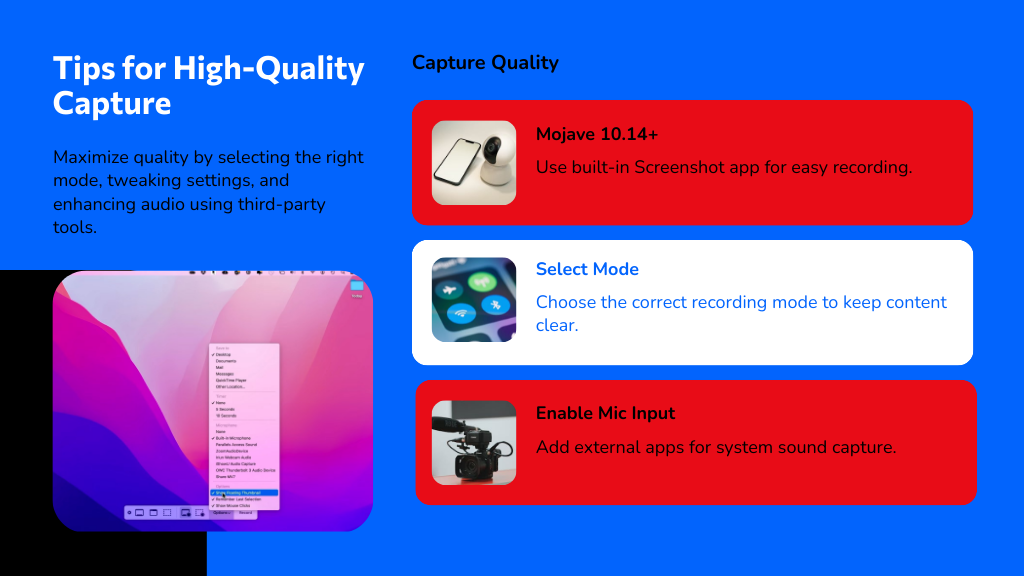
Once you've saved your recordings, focusing on how to capture high-quality video and audio will make your content stand out. Make certain your Mac runs macOS Mojave 10.14 or later, so you can use the built-in Screenshot app (Shift + Command + 5) for easy screen recording. Choose the right recording mode—full screen or selected area—to keep your content clear and focused.
Don’t forget to tweak settings like microphone input and mouse click visibility to boost engagement. Since macOS doesn’t capture system audio by default, consider third-party software for richer sound. Finally, review your footage in QuickTime Player to verify everything looks and sounds great before sharing.
- Use built-in recording shortcuts for convenience
- Select precise screen areas for clarity
- Enable mouse clicks and mic input for interaction
- Enhance audio with external apps for system sound capture
Conclusion
Now that you’ve got the tools to capture your Mac’s screen like a pro, it’s time to let your creativity shine. Think of your screen recordings as a canvas—each click and clip painting a story only you can tell. Whether you’re sharing a tutorial or preserving a moment, these tips will help your videos sparkle. So grab your Mac, hit record, and watch your ideas come to life with every frame you capture.