To fix a leaky faucet handle, start by setting up a clean workspace and gather your tools. Next, turn off the water supply and confirm it's off by checking the faucet. Remove the faucet handle carefully—sometimes it may need a bit of wiggling or penetrating oil. Inspect and replace any worn washers or O-rings. Reassemble the faucet, slowly turn the water back on, and check for leaks. Follow these steps, and you'll have it running smoothly in no time.
Prepare Your Work Area and Gather Necessary Tools
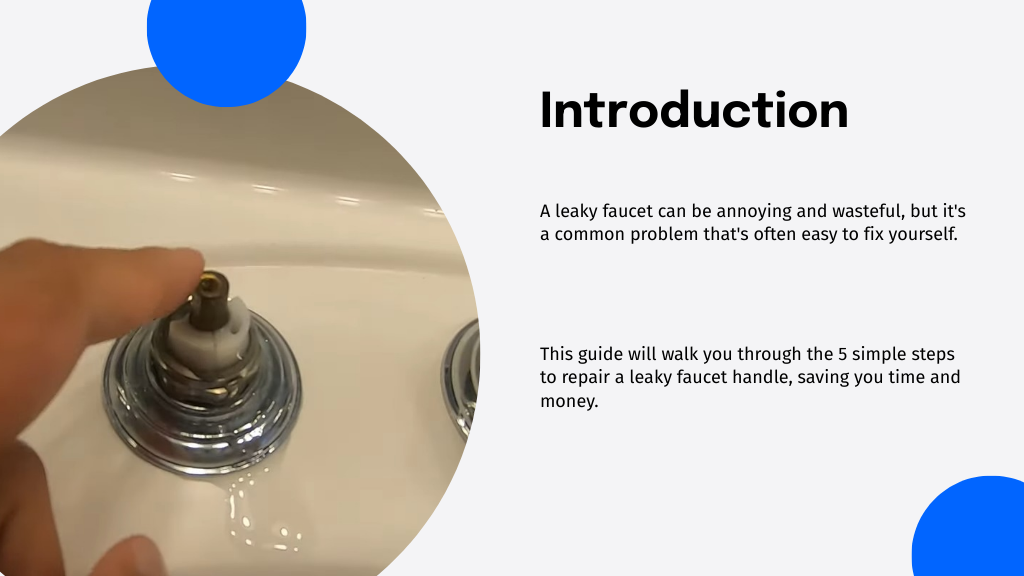
Before tackling your leaky faucet handle, it's important to set up a clean, well-lit workspace. This preparation is fundamental to handle the task efficiently.
First, clear any clutter from the area around your sink to guarantee you've got enough room to work and organize your tools. You'll need a few basics: an adjustable wrench, a screwdriver, and possibly some replacement parts, like O-rings or a new faucet handle if yours is damaged.
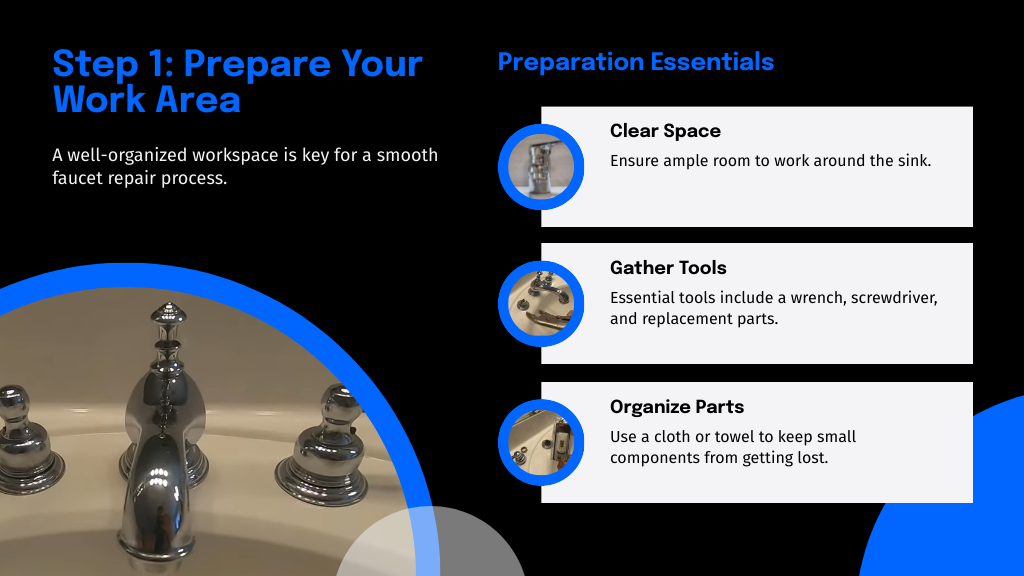
Ensure your work area around the sink is clear and all essential tools like a wrench and screwdriver are ready.
Lay out a small cloth or towel to place small components on so they don't get lost. Good lighting is critical; you don't want to be straining your eyes while figuring out how to fix your faucet. With these steps, you're ready to begin the repair.
Turn Off the Water Supply
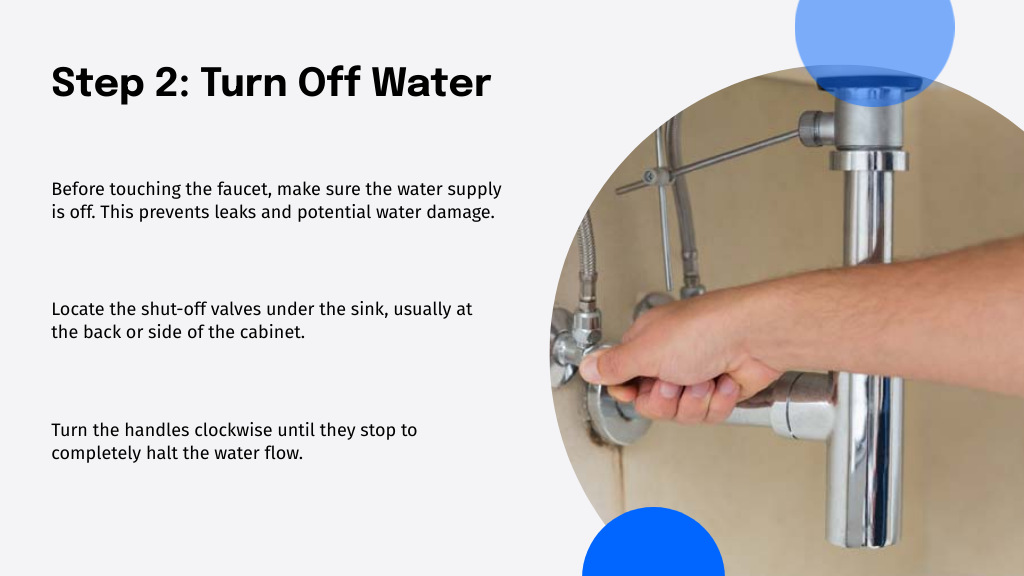
Once you've prepared your workspace and gathered the necessary tools, the next critical step is to turn off the water supply to your faucet. This is vital to prevent any further leakage or water damage while you're fixing a faucet leaking from the handle.
Here's how you can do it:
- Locate the Valves: Find the shut-off valves under the sink. They're typically located at the back or side of the cabinet.
- Turn the Valves: Rotate the handles clockwise until they stop. This should completely halt the water flow.
- Check the Faucet: Open the faucet to verify no water comes out, confirming the supply is off.
- Leave the Faucet Open: Keeping it open prevents pressure buildup as you work.
Dismantle the Faucet Handle
With the water supply securely turned off, you're ready to dismantle the faucet handle. Begin by locating the screw that holds the handle in place. Often, it's hidden under a decorative cap that you'll need to gently pry off. Use a suitable screwdriver to remove the screw, keeping all parts organized as you work.
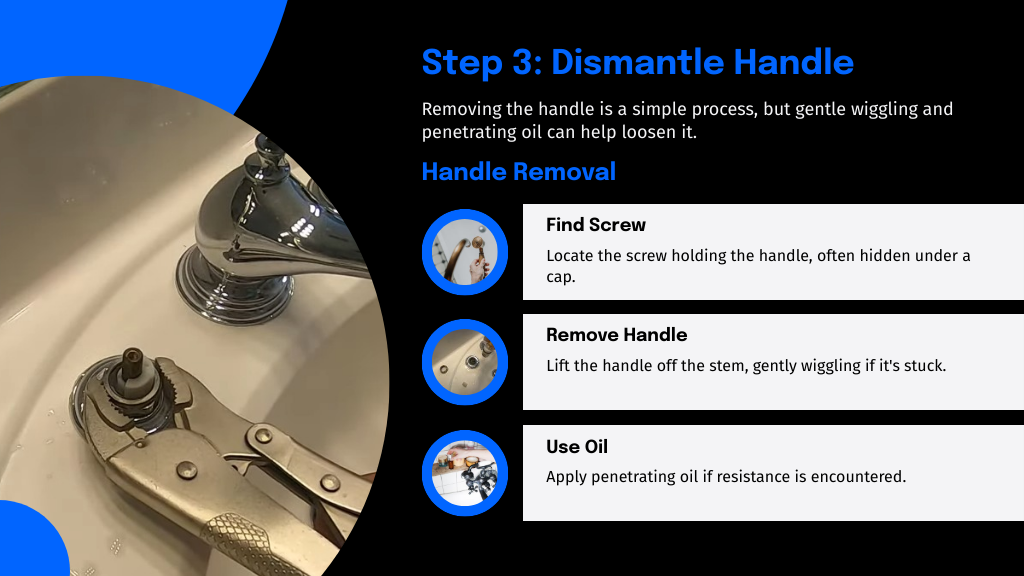
Next, lift the handle off the stem. If it sticks, wiggle it gently back and forth until it loosens. Sometimes, mineral deposits can make this step a bit tricky.
If you encounter resistance, apply a small amount of penetrating oil around the base and give it a few minutes to work its magic. This simple removal process is your first step in addressing that leaky faucet handle.
Replace or Repair the Faulty Parts
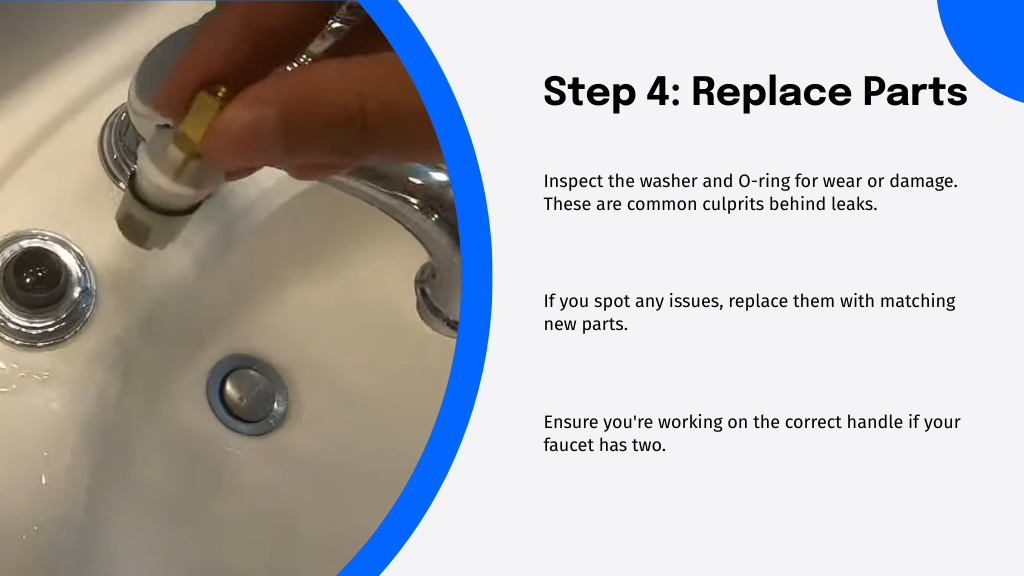
After dismantling the faucet handle, inspect the washer and O-ring for any signs of wear or damage. If you spot any issues, this could be the culprit behind your leaky faucet.
Here's how to fix a leaky faucet with two handles by replacing or repairing the faulty parts:
- Identify the Faulty Handle: Determine which handle is leaking. It's vital to work on the correct one.
- Replace the Washer: If the washer is worn, buy a matching replacement and install it.
- Check the O-Ring: Replace the O-ring if it's cracked or worn out.
- Lubricate Moving Parts: Use plumber's grease to guarantee smooth operation and a good seal.
These steps should solve the leakage problem efficiently.
Reassemble the Faucet and Test for Leaks
Now that you've replaced the necessary parts, it's time to reassemble your faucet. Begin by securing the cartridge or washer you've just installed. Make certain it's seated well; this precision prevents future leaks. Next, reattach the handle. Tighten it, but don't overdo it—you don't want to damage the new components.
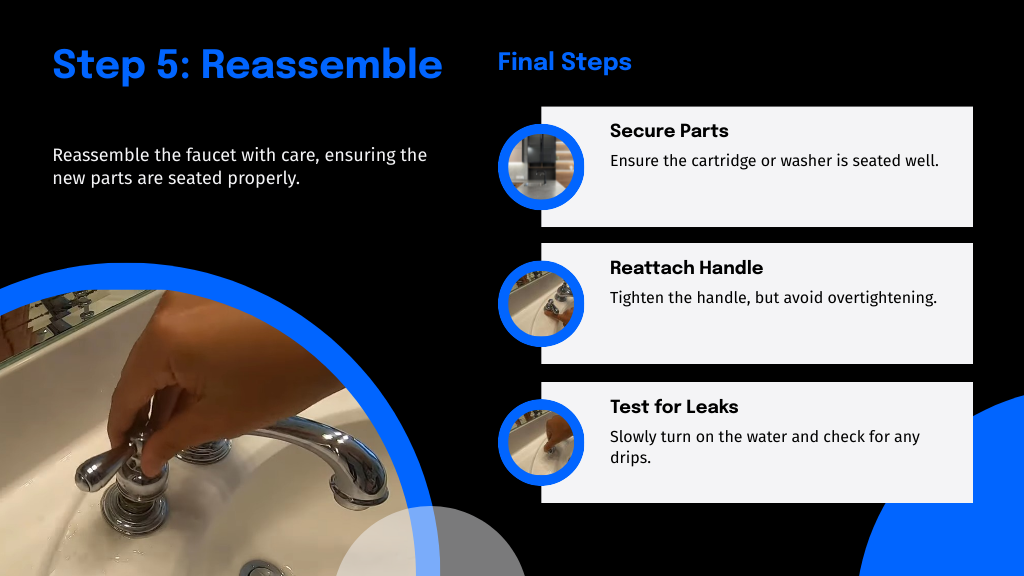
When reattaching the faucet handle, ensure it's tight but be careful not to overtighten and damage the new parts.
Once everything is back in place, slowly turn on the water supply and watch for any signs the tap is leaking from the handle. If you notice drips, it might indicate that something isn't tight enough or seated correctly. Adjust as needed.
Finally, test the handle's movement to verify it's smooth and the leak has stopped. Congrats! You've tackled that pesky leak with your own two hands.
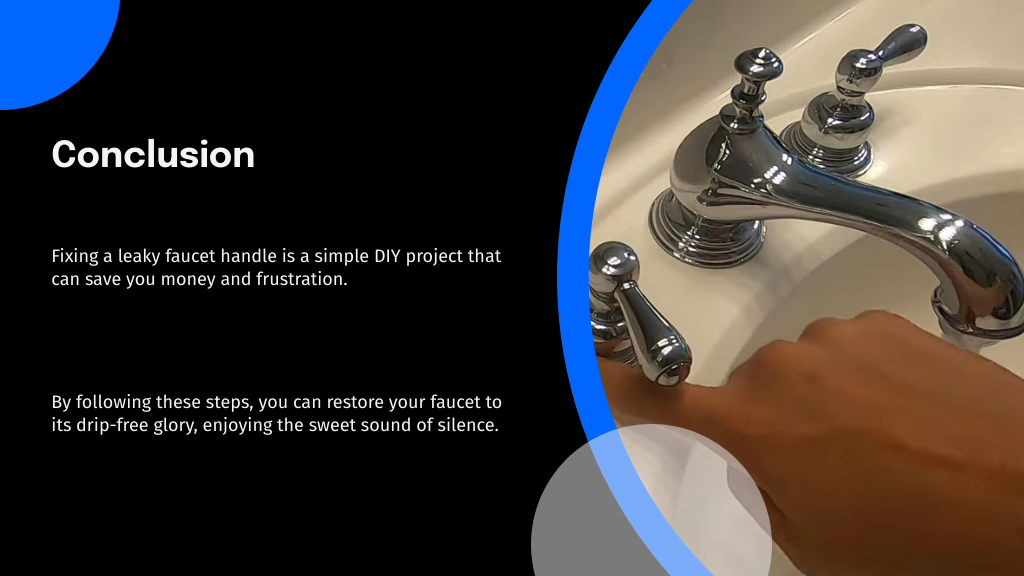
Conclusion
Now that you've tackled your leaky faucet, give yourself a pat on the back! You've not only saved water but also spared yourself a potential headache from those constant dripping sounds. It's said that a dripping faucet can drive anyone nuts, and guess what? You've proven that theory wrong by fixing it yourself. Go ahead, turn that handle with confidence and enjoy the sweet sound of silence. Who knew being handy could feel this rewarding?