Leora J. Goodin
I'm a blogger dedicated to sharing insights on lifestyle and wellness. Through personal stories and practical tips, I aim to inspire and empower my readers to lead healthier, more fulfilling lives.
Black Friday and Cyber Monday 2023 Deals for Motion Designers, grab it now!
Students and teachers save a massive 71% on Creative Cloud All Apps
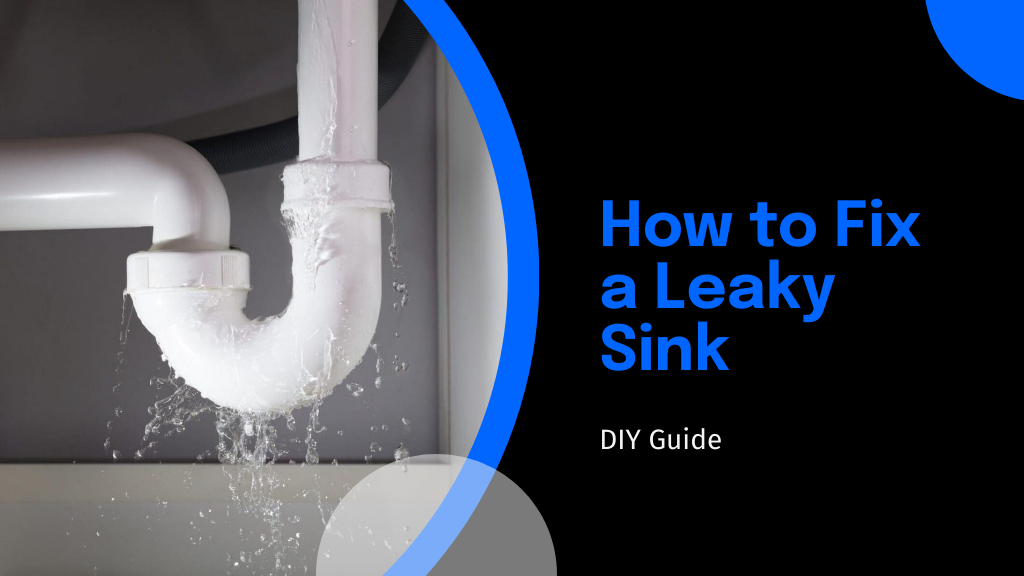
Learn how to fix your leaky sink with this 7-step guide. Discover the essential tools you'll need and stop the leak before it causes serious damage.

To fix your leaky sink, start by identifying the source of the leak and turning off the water supply. Next, remove the sink drain and P-trap and inspect the washers and gaskets, replacing any that are worn or damaged. Reassemble the drain and P-trap, then test for further leaks. Tighten all connections and clean up. By following these steps, you'll not only fix the leak but also learn how to maintain it better in the future.
Why is your sink dripping? You're probably dealing with a faucet leaking, which can be annoying and wasteful.
The first step in how to fix a leaky sink is to identify the source of the leak. This requires a bit of detective work. Start by checking if the leak is coming from the faucet itself or the pipes beneath the sink.
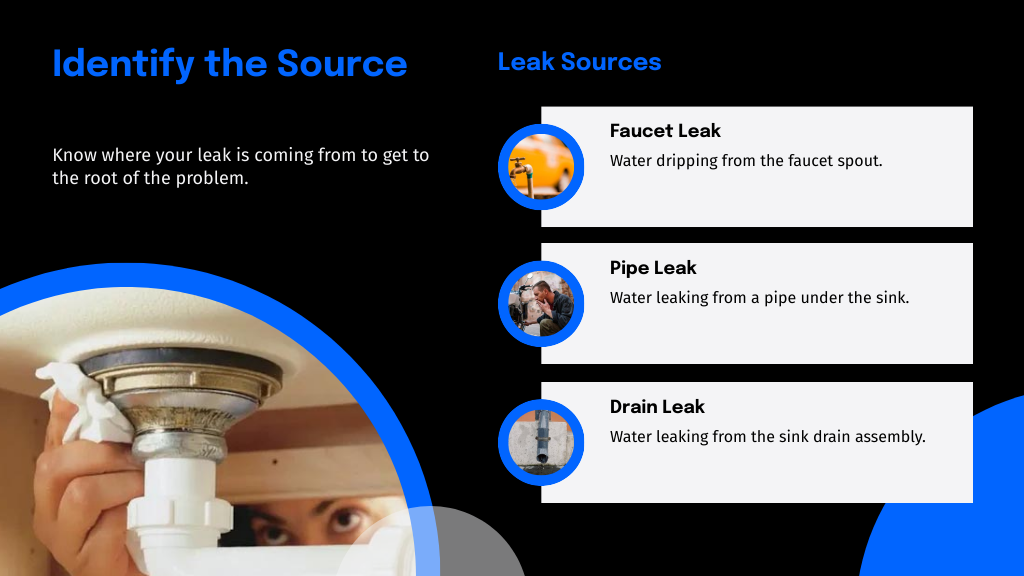
Listen closely and look for drips. Wipe everything dry, and then use a tissue or paper towel around joints and seals to pinpoint any wet spots.
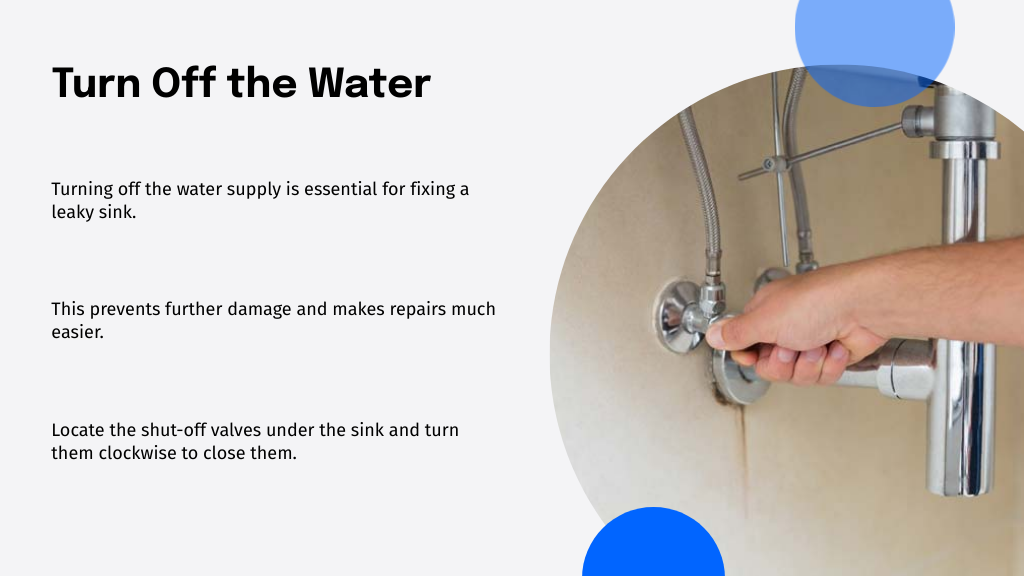
Once you've pinpointed the source of the leak, the next step is to shut off the water supply to prevent any further damage and make your repairs easier.
You'll typically find the shut-off valves under the sink. Turn these clockwise until they're tightly closed. If you can't locate the valves or they don't seem to work, you might need to shut off the main water supply to your house. This is usually found near your water meter.
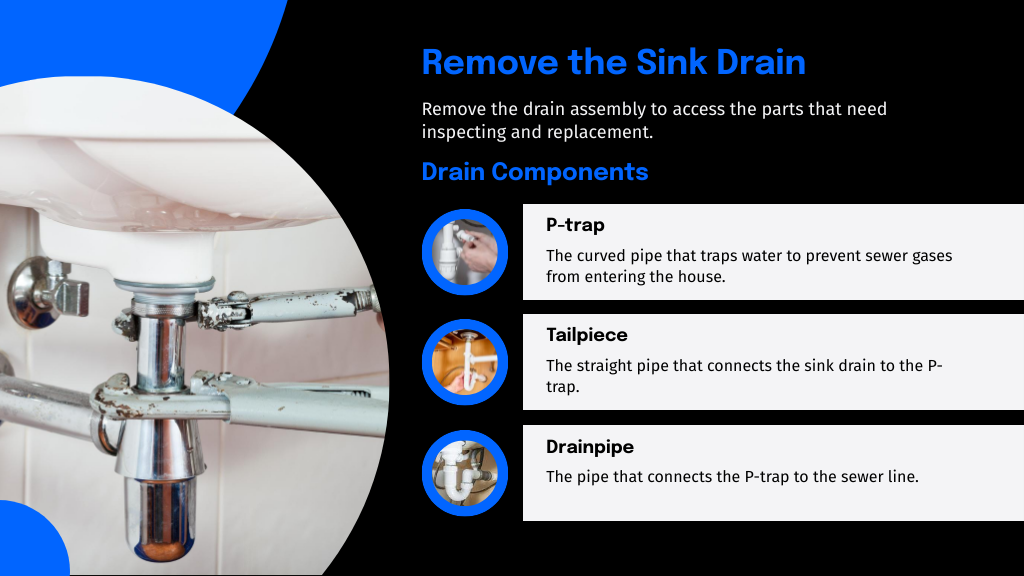
Now that you've turned off the water supply, it's time to remove the sink drain and the P-trap. Start by positioning a bucket underneath to catch any residual water. Using a pair of channel-lock pliers or a wrench, loosen the slip nuts connecting the P-trap to the tailpiece and the waste line.
Carefully remove the P-trap; water may spill out, so it's handy to have rags nearby. Next, unscrew the locknut securing the sink drain. You might need to apply penetrating oil if it's stuck. Once loose, lift the drain out from above. If there's resistance, wiggle it gently to free any sealant. You're now ready to proceed to the next repair steps.
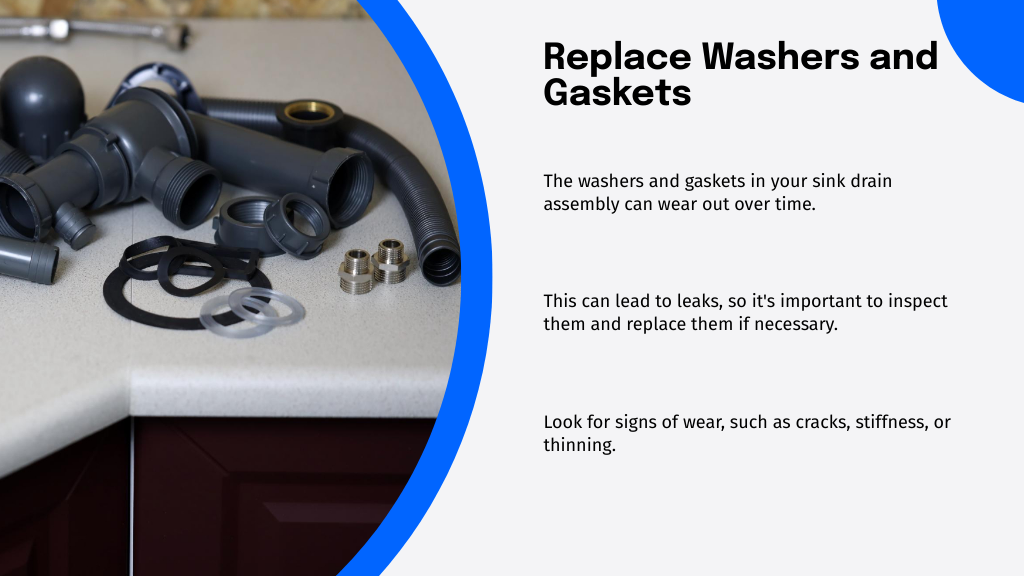
Once you've removed the sink drain and P-trap, it's time to check the washers and gaskets for any signs of wear or damage. You'll need to identify any issues with the washers that could be causing leaks. Then, make sure you choose the correct replacements that perfectly fit your sink's specifications to guarantee a tight seal.
If you've noticed your sink dripping, it's possible that worn-out washers or gaskets are to blame. First, you'll need to check which part is failing. Turn off the water supply and dismantle the faucet handle and stem. You'll typically find the washer attached to the bottom of the stem.
Look for any signs of damage or wear, such as cracks, stiffness, or thinning. These are clear indicators that the washer isn't forming a tight seal anymore. If the washer seems fine, it might still be a good idea to replace it if it's old, as the material can degrade over time, leading to leaks.
After identifying that your washers need replacement, it's important to choose the right gaskets to prevent future leaks.
Start by determining the type of gasket your sink uses—common types include rubber, foam, or silicone. Each material has its benefits, so consider the specifics of your sink's requirements. Rubber gaskets are durable and resist hard water; silicone ones handle high temperatures well; foam versions are great for uneven surfaces.
Always double-check the size and shape against the old gasket. A mismatch can lead to poor sealing. If you're unsure, take the old gasket to a hardware store and compare it directly.
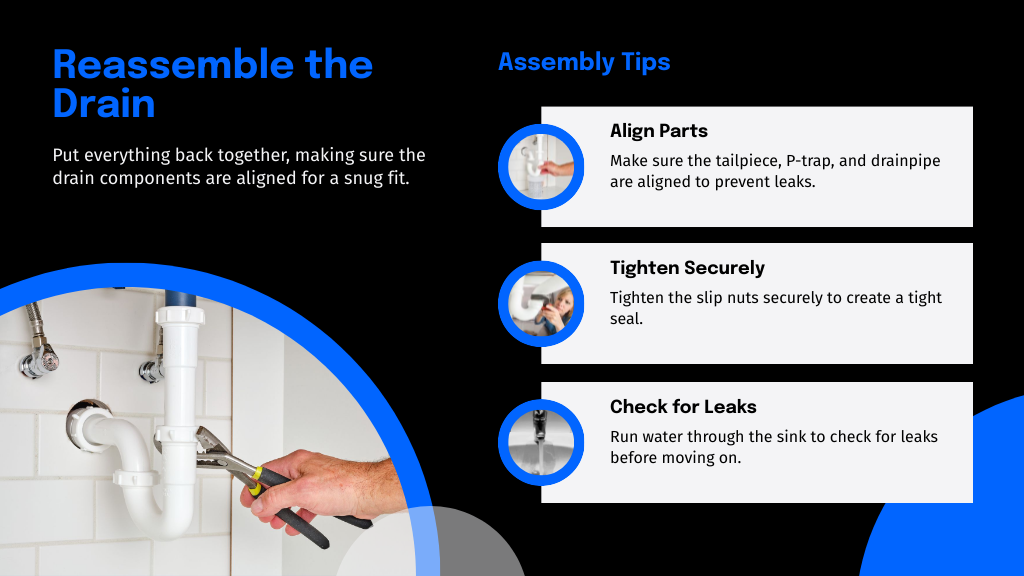
Now that you've replaced the washers and gaskets, it's time to put everything back together. Start by carefully aligning the drain components to guarantee a snug fit; this is essential for preventing future leaks. Next, securely tighten the P-trap connection to maintain a proper seal and function.
Once you've removed the old parts, it's time to focus on aligning and reassembling the drain and P-trap. Start by positioning the tailpiece, which drops down from the sink. Make sure it's centered and straight, as this will prevent future leaks.
Next, you'll need to align the P-trap with the tailpiece and the drainpipe coming out of the wall or floor. This might require some adjustments, twisting and turning until everything lines up perfectly.
With the drain components properly aligned, it's time to secure the P-trap connection to confirm a tight seal and prevent any leaks.
Follow these straightforward steps:
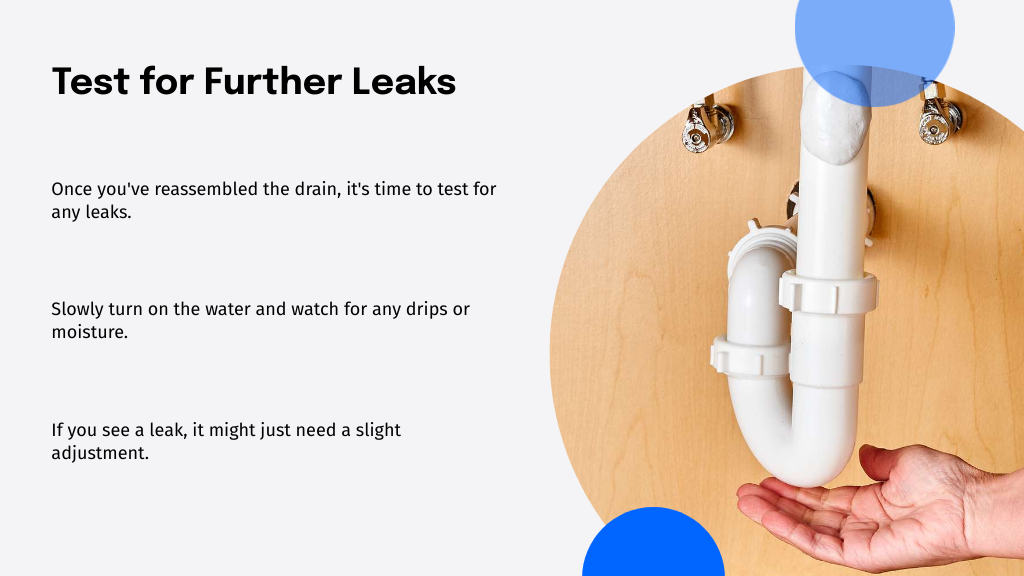
Why not check for any remaining leaks to make sure your repair holds up? After you've reassembled your sink's P-trap, it's crucial to verify everything is watertight. Start by slowly turning on the water to allow a gentle flow through the pipes.
Keep your eyes peeled for any drips or moisture. If you spot a leak, don't panic; it might just need a slight adjustment. Use a flashlight to get a better look at hard-to-see areas.
Feel around with dry hands for any wetness. Sometimes leaks aren't visible and can be detected by a subtle increase in moisture. Give it a few minutes; some leaks show up only after the water has been running for a short while.
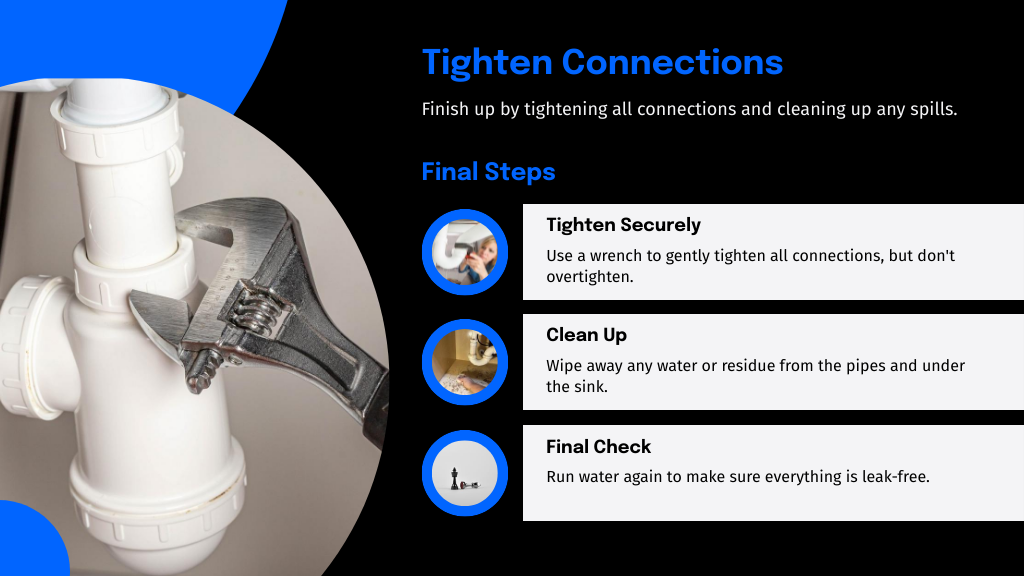
Ensure a snug, secure fit and tidy up quickly with these simple steps.
If you've detected no new leaks, it's time to make sure all connections are tight. Here's how you can guarantee everything is snug and secure, followed by a quick cleanup:
Now, pat yourself on the back; you've fixed that leaky sink!

Now, you've meticulously followed each step, haven't you? With the drain and P-trap back in place, there's just one critical moment left. Slowly turn the water back on and watch closely. Will your efforts hold? As water flows, stay alert. Any drip could mean going back under the sink. But if all remains dry, congratulations! You've conquered that pesky leak. Give yourself a pat on the back, tidy up, and marvel at your handy work. Well done!
Your email address will not be published. Required fields are marked *