

Leora J. Goodin
I'm a blogger dedicated to sharing insights on lifestyle and wellness. Through personal stories and practical tips, I aim to inspire and empower my readers to lead healthier, more fulfilling lives.
Students and teachers save a massive 71% on Creative Cloud All Apps
Black Friday and Cyber Monday 2023 Deals for Motion Designers, grab it now!
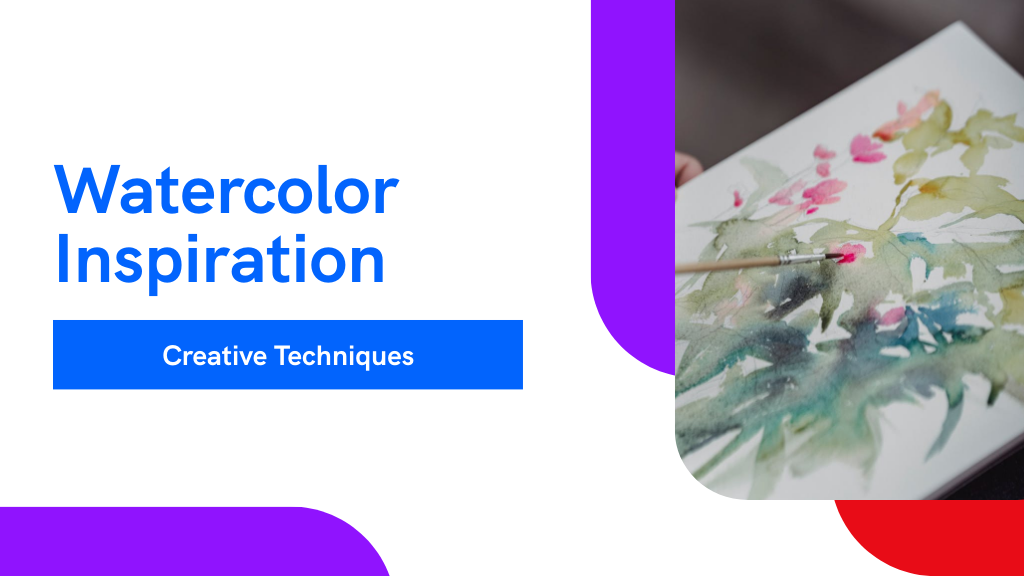
Transform your watercolor techniques and discover the secrets to creating stunning washes that captivate—your artistic journey begins here.
To create stunning watercolor washes, start with high-quality paints and good watercolor paper. Use a large, flat brush for even application, and mix your colors with the right water ratio for smoothness. Experiment with techniques like wet-on-wet blending or graded washes for beautiful gradients. Remember to layer your washes and allow each to dry for depth. Practice mixing colors and experimenting with textures to elevate your artwork. Discover more ways to refine your skills and release your creativity!
When you immerse yourself in the world of watercolor painting, understanding washes is essential, as they form the backbone of your artistic expression. Washes allow you to create vibrant backgrounds, soft gradients, and subtle textures, offering endless watercolor inspiration.
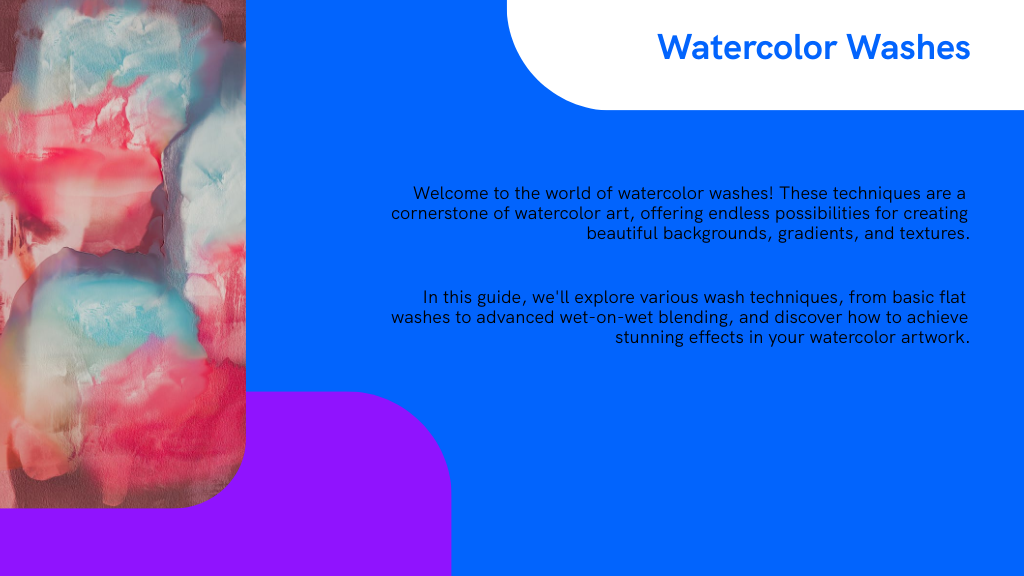
Start by experimenting with diluted paint to see how it interacts with the paper. You'll discover that varying your water-to-paint ratio can result in different effects, giving you unique watercolor inspo for each piece.
Focus on controlling your brush strokes to achieve the desired look, whether it's a smooth blend or a more textured finish. Remember, practice is key! The more you explore washes, the more confident you'll become in your technique, ultimately enhancing your overall watercolor artistry.
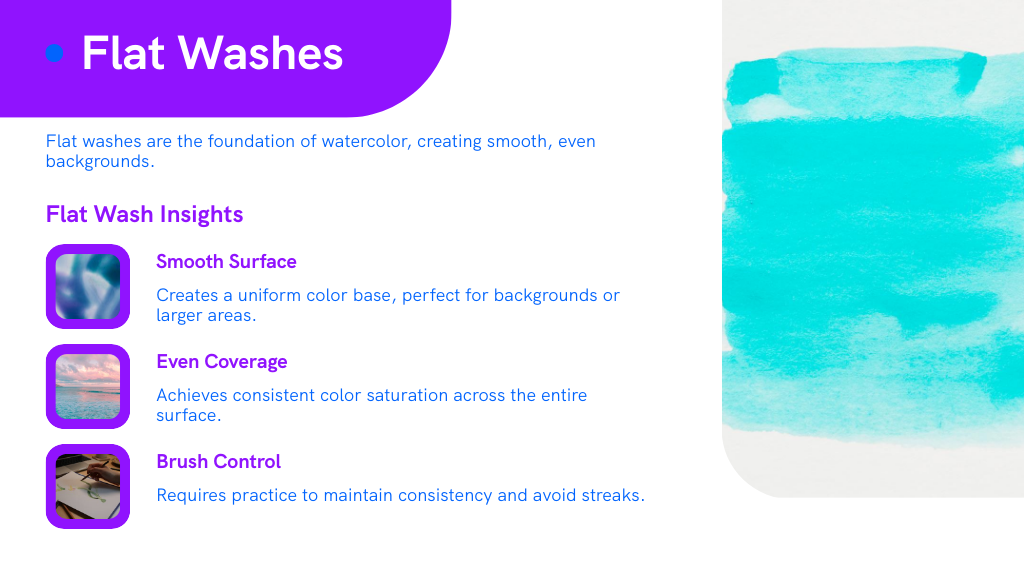
To create a beautiful flat wash, you'll need the right materials and a clear step-by-step approach. This technique allows you to lay down an even layer of color, but it's crucial to avoid common mistakes that can disrupt your flow. Let's explore what you'll need and how to achieve that perfect wash together!
A successful flat wash requires a few essential materials to achieve that smooth, even application of color. First, you'll need high-quality watercolor paints, preferably in tubes or pans, to guarantee vibrant hues. Next, invest in good watercolor paper, ideally 300 lb or 200 lb cold-pressed, which can handle water without warping.
A large, flat brush is vital for spreading the paint evenly; a 1-inch or wider brush works best. Don't forget a clean water container for rinsing your brush and a palette for mixing colors. Finally, have paper towels or a cloth handy for quick clean-ups. With these materials at your side, you're ready to create beautiful flat washes that will enhance your watercolor artwork!
As you commence on mastering the flat wash technique, it's essential to start with a clean brush and a well-prepared workspace. Begin by mixing a generous amount of your chosen watercolor paint with water to achieve the desired consistency—aim for a smooth, flowing mixture.
Next, load your brush evenly with paint, ensuring it's saturated but not dripping. Position your brush at the top of your paper and make a smooth, horizontal stroke across the surface.
Maintain consistent pressure and speed as you move from one side to the other. If needed, quickly reload your brush with paint to avoid uneven color. Practice this technique until you can create a seamless, uniform wash that beautifully enhances your artwork.
Many artists encounter common pitfalls when trying to master the flat wash technique. One major mistake is using too much water, which can lead to unintended streaks. Instead, aim for a balanced mixture—consistency is key.
Also, don't rush the application; working too quickly can result in uneven color. Use a large, flat brush to cover more area smoothly, and always start from one edge, applying paint in a consistent, sweeping motion.
Remember to reload your brush frequently to maintain color saturation. If you notice any inconsistencies, you can layer additional washes once the first one dries. Embrace these tips, and you'll soon create beautiful, uniform flat washes that elevate your watercolor artwork. Happy painting!
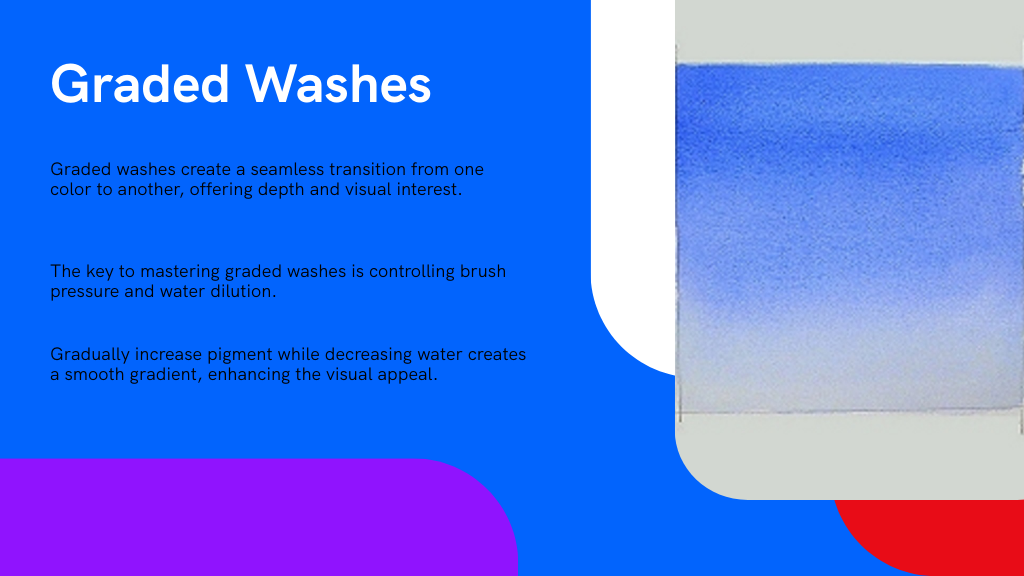
To master the graded wash, you'll need to focus on color shift techniques that create smooth fades from one hue to another. Practice controlling your brush pressure and water dilution to achieve the desired gradient effect. With patience and experimentation, you'll be able to transform your paintings with stunning depth and dimension.
While mastering the graded wash can seem challenging at first, it opens up a world of possibilities in your watercolor painting. To create smooth color blends, start by wetting your paper with clean water. Choose two or more colors that blend well together. Apply your first color at one end, ensuring it's diluted enough for a smooth application.
Gradually add your second color, blending it into the first. Use a clean, damp brush to gently coax the colors together, creating a seamless blend. Don't rush; instead, allow the pigments to mingle naturally. Experiment with different color combinations and ratios to discover unique effects. With practice, you'll create stunning graded washes that enhance your artwork beautifully!
As you immerse yourself in mastering the graded wash, effective brush control becomes essential for achieving those smooth color shifts. Start with a well-loaded brush, ensuring the right balance of water and pigment. Begin at the top of your area, applying more water and less pigment, then gradually increase pigment as you move down.
Use long, sweeping strokes to maintain an even application; this helps prevent harsh lines. Keep your brush at a slight angle to control the flow of paint better.
If you notice a harsh edge, gently blend the colors while they're still wet. Practice makes perfect, so don't hesitate to experiment and adjust your technique. With patience and persistence, you'll create stunning, seamless washes.
Creating variegated washes can transform your watercolor paintings, bringing depth and vibrancy to your compositions.
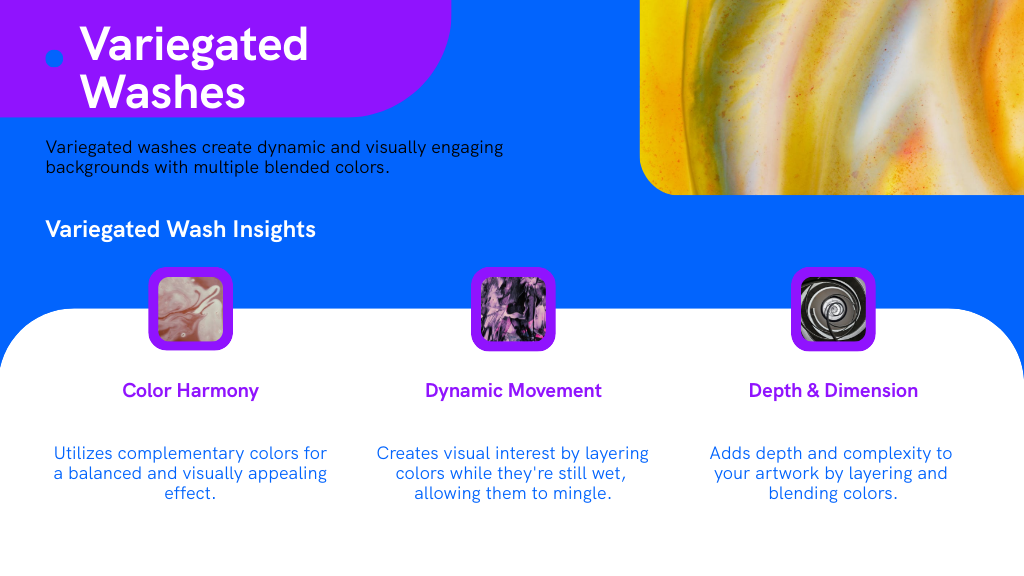
To start, choose two or more colors that complement each other. Wet your brush and load it with one color, then apply it to the paper, allowing the paint to flow. Next, rinse your brush, and load it with the second color. Apply it next to the first wash while the paper is still wet, letting the colors mingle.
You can create additional layers by repeating this process with more colors, ensuring that the previous layers are still damp. Experiment with different color combinations and brush techniques, and don't be afraid to play with the amount of water to achieve the desired effect.
Enjoy the process!
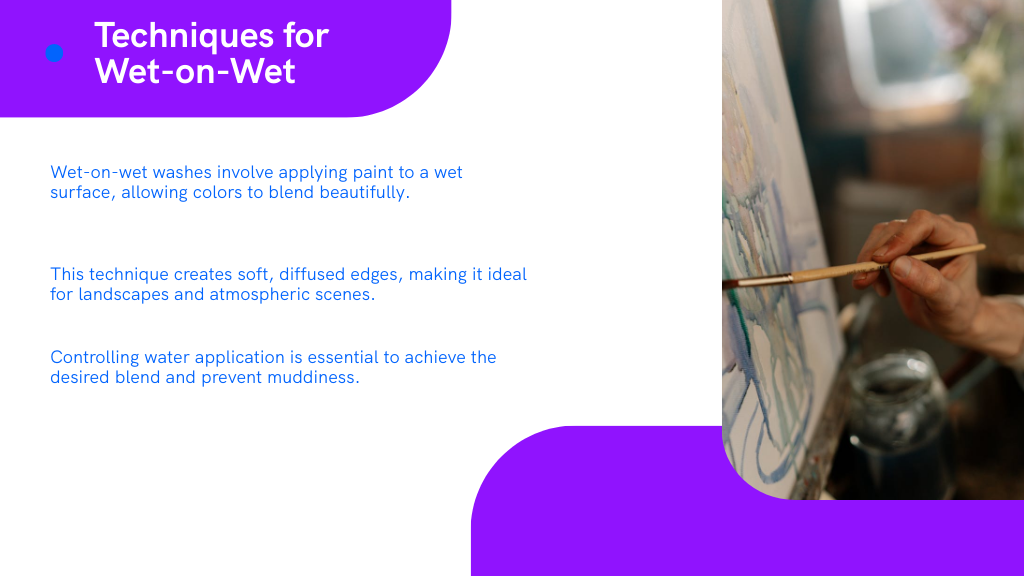
To master wet-on-wet washes, you'll need a few essential materials, like high-quality watercolor paper and a variety of brushes. Learning how to layer colors effectively can create stunning effects, while controlling water application is key to achieving the desired blend. With practice, you'll reveal the beautiful possibilities this technique offers!
While diving into wet-on-wet washes, having the right materials can greatly enhance your painting experience. Start with high-quality watercolor paper, ideally 300 gsm (140 lb), which can hold water without warping. You'll also need a range of watercolors; tube paints often provide richer pigments than pans.
A large, flat brush is essential for laying down washes, while a smaller round brush offers control for detail. Don't forget clean water and a palette for mixing! A spray bottle can help keep your paper moist. Finally, paper towels are handy for blotting excess water or correcting mistakes. With these materials in hand, you're ready to explore the enchanting world of wet-on-wet washes!
Mastering three key layering techniques can elevate your wet-on-wet watercolor washes to new heights. These methods allow you to create depth and dimension in your work.
Experimenting with these techniques will boost your confidence and expand your creative possibilities in watercolor painting!
Achieving beautiful wet-on-wet washes hinges on your ability to control water application. Start by ensuring your paper is evenly wet, creating a smooth, receptive surface. Use a large brush to apply clean water, then observe how the water spreads. Next, load your brush with diluted paint and touch it to the wet paper. The paint will bloom and blend, creating soft edges.
To control the intensity, adjust the amount of water in your brush; less water means a more concentrated color. If you want sharper edges, dry your brush slightly before applying paint.
Practice varying the water-to-paint ratio to discover different effects. Remember, experimentation is key—don't be afraid to explore, as each wash can lead to stunning surprises!
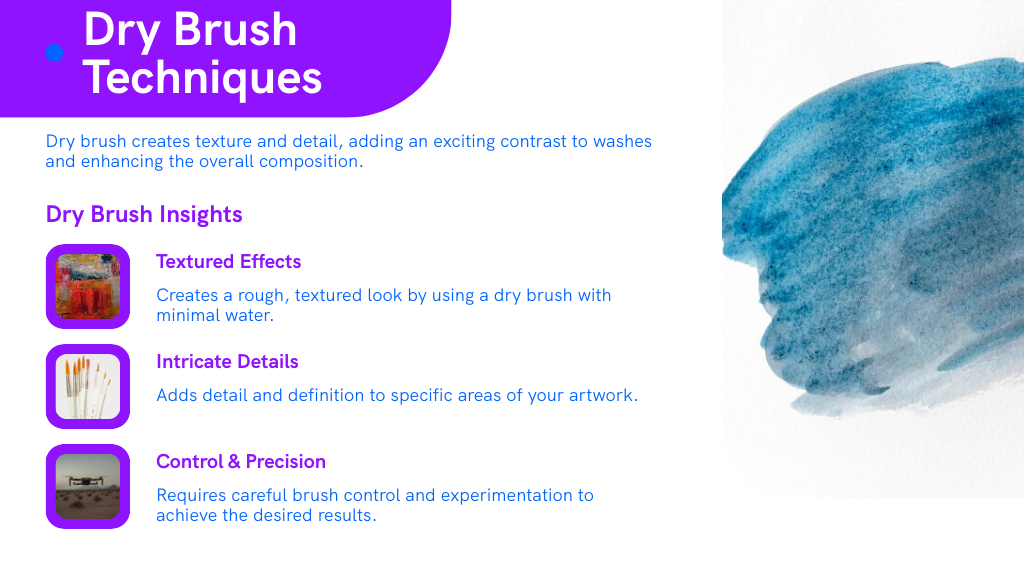
As you immerse yourself in watercolor painting, experimenting with dry brush techniques can reveal new dimensions in your artwork. This method involves using a brush with minimal water, allowing you to create texture and intricate details.
Here are some tips to get you started:
Don't hesitate to explore! You'll find that dry brush techniques can add an exciting contrast to your washes, enhancing the overall composition.
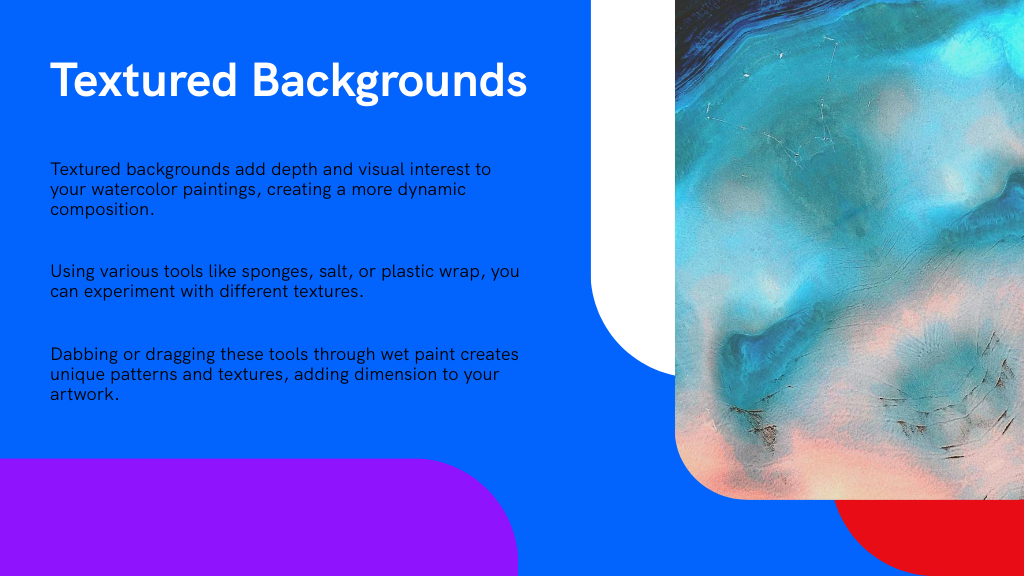
While you explore the world of watercolor, incorporating textured backgrounds can greatly enhance your paintings. To achieve texture, consider using different tools like sponges, salt, or plastic wrap.
Start by applying a wash, then experiment by dabbing or dragging your chosen tool through the wet paint. This creates unique patterns and textures that add depth. You can also try layering different colors; for instance, a dark hue underneath a lighter wash can create a striking contrast.
Don't forget to play with the amount of water; more water yields softer textures, while less produces bolder effects. Embrace the unpredictability of watercolor, and have fun discovering the endless possibilities that textured backgrounds can bring to your artwork!
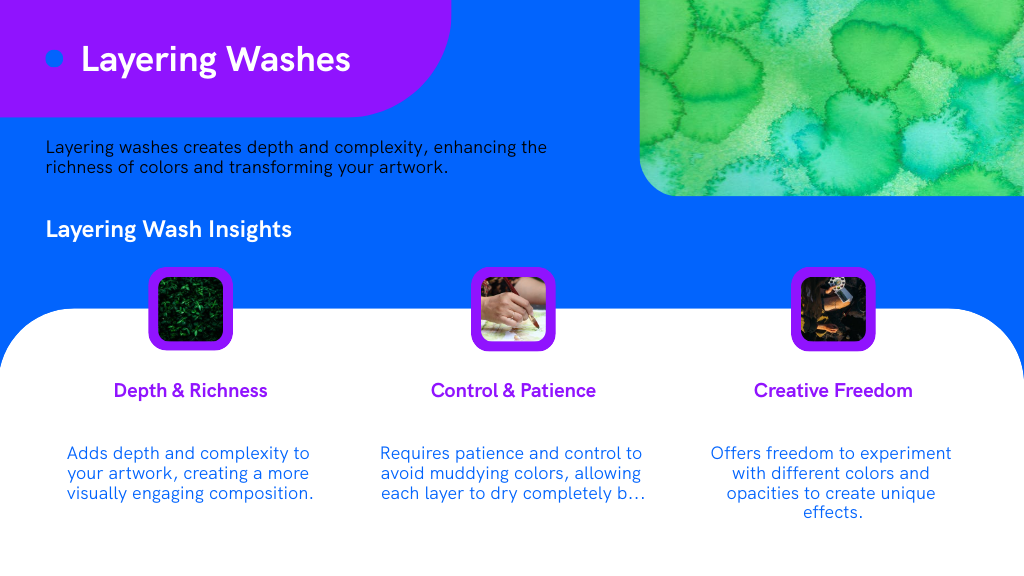
To create a sense of depth in your watercolor paintings, layering washes can be a powerful technique. By applying multiple transparent layers, you can enhance the richness and complexity of your artwork.
Here are some tips to get you started:
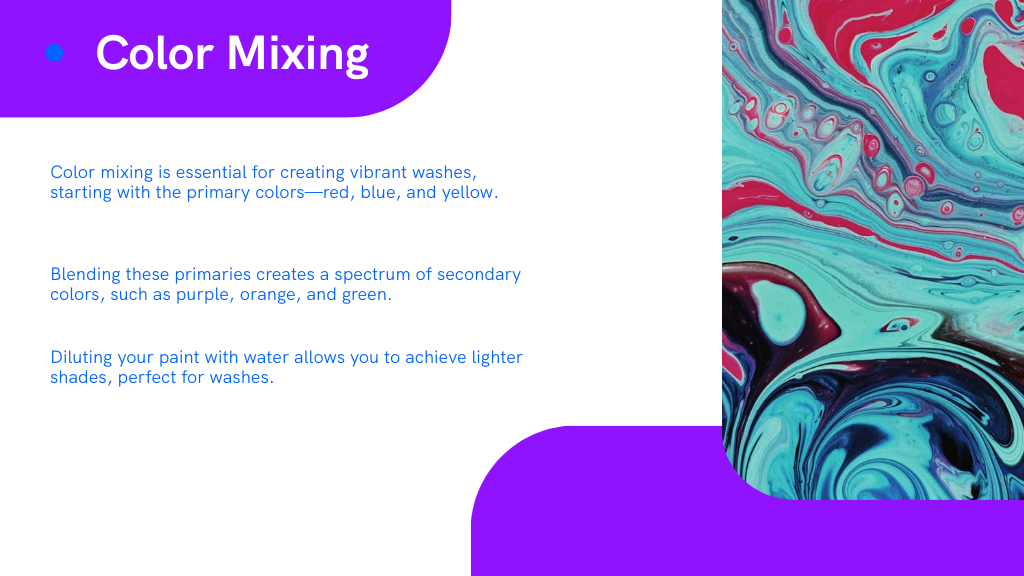
Color mixing is a key skill in watercolor painting that can greatly enhance your washes. Start by experimenting with primary colors—red, blue, and yellow. When you mix these, you'll reveal a spectrum of hues.
Try creating secondary colors by blending two primaries, like red and blue for purple. Remember to use a palette to control the intensity of your mixes. Diluting your paint with water will help you achieve lighter shades, perfect for washes.
It's important to balance water and pigment; too much water can wash out your color. Keep a test sheet handy to see how your mixes look when applied. With practice, you'll gain confidence, allowing your washes to shine with depth and vibrancy.
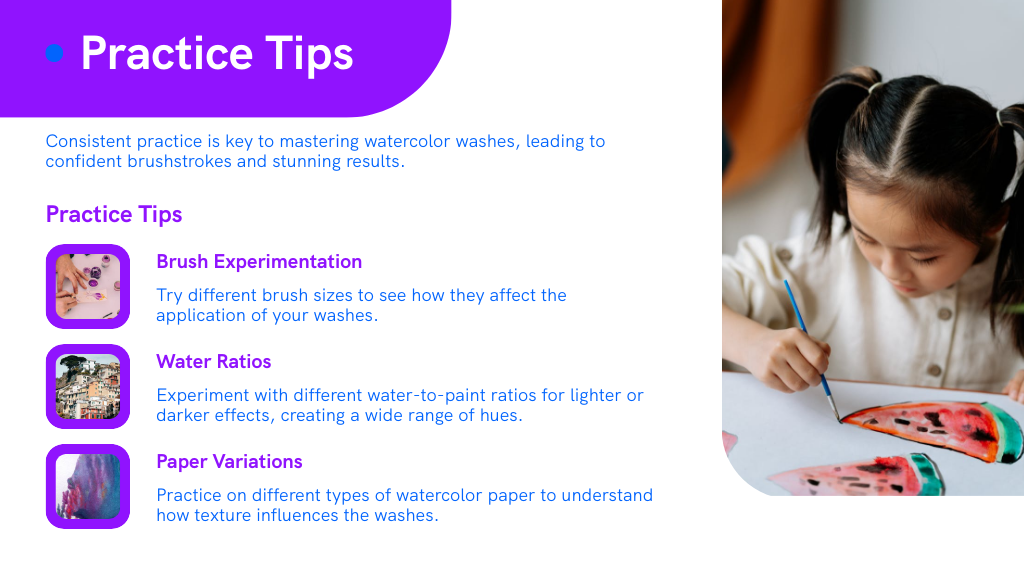
As you immerse yourself in practicing watercolor washes, start by selecting a few simple subjects that inspire you. This could be anything from a sunset to a still life.
Here are some tips to enhance your practice:
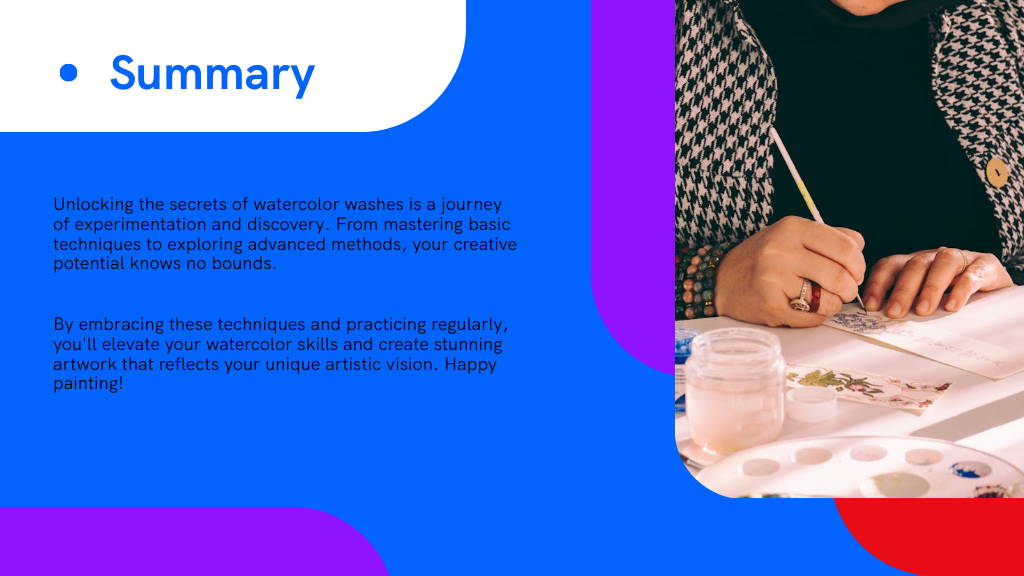
Now that you've revealed the secrets of stunning watercolor washes, imagine your brush gliding like a dancer across the canvas, splashing vibrant hues that blend and swirl like a sunset sky. With every stroke, you're not just painting; you're weaving a tapestry of emotion and beauty. Embrace these techniques and let your creativity flow like a mighty river, transforming ordinary paper into a breathtaking masterpiece. Immerse yourself, experiment, and watch as your artistic dreams come to life!

I'm a blogger dedicated to sharing insights on lifestyle and wellness. Through personal stories and practical tips, I aim to inspire and empower my readers to lead healthier, more fulfilling lives.
Your email address will not be published. Required fields are marked *