
Leora J. Goodin
I'm a blogger dedicated to sharing insights on lifestyle and wellness. Through personal stories and practical tips, I aim to inspire and empower my readers to lead healthier, more fulfilling lives.
Black Friday and Cyber Monday 2023 Deals for Motion Designers, grab it now!
Students and teachers save a massive 71% on Creative Cloud All Apps

Keen to master the art of replacing sheetrock? Discover essential tools and expert techniques that will elevate your skills to the next level.

For replacing sheetrock, you'll need essential tools like a utility knife, drywall saw, cordless drill, joint compound, and various knives for finishing. Prioritize safety; wear gloves, goggles, and a dust mask, and make certain your workspace is well-ventilated. Measure and cut sheetrock accurately, then hang it using screws. Tape joints carefully with quality tape and apply joint compound smoothly. Sand between coats for a seamless appearance. There's much more to learn about achieving a professional finish.
When you tackle sheetrock replacement, having the right tools on hand can make the process smoother and more efficient.
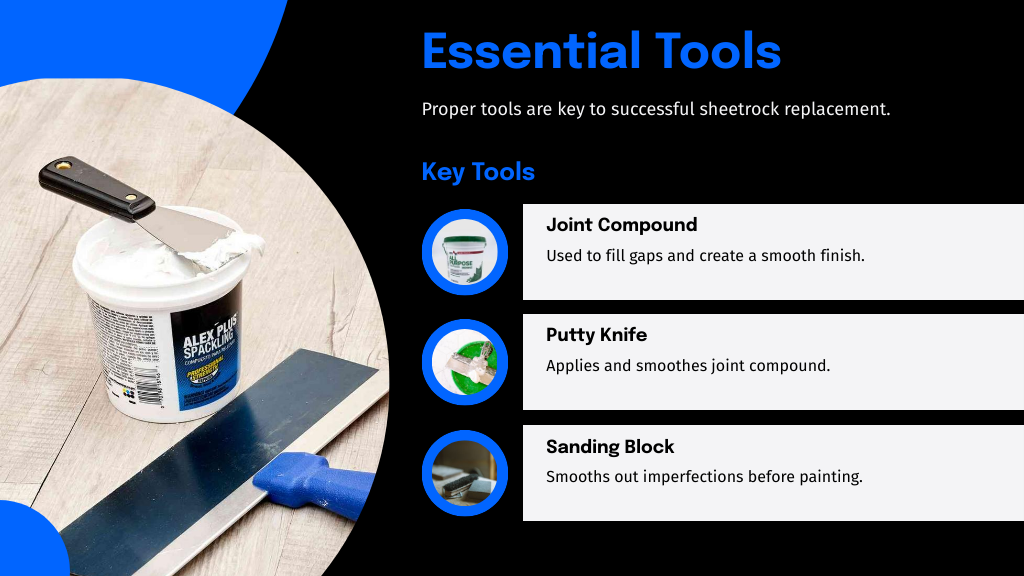
To replace a sheetrock wall effectively, you'll need a few essential items. Start with a utility knife for cutting the drywall to size; make certain to measure accurately. A drywall saw can help with any intricate cuts. For securing the new sheetrock, a cordless drill and drywall screws are critical. Don't forget a T-square for straight cuts and a tape measure for precision.
When replacing sheetrock, a joint compound and a putty knife will help you finish the seams seamlessly. Finally, a sanding block is important for achieving a smooth surface before painting. With these tools, you'll guarantee a successful drywall replacement project.
Before starting your sheetrock replacement project, it's crucial to prioritize safety to prevent accidents and injuries. When changing drywall, always wear protective gear—gloves, goggles, and a dust mask—to guard against dust and sharp edges.
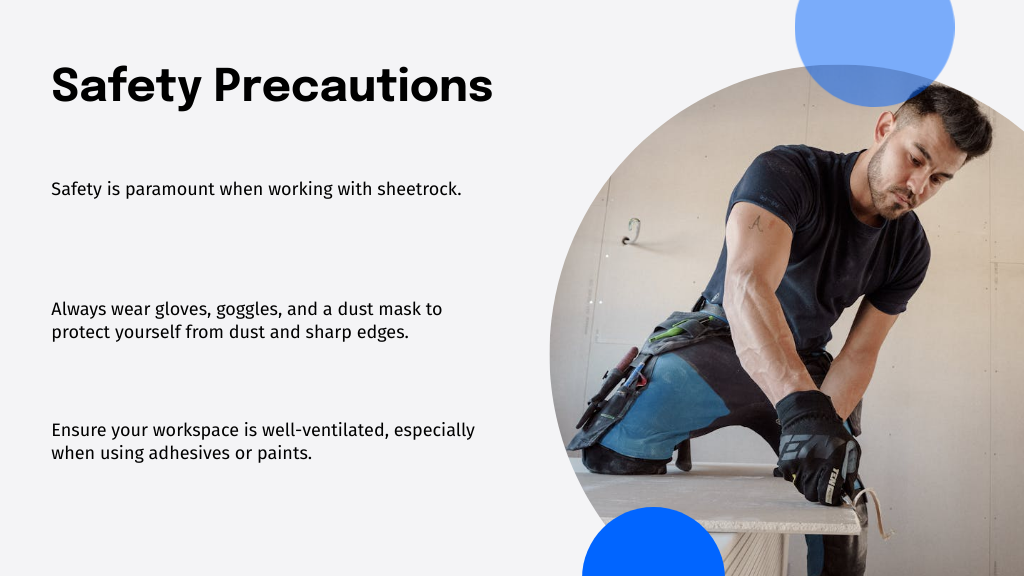
Verify that your workspace is well-ventilated, especially if you're using adhesives or paints. If you're patching a stud that has a cutout, check for any exposed wiring or plumbing before proceeding. When replacing all drywall in the house, be mindful of lifting techniques to avoid back strain; bend at the knees and keep your back straight.
Finally, keep tools organized and away from walkways to prevent tripping hazards. Following these precautions will help guarantee a safe and efficient project.
Accurate measuring and cutting are essential steps in replacing sheetrock, ensuring a proper fit and a smooth finish. Begin by measuring the area where you'll install the sheetrock. Use a tape measure and mark the dimensions on the sheetrock panel. Always double-check your measurements to avoid mistakes. For cutting, score the sheetrock with a utility knife along the marked lines, applying steady pressure.
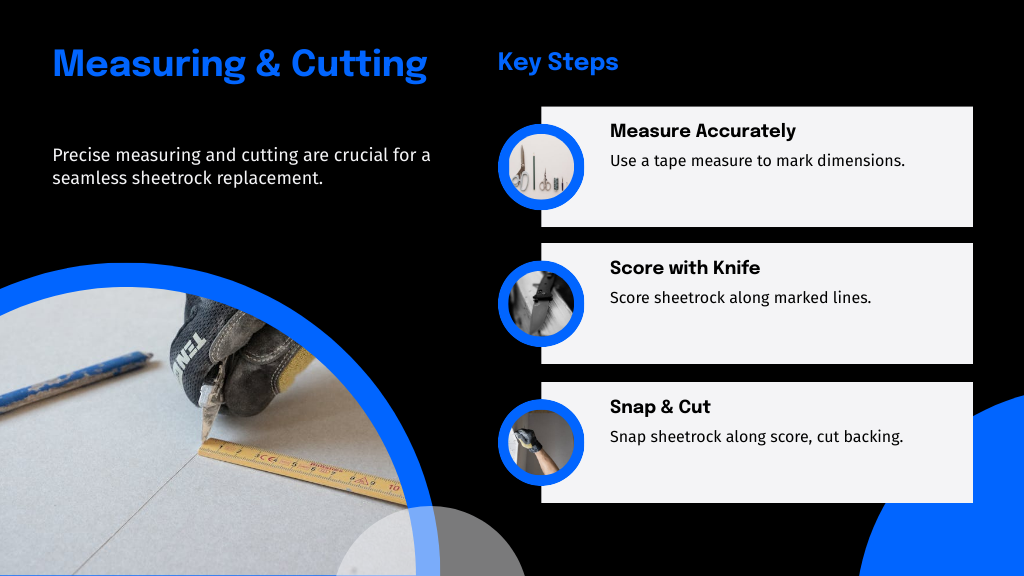
Once scored, snap the sheetrock along the cut and then slice through the paper backing. If you need to cut out electrical outlets or other fixtures, use a drywall saw. Remember to wear safety goggles and a mask to protect yourself from dust. Proper measuring and cutting will set the foundation for a successful installation.
Now that you've measured and cut your sheetrock, it's time to focus on hanging it effectively.
You'll need to apply proper fastening techniques to guarantee a secure fit and then tackle seam taping and finishing for a smooth appearance. Let's explore each step to achieve a professional result.
While measuring and cutting sheetrock may seem straightforward, precision is essential for a seamless fit and a professional appearance. Begin by measuring your wall space accurately, accounting for any outlets or fixtures. Use a tape measure and mark your measurements clearly on the sheetrock.
When cutting, score the front face with a utility knife, applying even pressure. Then, snap the sheet along the score line and cut through the backing paper. Always wear safety goggles and a mask to protect against dust. For intricate cuts, like around outlets, use a jab saw for better control.
Double-check your measurements before cutting to minimize waste and guarantee a perfect fit. Practice makes perfect, so don't hesitate to refine your technique.
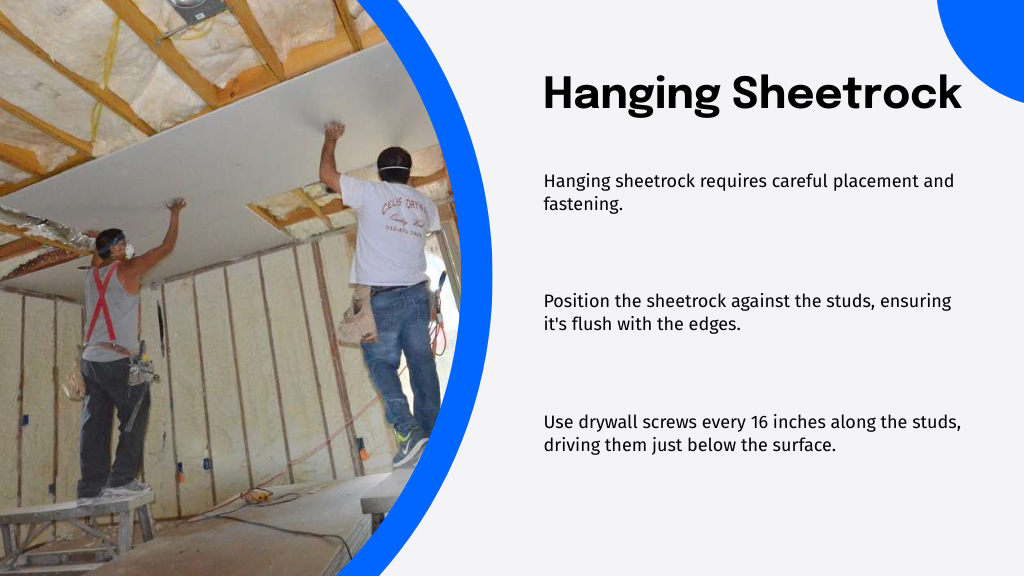
After you've measured and cut your sheetrock, the next step is fastening it securely to the framing. Start by positioning the sheetrock against the studs, making certain it's flush with the edges. Use a drywall screw gun or drill to drive screws every 16 inches along the studs, placing them about ½ inch from the edges. Avoid overdriving the screws; they should sit just below the surface without breaking the paper.
For ceilings, use screws every 12 inches to prevent sagging. If you're using adhesive, apply a continuous bead along the studs before fastening the sheetrock. Always check for level and plumb as you work, making adjustments if necessary to guarantee a smooth, even surface for the next steps.
Once you've secured your sheetrock, the next critical step involves seam taping and finishing to create a seamless appearance. Start by applying a thin layer of joint compound over the seams. Press the tape into the compound, ensuring no bubbles form underneath.
Follow these tips for the best results:
Once you've completed these steps, your walls will be ready for priming and painting, achieving a professional look.
When you're ready to achieve a seamless finish on your sheetrock, taping the joints is an essential step that requires attention to detail. Start by using a high-quality tape, either paper or fiberglass mesh, to cover the seams between the sheets. Apply the tape directly over the joint, ensuring it's centered and pressed firmly into the joint compound. For corners, use a corner bead to provide stability and a clean edge.
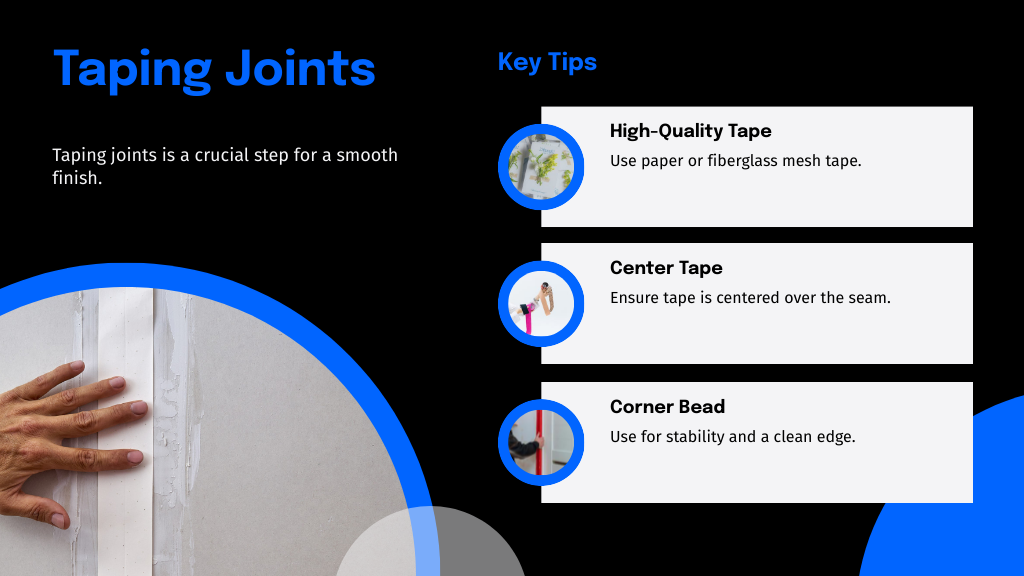
Trim the tape as needed, and avoid wrinkles or bubbles, as these will affect your final look. Work in small sections to maintain control and precision. Properly taped joints create a solid foundation for the mudding process, ensuring a smooth, professional finish.
To achieve seamless walls, you'll need to apply joint compound, commonly known as "mud," to the taped joints and any imperfections on the surface. Start with a wide knife, applying a thin layer over the joints. Allow it to dry completely before sanding.

You'll want to:
Repeat the mudding and sanding process as necessary until the walls are perfectly smooth, ensuring you achieve a professional-quality finish.
Once you've finished mudding and sanding, it's time to focus on the final touches. You'll need to guarantee that surfaces are smooth by sanding them adequately, then apply joint compound where necessary for a flawless finish. Finally, selecting the right paint is essential for achieving the desired look and durability of your newly installed sheetrock.
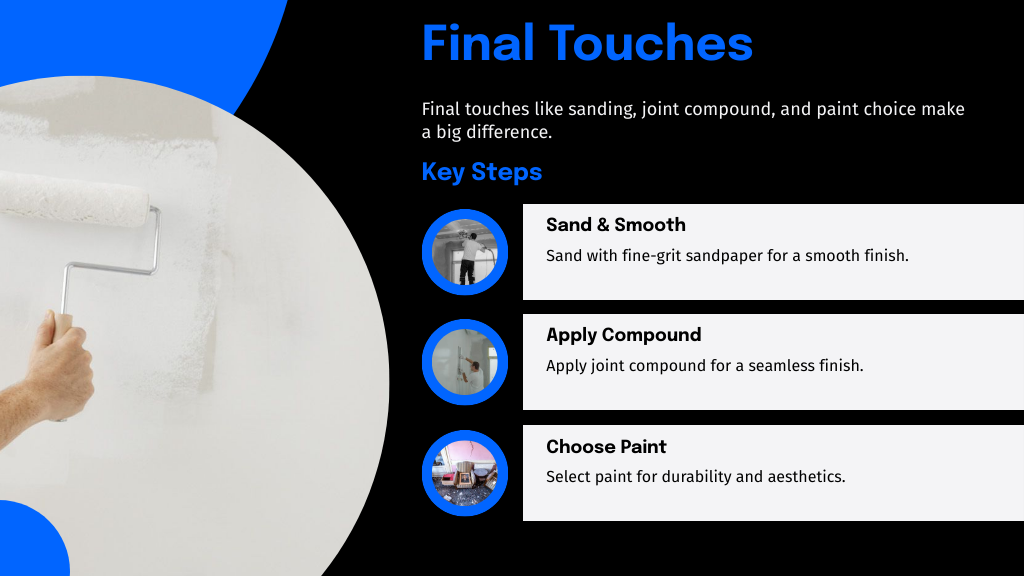
Achieving a smooth, professional finish after replacing sheetrock requires careful sanding and surface preparation. Start by gathering your tools and materials to guarantee an efficient process.
Follow these essential steps:
After sanding the surfaces to perfection, you're ready to apply joint compound, which is essential for creating a seamless finish on your newly installed sheetrock. Start by mixing the compound to a smooth consistency, ensuring no lumps remain. Using a 6-inch knife, apply a thin layer over seams and fasteners, feathering the edges for a smooth changeover.
For larger areas, a wider knife, like a 12-inch one, can help spread the compound evenly. Allow the first coat to dry completely, then sand lightly to remove any imperfections. Repeat this process for a second and, if necessary, a third coat, ensuring each layer is thinner than the last. Finally, sand the final coat until it's perfectly smooth, prepping the surface for paint.
How do you choose the right paint for your newly finished sheetrock? Selecting the appropriate paint is vital for durability and aesthetics. Here are key factors to take into account:
Replacing sheetrock is like crafting a fine piece of furniture; it requires precision, patience, and the right tools. Just as a carpenter measures twice to cut once, you'll want to take care in every step—from cutting to finishing. When you invest the time and effort into this project, you'll see the transformation unfold, creating a space that not only looks polished but feels inviting. So grab your tools, follow the techniques outlined, and watch your walls come to life.

I'm a blogger dedicated to sharing insights on lifestyle and wellness. Through personal stories and practical tips, I aim to inspire and empower my readers to lead healthier, more fulfilling lives.
Your email address will not be published. Required fields are marked *