

Leora J. Goodin
I'm a blogger dedicated to sharing insights on lifestyle and wellness. Through personal stories and practical tips, I aim to inspire and empower my readers to lead healthier, more fulfilling lives.
Students and teachers save a massive 71% on Creative Cloud All Apps
Black Friday and Cyber Monday 2023 Deals for Motion Designers, grab it now!
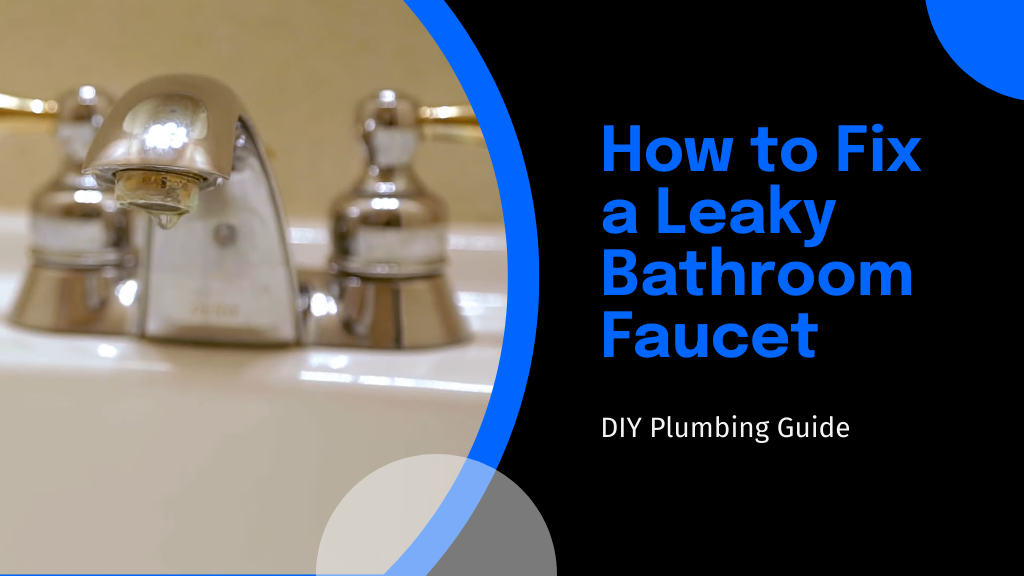
Harness the simplicity of fixing a leaky bathroom faucet with these 7 easy steps; discover how effortlessly you can resolve common plumbing issues.
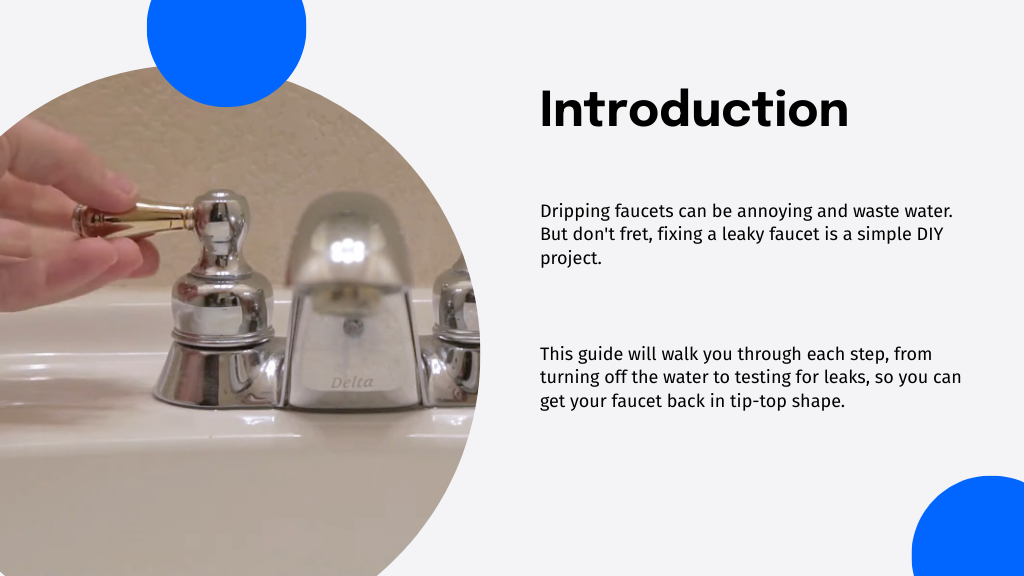
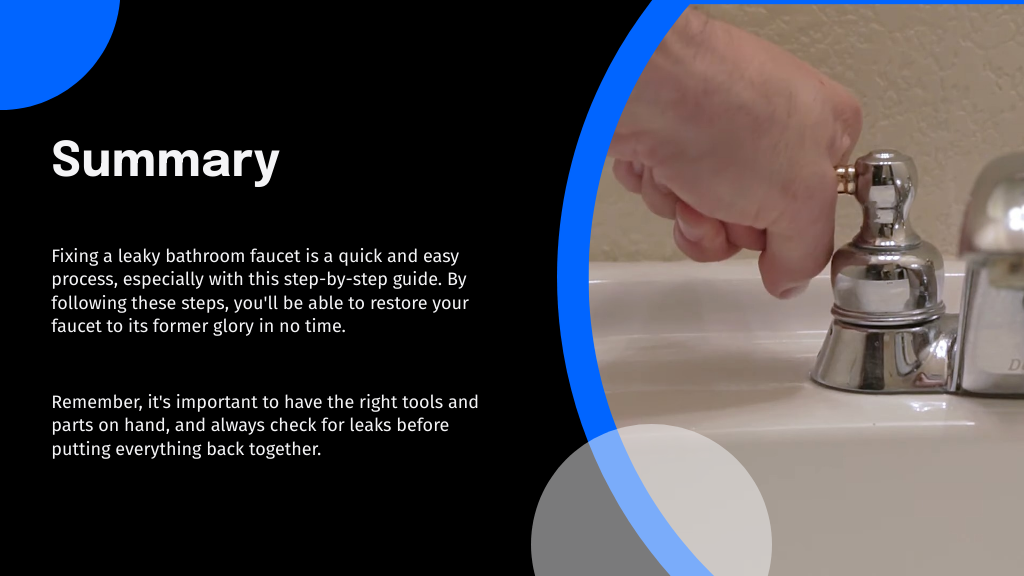
To fix your leaky bathroom faucet, first turn off the water supply. Then, remove the faucet handle by loosening the screw beneath the decorative cap. Inspect the O-ring and washer for damage and replace if necessary. Reassemble the faucet, making sure everything fits snugly. Finally, test for leaks by turning the water back on, and make any needed adjustments. With these easy steps, you'll have it working perfectly, and you'll discover how simple faucet repair can be.
Before you tackle that leaky faucet, you'll need to turn off the water supply. This is the first vital step in how to fix a leaky bathroom faucet.

Locate the valves under the sink; these are typically where the water lines connect to the faucet. You'll find knobs or handles that you should turn clockwise until they stop. This action halts the water flow, ensuring no more water feeds into your bathroom faucet, thereby preventing any potential mess while you work.
Turning off the water is essential when you're learning how to repair a leaky bathroom faucet. It's not just about avoiding a bigger spill; it's about creating a safe environment to efficiently handle the bathroom faucet leaking without the complication of flowing water.
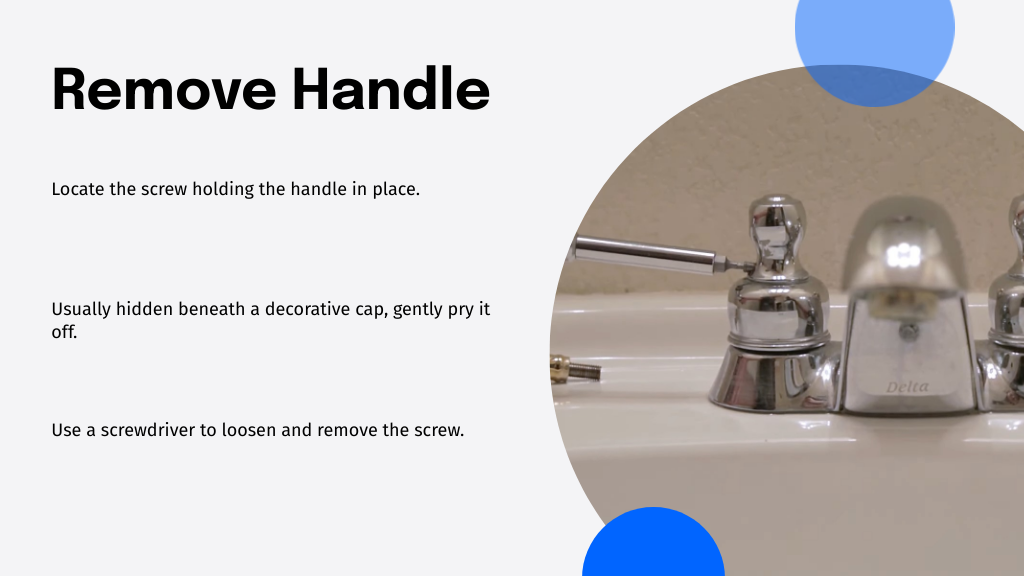
With the water supply now off, you're ready to remove the faucet handle. This is a vital step in your journey to fix a dripping bathroom faucet.
Start by locating the screw that holds the handle in place. Often, it's hidden under a decorative cap that you can gently pry off with a flathead screwdriver.
Once exposed, use a Phillips head screwdriver or an Allen wrench, depending on the screw type, to loosen and remove it. After removing the screw, you can lift the handle off the faucet's stem. If it's stuck, wiggle it gently back and forth until it loosens. This process is essential for how to repair a leaking faucet in the bathroom and sets the stage for further repairs.
Why is your faucet still leaking even after you've taken off the handle? It's likely due to the O-ring or the washer inside the valve seat. These are essential components that prevent water from leaking around the faucet's spout.
To check them, you'll need to look closely at the O-ring, which is a rubber loop that sits around the base of the faucet stem. Check for any signs of cracking, brittleness, or obvious wear.
Next, examine the washer, which should be firmly seated against the valve seat within the faucet body. If it's loose, worn, or damaged, that could be your culprit. Identifying any degradation here is key to understanding the source of the leak.
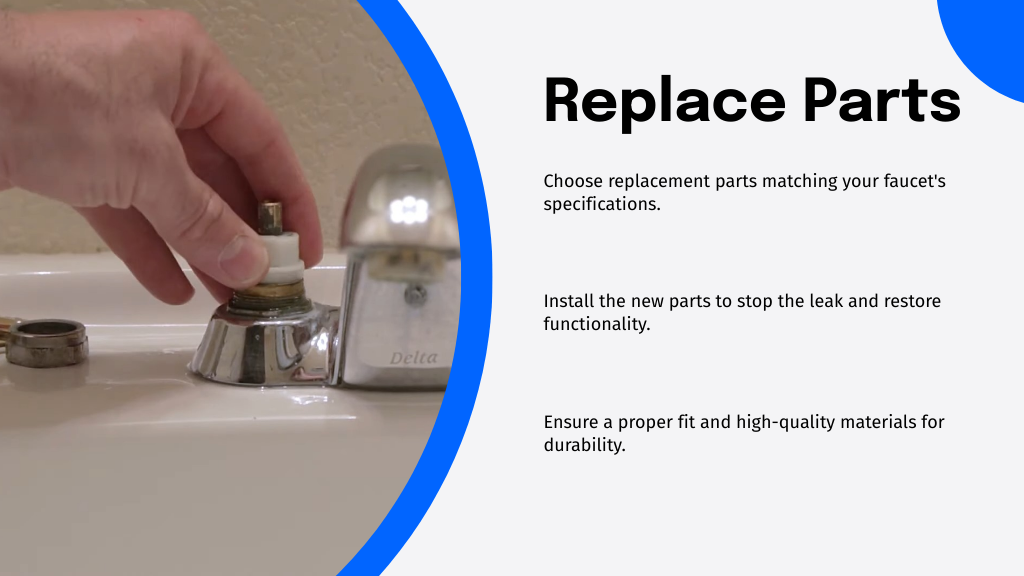
Once you've pinpointed which parts are causing the leak, it's time to select the right replacements. Make certain you choose parts that match the specifications of your faucet to guarantee a seamless fit. Finally, you'll install these new components to stop that persistent drip and restore your faucet's functionality.
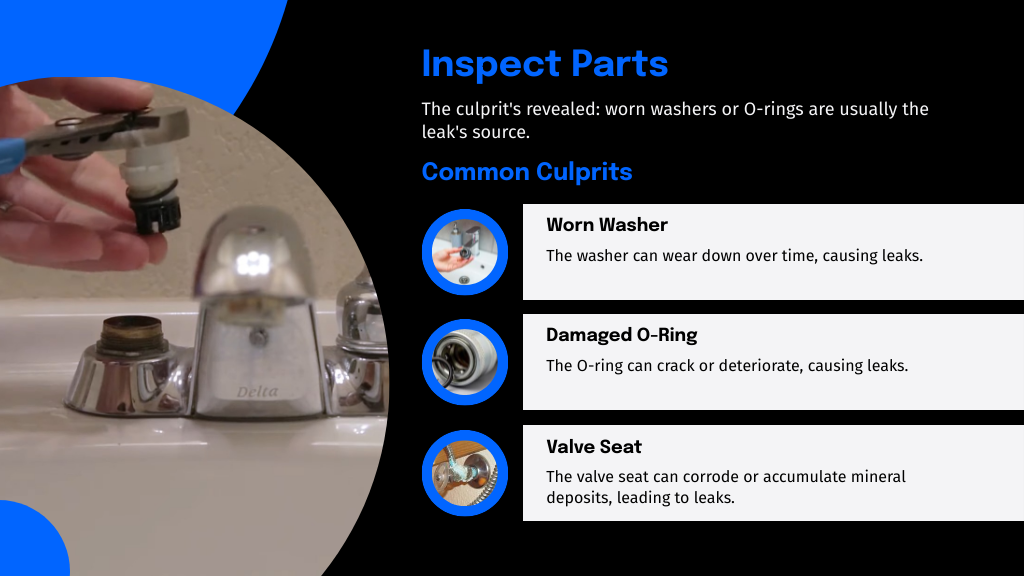
Identifying which parts of your bathroom faucet are faulty is essential to a successful repair. Start by checking common culprits like the washer, O-ring, or valve seat. If you've got a dripping faucet, the problem often lies with a worn-out washer. It's usually located under the handle and can deteriorate over time due to constant friction.
Similarly, a damaged O-ring, which seals the joint between parts, can cause leaks at the handle. Finally, consider the valve seat, which can corrode or accumulate minerals, leading to leaks around the spout area.
You'll need to carefully examine each component, looking for signs of wear or damage that could be causing your faucet to leak.
After determining which components of your faucet are faulty, you'll need to select the appropriate replacements. First, refer to the manufacturer's model number on your faucet to guarantee compatibility. If you can't find it, take the faulty part to a hardware store and match it visually.
It's essential to choose parts that precisely fit to avoid future leaks. Opt for high-quality materials—brass and stainless steel are durable choices. Though they may cost more upfront, they last longer and provide better value over time.
Additionally, consider kits that include all necessary seals and washers. These extensive sets can save you the hassle of buying individual parts and confirm you've got everything for a seamless repair.
Now that you've selected the right replacement parts for your leaky bathroom faucet, let's get started on installing them.
Follow these steps to guarantee a smooth installation:
Now that you've replaced the damaged components, it's time to put your faucet back together. Start by installing a new washer and O-ring to guarantee a tight seal. Then, reconnect all the faucet parts carefully and test for leaks to make certain your repair holds.
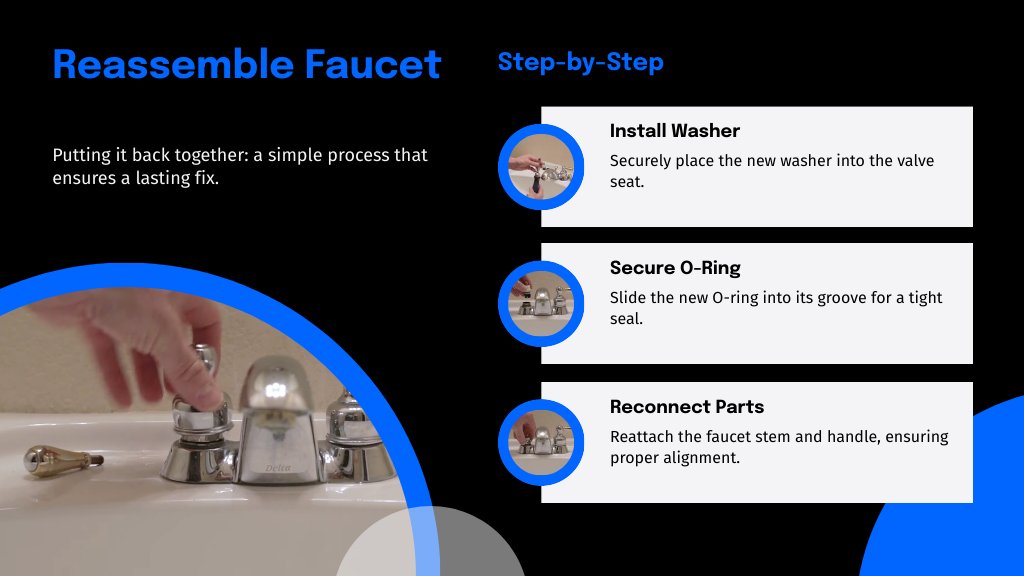
Once you've removed the old washer and O-ring, you're ready to install the new ones. This step is essential for ensuring your faucet functions smoothly and remains leak-free.
Here's what you need to do:
Now, you're all set for the next step!
With the new washer and O-ring securely in place, it's time to start reassembling your faucet. First, you'll need to reattach the faucet stem. Insert it carefully back into the faucet body, making sure it aligns properly with the internal threads.
Now, using your wrench, tighten the packing nut that holds the stem in place. Don't over-tighten; just verify it's snug enough to prevent any wobble.
Next, reposition the handle over the stem. Secure it by screwing it back onto the stem or by replacing any retaining pin that was part of your faucet's design. Finally, snap the decorative cap back on the handle, if there was one. You're almost done with the reassembly!
After you've reassembled your faucet, it's crucial to check for any leaks before considering the job complete.
Here's how you can efficiently test for any remaining leaks:
If you spot any leaks, you may need to tighten connections or replace certain seals.
Before tightening any fixtures, it's important to test for leaks to guarantee your repair holds up under daily use. Turn on the water and carefully observe the faucet from all angles. You're looking for any water escaping from places it shouldn't. Don't just check the base; inspect underneath the sink as well.
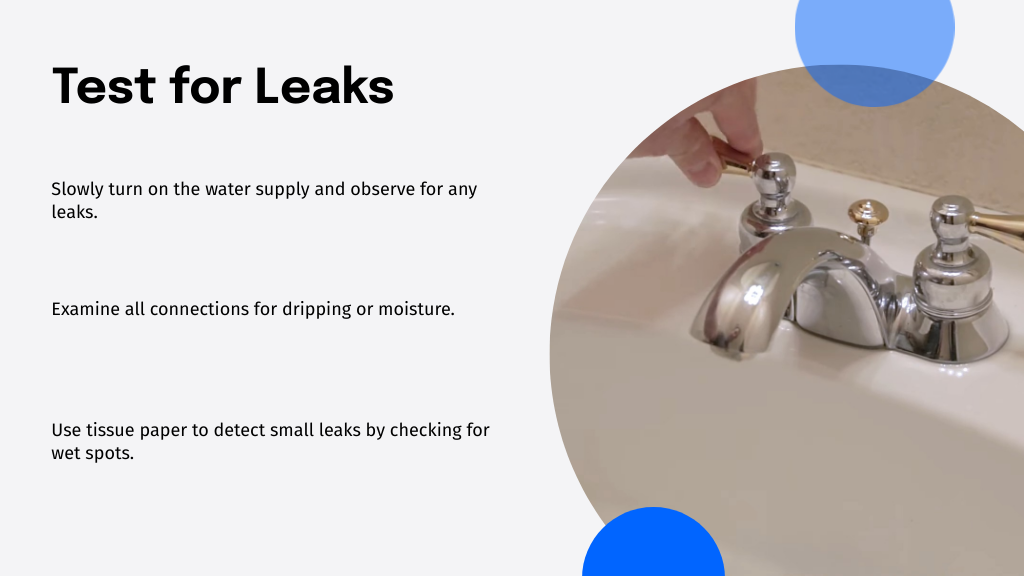
Sometimes leaks are sneaky and don't show up right away, so don't rush this step. If you spot a drip, even a small one, you'll need to address it. This might mean re-adjusting the washers or replacing a seal.
It's vital that everything is watertight before you declare the job done. Remember, catching a leak now can save you lots of trouble later.
Once you've confirmed that there are no more leaks, it's time to make any final adjustments to your faucet. This step guarantees everything works smoothly and looks as good as new.
Here's what you should focus on:
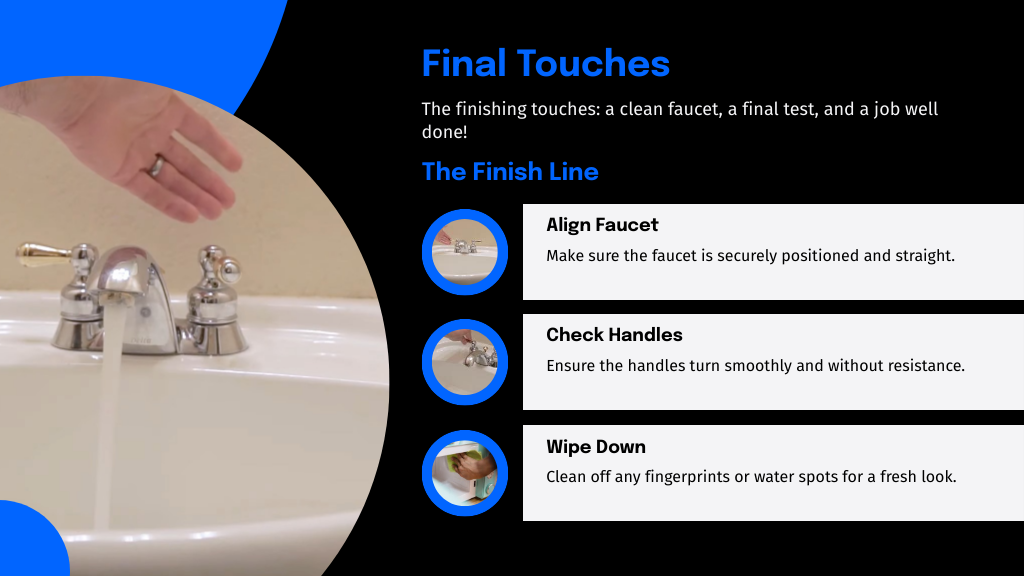
After these adjustments, give your faucet a final test run. Turn it on and off a few times to confirm the handle moves easily and the water flow is steady.
Ensure smooth operation of your faucet with a final test run, checking for easy handle movement and steady water flow.
Now, you can enjoy a job well done!
Now that you've tackled the leak, it's vital to keep an eye on your faucet. Test it by running the water and checking for any drips. If all seems well, pat yourself on the back—you've done it! Remember, regular checks can save you from future hassles. So, don't just fix it and forget it; make it part of your routine. Here's to a dry and drip-free bathroom, thanks to your newfound plumbing prowess!

I'm a blogger dedicated to sharing insights on lifestyle and wellness. Through personal stories and practical tips, I aim to inspire and empower my readers to lead healthier, more fulfilling lives.
Your email address will not be published. Required fields are marked *