To change your ceiling light fixture, start by gathering necessary tools like a screwdriver, wire cutters, and a voltage tester. Next, verify your safety by turning off the power at the breaker box and confirming no current with your tester. Remove the old fixture, then connect the new one by matching and securing the wire colors. Finally, install and test your new light. Ready to tackle this? There's more insight just a step ahead.
Gather Your Tools and Materials
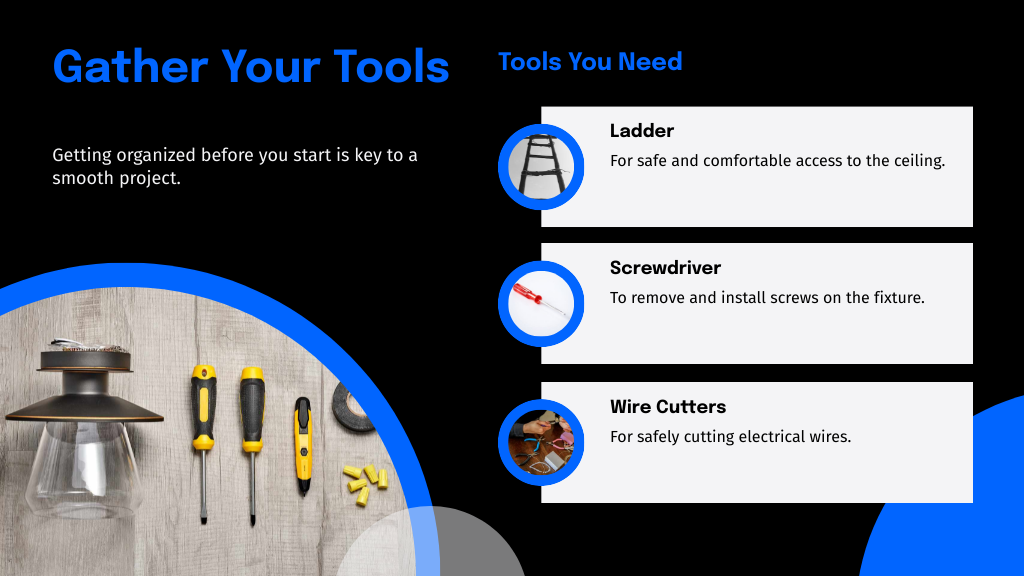
Before you begin replacing your ceiling light fixture, it's vital to have all the necessary tools and materials at hand.
First, you'll need a sturdy ladder to reach the ceiling comfortably. A screwdriver is essential, preferably with both flathead and Phillips heads, depending on your fixture's screws. You'll also want wire cutters and wire strippers to handle the electrical connections safely.
Don't forget to have wire nuts and electrical tape ready to secure and insulate the wires once connected. Additionally, having a voltage tester can be handy to guarantee safety in later steps.
Finally, make sure you've got the new light fixture and all its accompanying hardware. Gathering these items first streamlines the process, making your light fixture change smooth and efficient.
Turn Off the Power
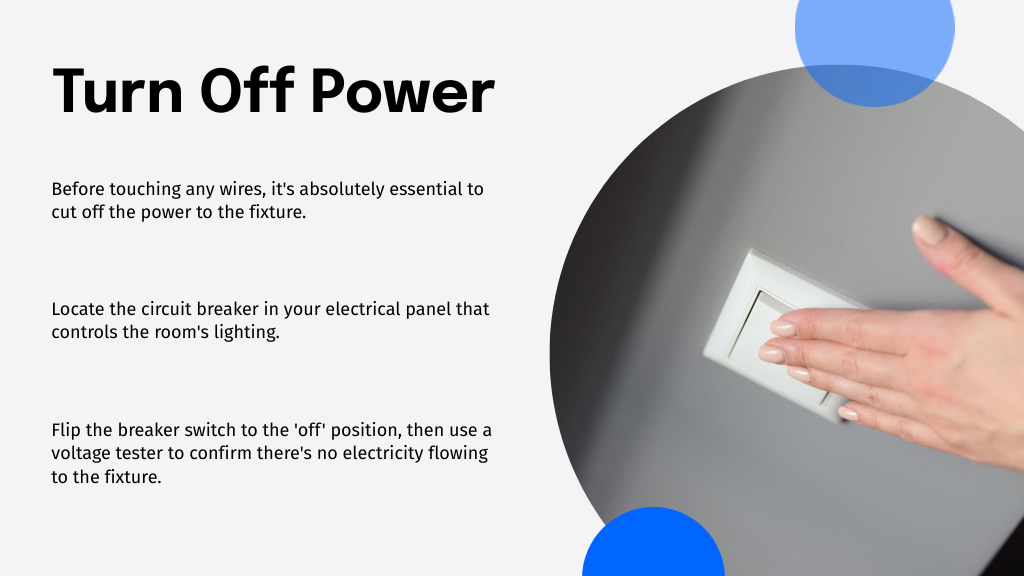
First, guarantee everyone's safety by turning off the power to the area where you're working. This is a critical step in learning how to replace a light fixture in the ceiling, as it prevents any accidental shocks.
Locate your home's electrical panel and flip the breaker that corresponds to your project area. If you're unsure which one it is, it's safer to turn off the main breaker, cutting power to the whole house temporarily.
Use a voltage tester to double-check that there's no current flowing to the ceiling fixture. This confirmation step is essential; never assume the power's off just because you've flipped a breaker.
Once you've confirmed the absence of electricity, you're set to proceed safely.
Remove the Old Fixture
With the power safely off, you're ready to remove the old ceiling light fixture. Start by loosening the screws or nuts that secure the fixture base to the ceiling mount.
Carefully lower the fixture, being mindful of any wires still connected. You'll typically find a few wire nuts that need unscrewing to free the fixture completely—twist these off and gently separate the wires.
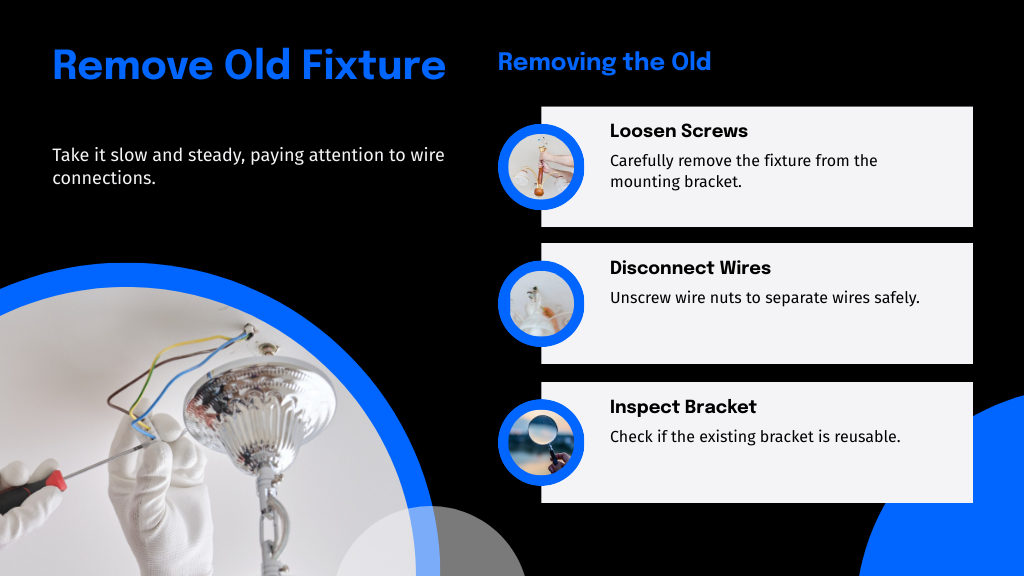
Now's the time to inspect the mounting bracket. If it's in good shape and fits the new fixture, you can leave it.
Inspect the mounting bracket now; if it's suitable and intact, you don't need to replace it.
If not, remove it by unscrewing from the ceiling box. This step is essential in how to replace a ceiling light, ensuring your new fixture will have a solid base to attach to.
Connect the New Fixture
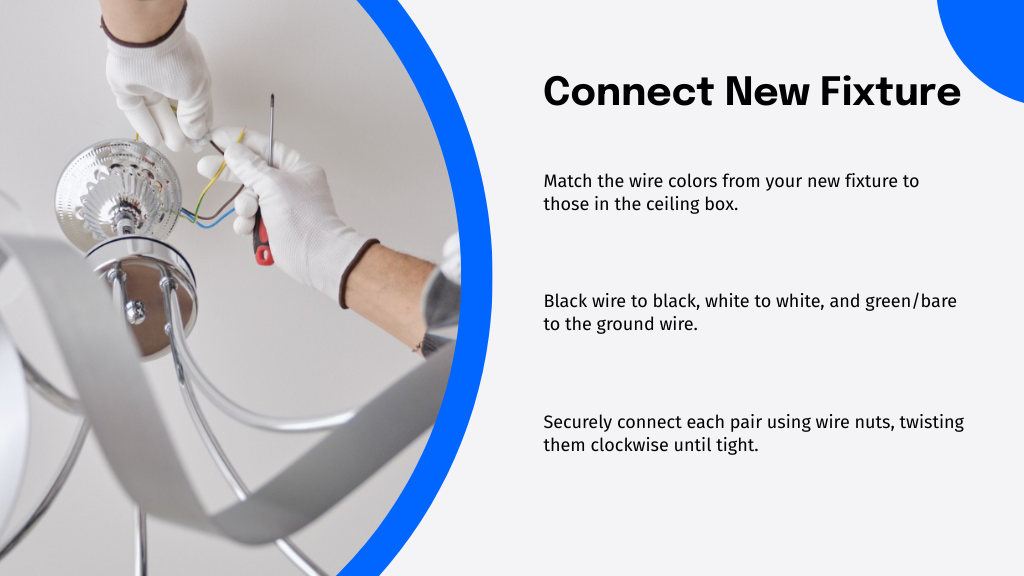
Now that you've removed the old fixture and verified the mounting bracket is in place, it's time to connect your new ceiling light. Start by matching the wire colors from your new fixture to those in your ceiling box—typically, black to black (hot), white to white (neutral), and green or bare to the ground.
Secure each pair with wire nuts, twisting them clockwise until tight. Carefully tuck the wires into the ceiling box to keep them organized and out of the way.
This step is essential in how to change out a ceiling light, as proper connections guarantee your light will function safely and correctly. Confirm no wires are pinched or overly strained during this process.
Install and Test Your New Light
Secure your new light fixture to the mounting bracket using the provided screws or clips. Once it's securely in place, it's time to see your handiwork in action. Before turning the power back on, double-check all connections to verify they're tight and correctly matched.
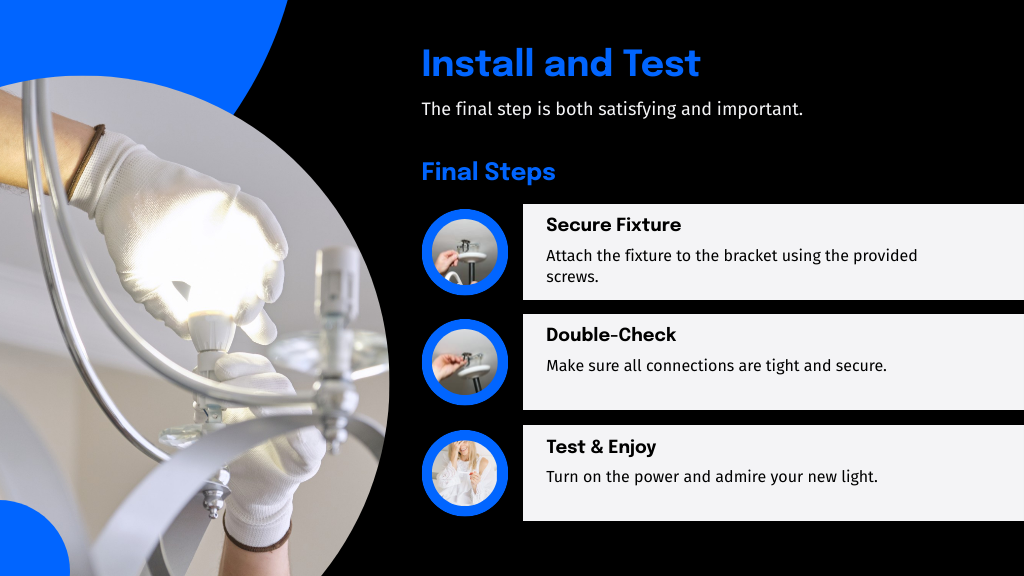
Ensure all connections are secure and correctly aligned before restoring power to admire your installation.
Now, head to your breaker box and restore power to the circuit.
Flip the switch to test your new ceiling lamp. If all goes well, it should light up without issue, showing that you've mastered how to change a ceiling lamp.
If it doesn't, turn off the power again and recheck your connections. Sometimes, a simple adjustment is all that's needed to get things shining brightly.
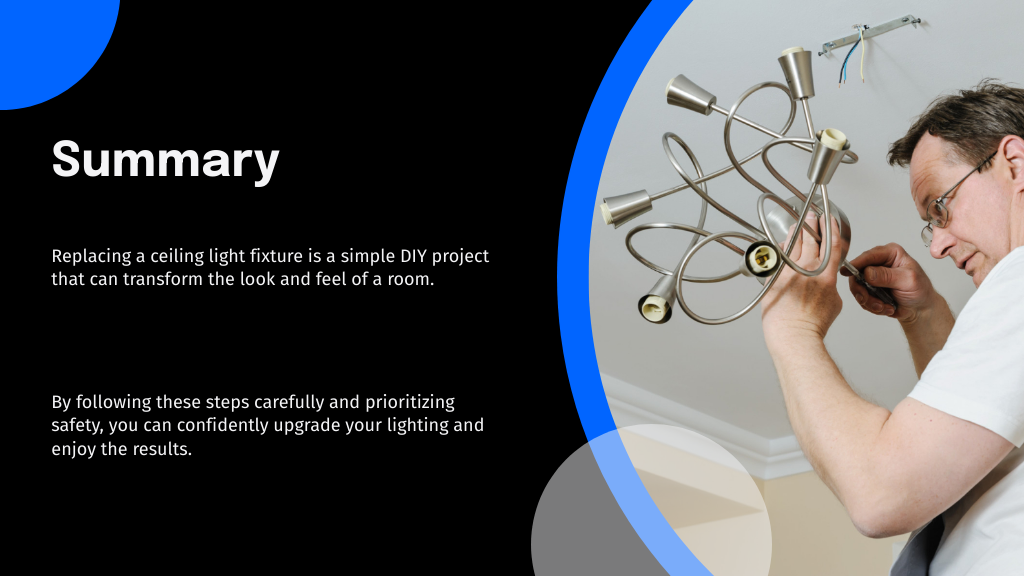
Conclusion
You've almost lit up your space like a starlit sky! Just wrap up by securely attaching your dazzling new fixture and flipping the switch. When the room brightens, you'll feel a burst of accomplishment, knowing you've done it all by yourself. Remember, each step, from choosing your tools to testing the light, is a building block to transforming your home. Embrace this change and look forward to more DIY victories that are just a switch away!