To make perfect rice in your rice cooker, first choose the rice type and measure it with the included cup. Rinse the rice under cold water until clear to remove excess starch. Add the right water amount—typically double the rice volume—and secure the inner pot in place. Turn on the cooker and pick the appropriate setting. After cooking, let the rice rest with the lid closed for 5 minutes, then fluff gently before serving. Keep following for tips on water ratios and rice varieties.
Why Choose a Rice Cooker for Cooking Rice
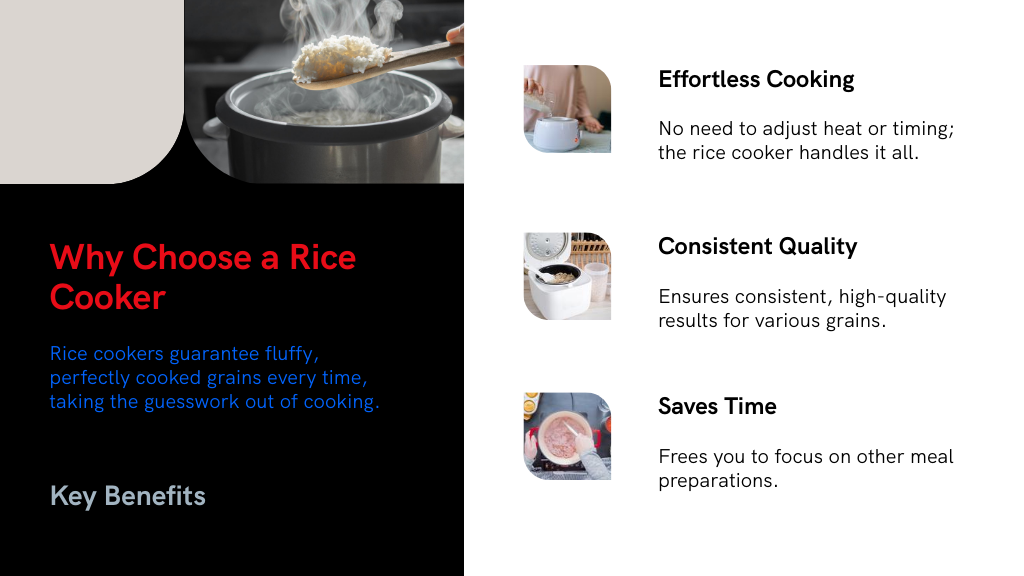
While you could cook rice on the stove, using a rice cooker takes the guesswork out of the process and guarantees fluffy, perfectly cooked grains every time.
When learning how to make rice in a rice cooker, you’ll appreciate its built-in water measurement lines that help you nail the white rice rice cooker ratio effortlessly. This means you don’t have to worry about adjusting heat or timing—the rice cooker rice time is automatically managed for ideal results.
Plus, it frees you up to focus on other parts of your meal without constant monitoring. Whether you’re cooking white rice or other grains, this appliance offers consistent quality, making it a smart and convenient tool in any kitchen.
Selecting the Right Type of Rice
Choosing the right type of rice plays a big role in how your final dish turns out when using a rice cooker. You’ll find three main grain sizes: long, medium, and short.
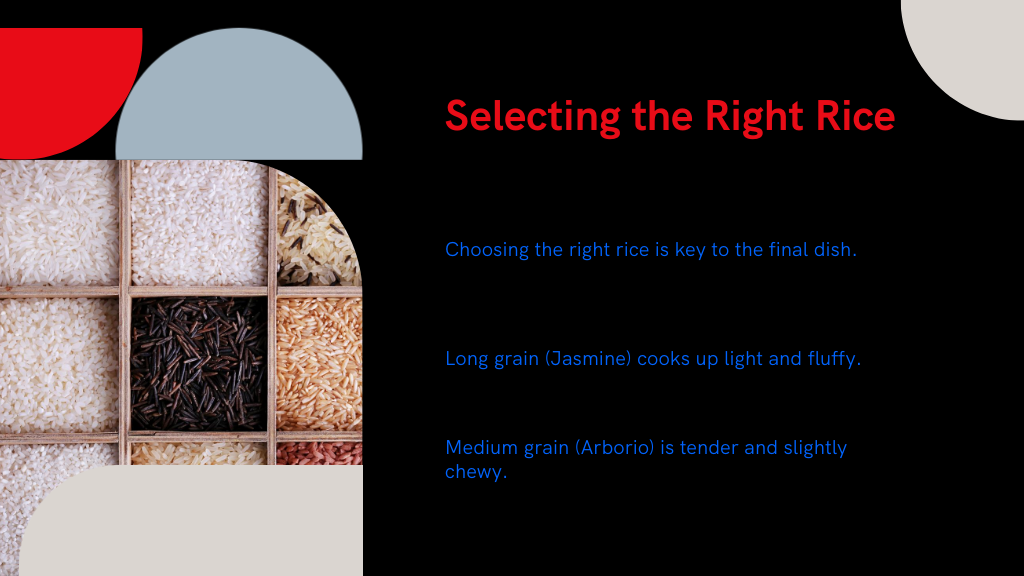
Long grain, like Jasmine, cooks up light and fluffy. Medium grain, such as Arborio, offers a tender, slightly chewy texture, making it versatile. Short grain rice, like sushi rice, is plumper and stickier, perfect for dishes needing rice that holds together well.
If you want a balance of stickiness and moisture, medium grain sushi rice is a great choice. Keep in mind, how much water in rice cooker you use depends on the rice type. Adjusting water ratios guarantees your rice cooks evenly and achieves the texture you want every time.
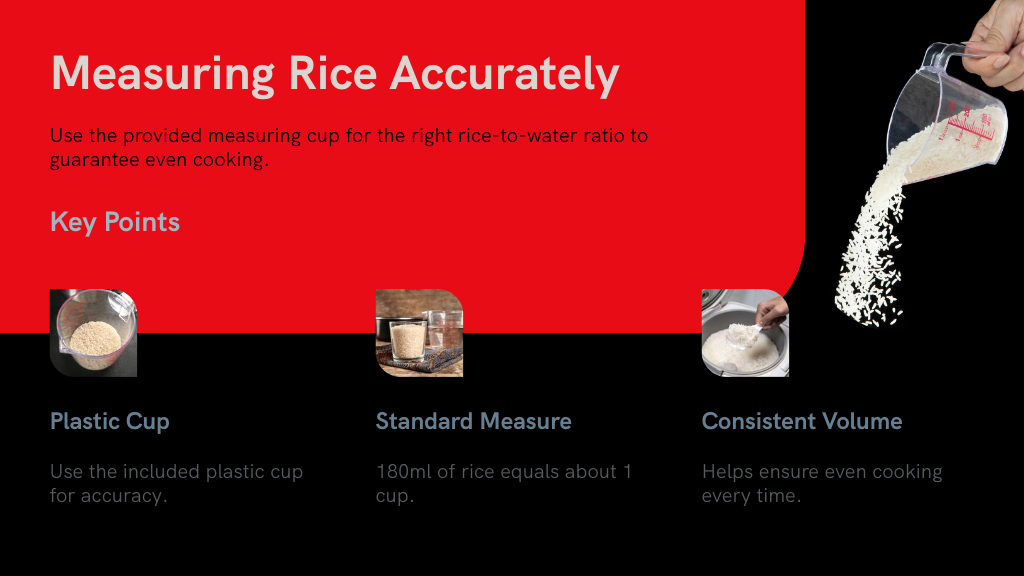
Measuring the Rice Accurately
To get the best results, always use the plastic measuring cup that comes with your rice cooker since it’s designed for the right rice-to-water ratio.
If you don’t have that, you can use standard measurements like 180 ml of rice to 360 ml of water. Keeping your rice volume consistent helps guarantee even cooking every time.
Use Provided Measuring Cup
One essential tool you shouldn’t overlook when making rice in a rice cooker is the provided plastic measuring cup, designed to guarantee your rice-to-water ratio is just right.
This cup is specifically made to measure dry rice accurately so it matches the water lines inside your cooker. For every cup of rice you measure with this plastic cup, you fill water to the corresponding line, ensuring consistent and fluffy results.
Using this method keeps your rice perfectly cooked each time without guesswork. Remember, the standard cup isn’t a typical measuring cup, so relying on the one that came with your cooker is key.
Accurate measurement helps maintain the ideal 1:1 water-to-rice ratio, though you can always tweak it based on your rice type or taste preferences.
Alternative Measuring Methods
Wondering how to measure rice accurately without the original plastic cup? You can easily use a traditional measuring cup instead. Typically, 1 cup of dry rice equals about 180 grams. If you don’t have a 1-cup measure, using ¾ cup, which is roughly 190 grams, works well for about two servings.
When cooking, pay close attention to the water level markings inside your rice cooker; these lines correspond to the amount of rice you've added and help you pour the right water volume.
Generally, the water-to-rice ratio is 1:1 for fluffy rice, but it might vary slightly depending on the type of rice. Using your cooker's internal water lines guarantees consistent and accurate results every time.
Consistent Rice Volume
Measuring rice accurately is key to getting consistent results every time you cook. Use the plastic measuring cup that comes with your rice cooker—it's designed for precise rice-to-water ratios, ensuring perfect texture.
For every one plastic cup of dry rice, fill water to the matching line inside the cooker, usually about two cups of water per cup of rice. If you prefer traditional measuring cups, keep in mind that ¾ cup of dry rice serves two people, while one cup serves four.
Always rinse your rice under cold running water to get rid of excess starch, which helps keep your rice fluffy. For white rice, stick to a 1:1 rice-to-water ratio but adjust slightly depending on the rice type for the best results.
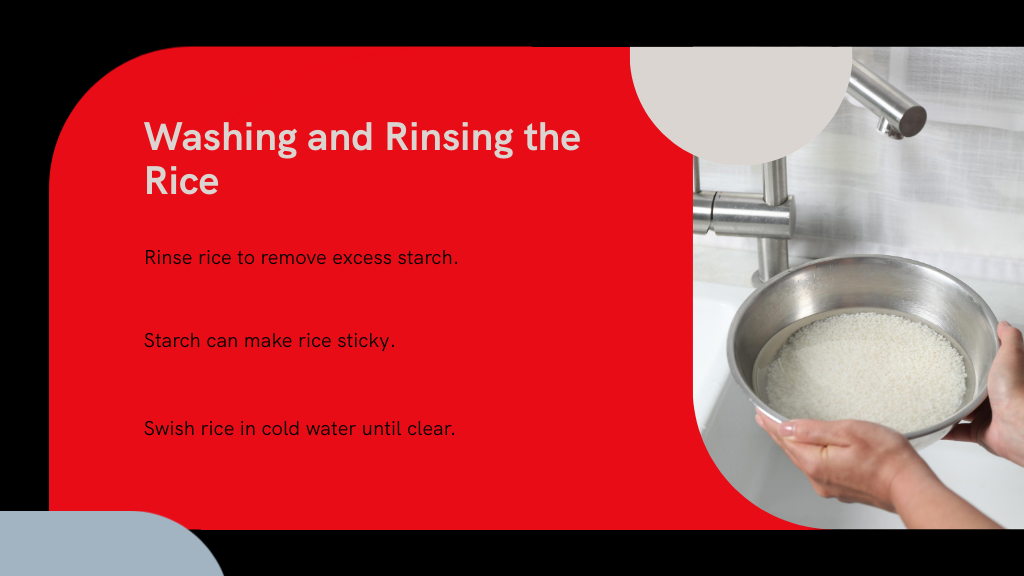
Washing and Rinsing the Rice Properly
Before cooking, you’ll want to rinse your rice to remove excess starch that can make it sticky. Place the rice in a bowl, cover it with cold water, and gently swish the grains until the water runs clear. Proper washing helps guarantee your rice cooks up fluffy and with the right texture every time.
Importance of Rinsing
Although it might seem like a small step, rinsing your rice properly makes a big difference in the final texture and taste. When you rinse rice, you’re removing excess starch that can cause the grains to stick together and become gummy during cooking.
Using cold running water, gently move the rice with your hands until the water changes color, showing the starch is washing away. You’ll want to repeat this 2-3 times, draining each time until the water runs clear.
This step is especially important for long grain rice, as it helps the grains stay separate and fluffy. Proper rinsing not only improves texture but also guarantees a cleaner, more enjoyable flavor in your finished dish.
Proper Washing Technique
Two or three thorough rinses under cold running water will make all the difference in how your rice cooks. This step removes excess starch, preventing clumping and ensuring fluffy grains.
Here’s how to wash your rice properly:
- Place rice in a bowl or pot and run cold water over it.
- Gently stir the rice with your hands to release starch; the water will turn cloudy.
- Pour out the cloudy water and repeat rinsing until the water is mostly clear (about two to three times).
- Drain all water completely to avoid soggy rice during cooking.
Determining the Correct Water-to-Rice Ratio
When you cook rice in a rice cooker, getting the water-to-rice ratio right is key to perfect results. The standard ratio is 1:1—use one cup of water for every cup of rinsed rice.
If you’re using the measuring cup that comes with your rice cooker, one cup of dry rice matches the water line inside the pot, ensuring ideal cooking. For larger amounts, just keep the ratio consistent; for example, two cups of rice need two cups of water.
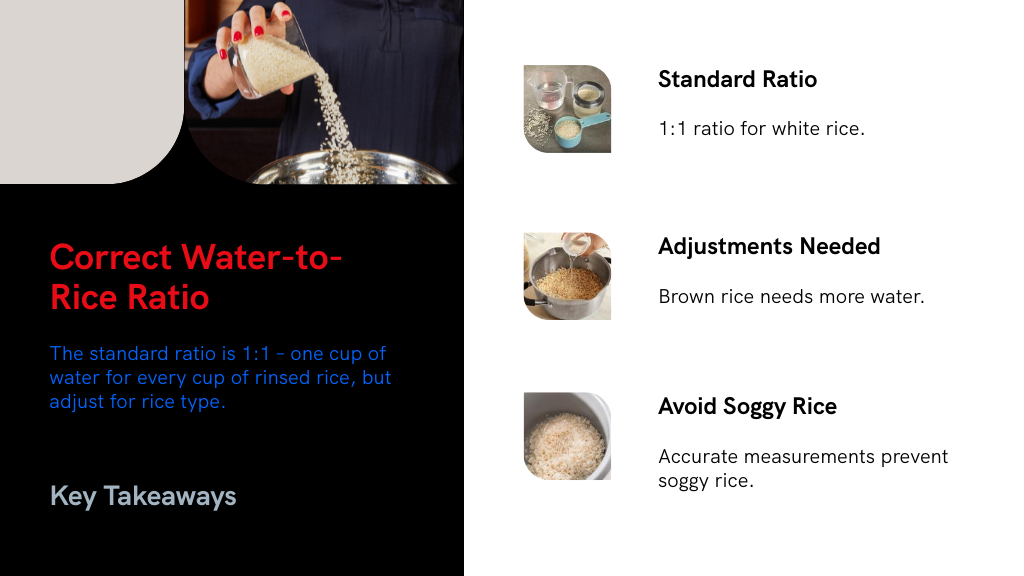
Keep in mind, different rice types may require adjustments—brown rice, for instance, usually needs a bit more water. Accurate measurements help avoid undercooked or soggy rice, giving you fluffy, evenly cooked grains every time.
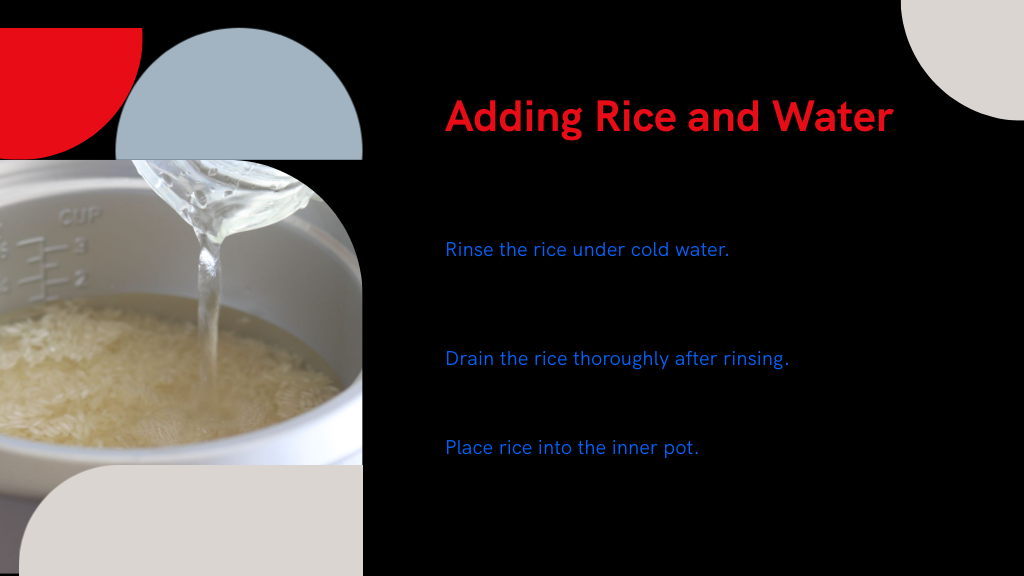
Adding Rice and Water to the Cooker
After you've measured the right amount of rice and water, the next step is to add them to your rice cooker. First, rinse the rice under cold water until it runs clear, then drain it thoroughly. Once drained, place the rice into the inner pot of your cooker.
After draining, transfer the rice directly into the rice cooker's inner pot for cooking.
Next, add the appropriate amount of water, typically using a 1:1 ratio for white rice. Finally, make sure the inner pot is seated correctly in the cooker.
- Rinse rice under cold running water until clear.
- Drain rice completely to avoid excess moisture.
- Transfer rice to the rice cooker’s inner pot.
- Add equal parts water to rice, following the 1:1 ratio.
Now your rice and water are ready in the cooker.
Turning on the Rice Cooker and Selecting Settings
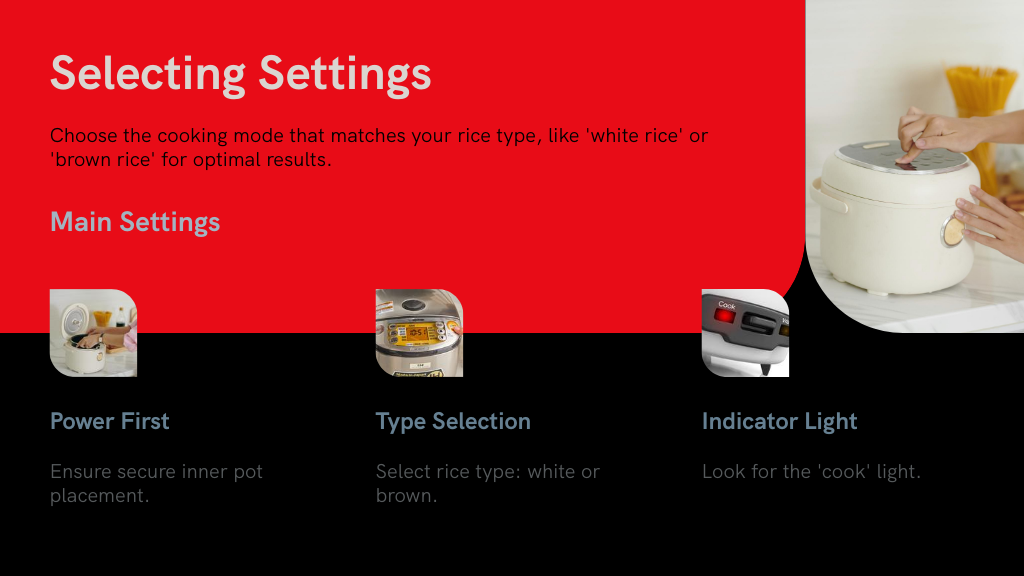
Once you've added the rice and water, plug in your rice cooker and press the power button to get it started. Next, choose the cooking mode that matches your rice type, like "white rice" or “brown rice.” The cooker will handle the timing and temperature automatically, so you can just wait for perfectly cooked rice.
Powering the Device
Before you start cooking, make certain the inner pot is securely placed inside the rice cooker. This prevents any malfunction and guarantees even cooking.
To power the device and begin:
- Plug the rice cooker into an electrical outlet.
- Press the power button to turn the device on.
- Select the appropriate cooking setting, such as 'white rice' or 'brown rice,' depending on the rice type.
- Look for the indicator light that shows the cooker is in the cooking phase.
Once you select the setting, the cooker starts working automatically. When cooking finishes, it usually beeps or switches to 'keep warm' mode to let you know your rice is ready to serve.
Choosing Cooking Modes
With the rice cooker powered on and the inner pot in place, you’re ready to choose the right cooking mode. First, identify the type of rice you’re cooking—white, brown, or sometimes quinoa—since most rice cookers have specific settings for each. For standard white rice, simply press the "cook" button to start.
If you’re cooking brown rice, select its dedicated mode, as it needs a longer cooking time. Once you’ve made your selection, the cooker will work automatically and usually signal when the rice is done, either with a light or sound.
After cooking, keep the lid closed and let the rice rest for 5 to 10 minutes. This resting period improves texture and flavor, ensuring your rice turns out perfectly every time.
Allowing the Rice to Rest After Cooking
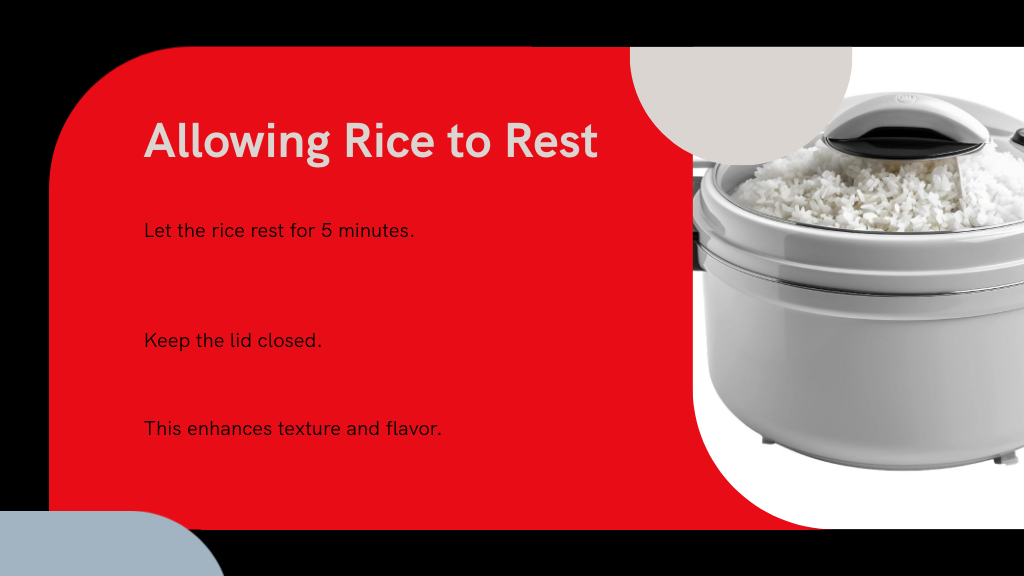
Although the cooking cycle is complete, you should leave the rice in the cooker for an extra 5 minutes to steam and set. This resting period is essential as it helps redistribute moisture evenly, improving the texture and flavor of your rice.
To get the best results, follow these simple steps:
- Keep the lid closed during the resting time to trap steam inside.
- Let the rice sit undisturbed for 5 minutes after cooking ends.
- This process prevents overcooking and mushiness.
- The rice will achieve a fluffier, less sticky consistency.
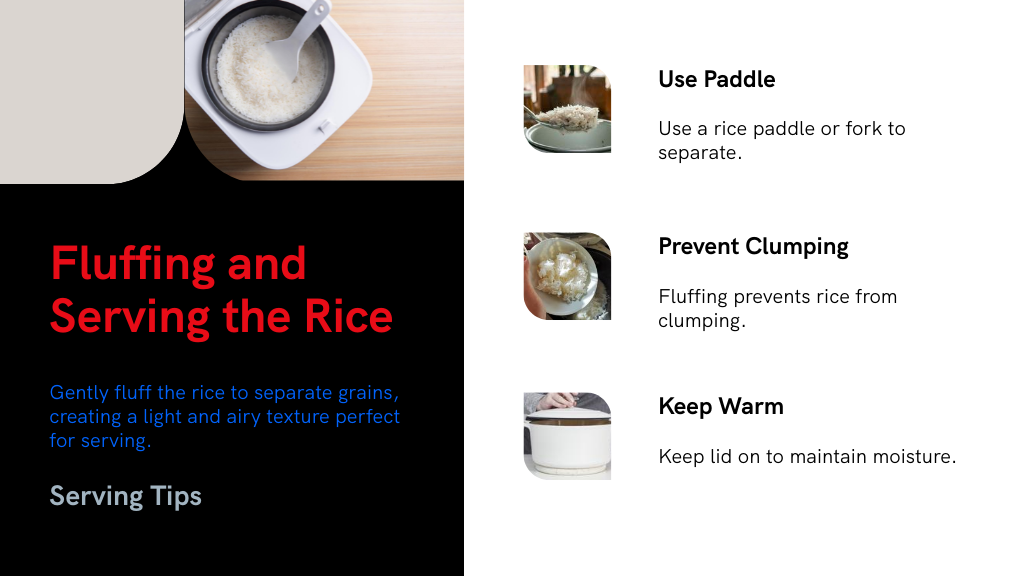
Fluffing and Serving the Rice
Gently fluff the rice using a rice paddle or fork to separate the grains and create a light, airy texture. After your rice cooker finishes, let the rice rest with the lid closed for 5 minutes so the steam completes the cooking.
When you fluff the rice, you’ll notice it becomes soft and fluffy, perfect as a side dish to curries or grilled meats. Serve the rice into bowls, adjusting portions to your liking; 2 cups of dry rice usually makes about 6 servings.
To keep your rice warm and prevent it from drying out, keep the lid on until you’re ready to serve. Avoid leaving the rice uncovered for too long, as this causes it to lose moisture and texture.
Tips for Adjusting Water Ratios for Different Rice Types
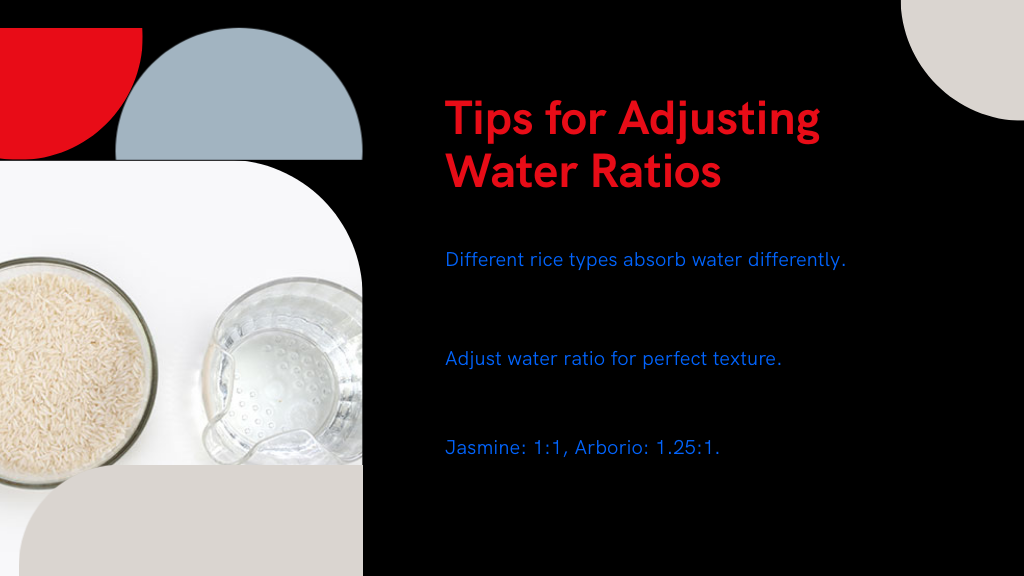
Since different types of rice absorb water differently, adjusting the water ratio is key to achieving the perfect texture.
Here’s how you can tailor the water amount for your rice type:
- For long grain rice like Jasmine, use a 1:1 water-to-rice ratio to keep grains fluffy.
- Medium grain rice such as Arborio needs about 1.25 cups of water per cup of rice for a creamy consistency.
- Short grain rice, like sushi rice, works best with a 1.1:1 ratio, helping it stay sticky.
- Brown rice requires a higher ratio, usually 2:1, along with a longer cooking time for tenderness.
Remember to check your rice cooker’s manual, as some models have specific water lines and settings that can affect results.
Conclusion
Now that you’ve mastered these effortless steps, making perfect rice in your rice cooker will feel like wielding a culinary superpower. No more guessing games or soggy disasters—each grain will be a fluffy masterpiece worthy of a five-star restaurant. With this foolproof method, you’ll elevate every meal, impressing guests and satisfying cravings like a seasoned chef. Honestly, your rice cooker might just become the most important gadget in your kitchen arsenal!