

Leora J. Goodin
I'm a blogger dedicated to sharing insights on lifestyle and wellness. Through personal stories and practical tips, I aim to inspire and empower my readers to lead healthier, more fulfilling lives.
Students and teachers save a massive 71% on Creative Cloud All Apps
Black Friday and Cyber Monday 2023 Deals for Motion Designers, grab it now!

Learn how to master 10 simple steps for a perfect small cake recipe that will elevate your baking skills and impress every guest.
To bake a perfect small cake, start by gathering fresh, room-temperature ingredients and prepping your 6-inch pan with parchment and spray. Measure everything precisely, then use the reverse creaming method by mixing butter with dry ingredients first. Add liquids and eggs gradually to avoid overmixing. Bake at 350°F, check with a toothpick, then cool thoroughly before frosting. For the best results and some easy decorating tips, keep exploring these straightforward steps.
To start your small cake, gather six essential ingredients: unsalted butter, granulated sugar, a large egg, vanilla extract, all-purpose flour, and a few key additions like salt, baking soda, milk, and apple cider vinegar.
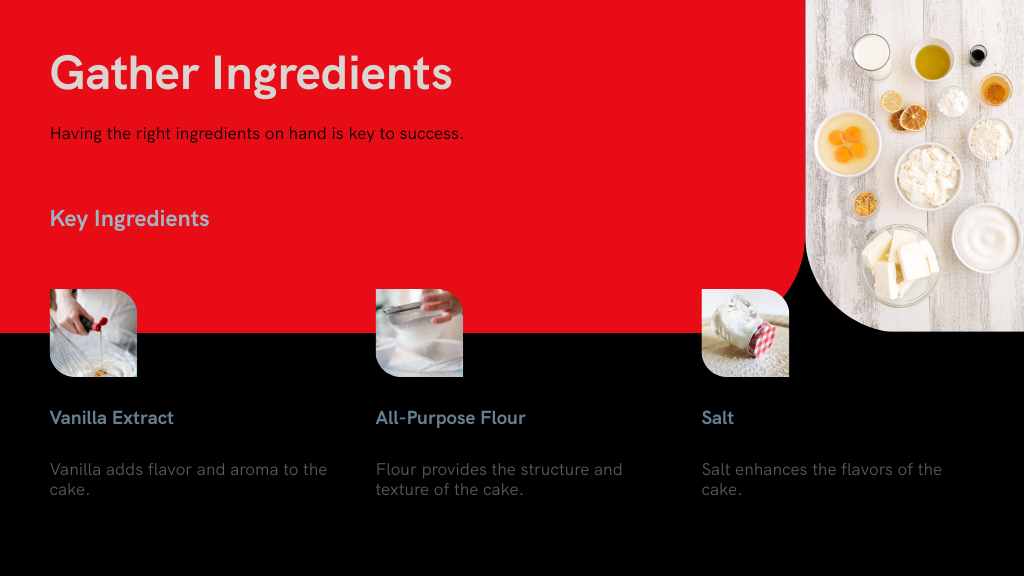
Begin your small cake with six essentials: butter, sugar, egg, vanilla, flour, plus salt, baking soda, milk, and vinegar.
For this small cake recipe, measure precisely—6 tablespoons of butter, 1/2 cup sugar, 1 large egg, 1 tablespoon vanilla, and 3/4 cup flour.
Don’t forget the pinch of salt, 1/4 teaspoon baking soda, 1/4 cup milk, and 1 teaspoon apple cider vinegar to enhance texture and flavor. Make certain all ingredients are at room temperature; this helps when mixing and yields a smooth batter.
Knowing how to make a small cake starts with prepping these ingredients properly to guarantee your baking goes smoothly and your cake turns out perfect.
You’ll want to use a 6-inch round cake pan with 2 high sides to get the best rise without sinking. Before pouring in your batter, make sure to spray the pan and line the bottom with parchment paper to keep your cake from sticking. If you don’t have one, check craft stores like Michaels or Hobby Lobby for the perfect mini pan.
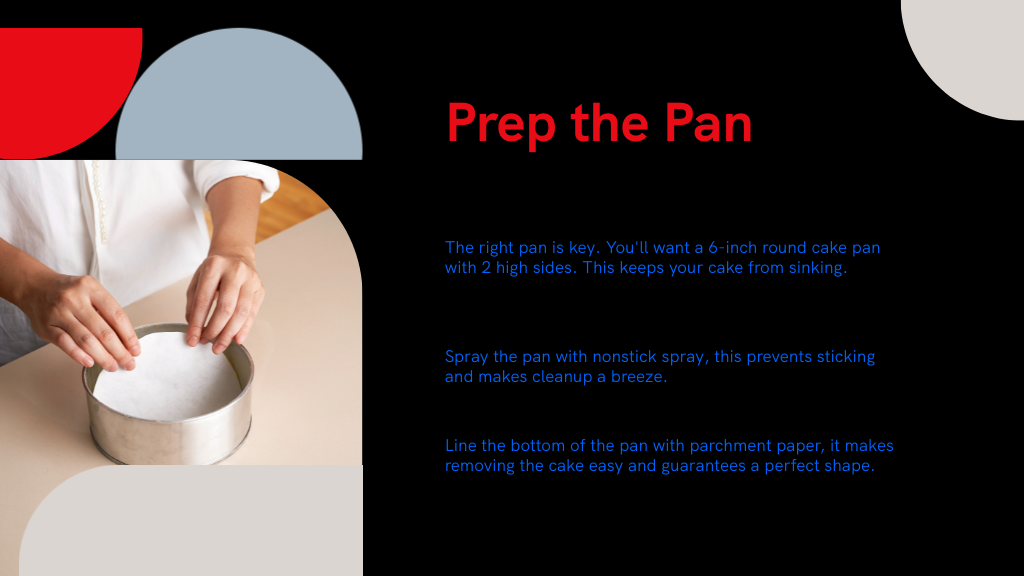
Picking the right pan is key when baking a small cake, especially if you want it to rise properly and come out cleanly. Choose a 6-inch round cake pan with 2-inch-high sides; this size allows even baking and prevents your cake from sinking, which can happen with taller pans. You can find these mini pans at craft stores like Michaels or Hobby Lobby, where they stock various baking supplies perfect for small cakes.
Remember, the pan size directly affects baking time—a 6-inch cake typically needs about 37-39 minutes at 350°F. While you’re measuring your ingredients, use the spoon and level method for flour to avoid a dense texture. Selecting the right pan sets the foundation for your cake’s success, so pick wisely.
Once you've selected the perfect 6-inch pan, preparing it correctly will make all the difference in how your small cake turns out. Using a round pan with 2 high sides is key since taller pans can cause sinking. Before pouring in your batter, grease the pan well and line the bottom with parchment paper to prevent sticking.
Make sure your oven is preheated to 350°F to bake evenly. When filling the pan, don't exceed 2/3 full so the cake can rise properly without spilling over.
After baking, let it cool a bit in the pan before gently removing it to keep your cake intact.
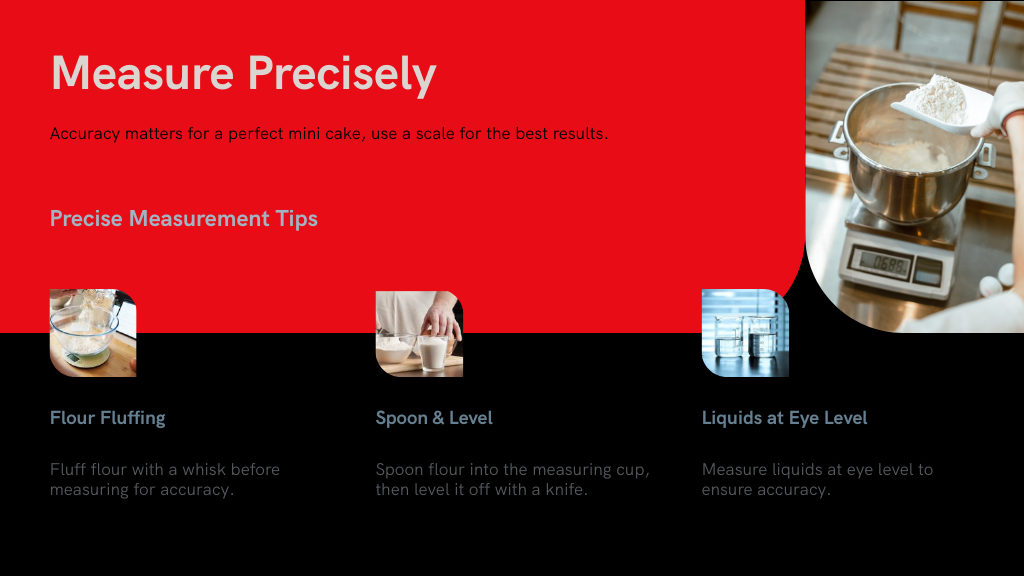
Accurately measuring ingredients is essential to baking a perfect small cake, and using a kitchen scale can make this task much easier and more reliable. Weighing ingredients like flour and sugar guarantees precision, which is often better than relying on cups.
When measuring flour with cups, fluff it first, spoon it in gently, and level it off with a knife to avoid packing, which adds too much flour. For liquids, always use clear measuring cups and check the markings at eye level.
Sticky ingredients like honey stick less when you lightly grease the measuring cup with cooking spray, helping them pour out smoothly. Keep in mind that swapping ingredients, like cake flour for all-purpose, may require adjusting measurements to maintain the cake’s texture and flavor.
You’ll love the reverse creaming method for its ability to create a tender, light crumb in your small cakes. It starts by mixing butter with dry ingredients before adding wet ones, which helps prevent overworking the batter. Let’s walk through the simple steps and benefits to get your cake just right.
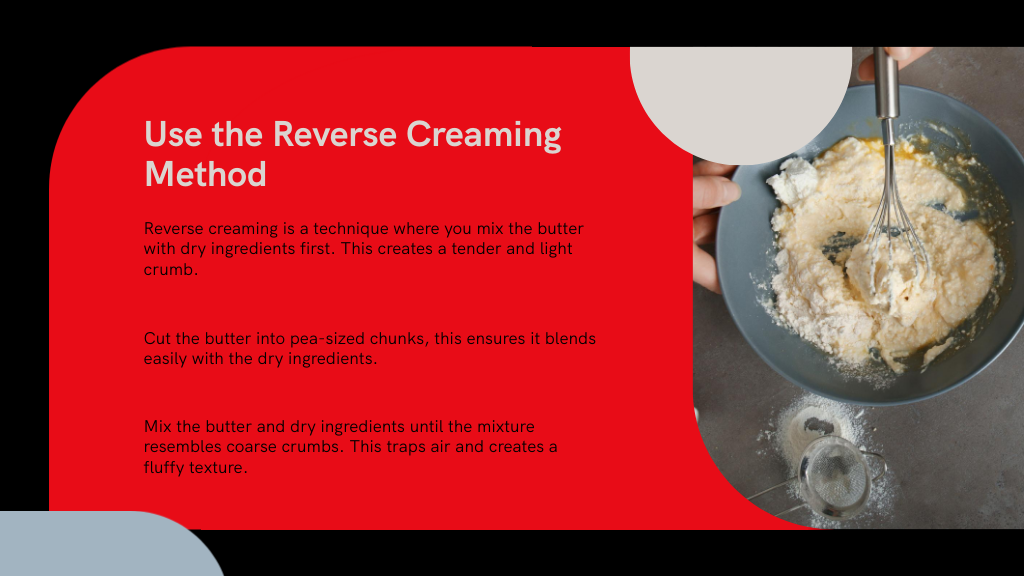
Although it might seem unconventional, the reverse creaming method offers clear benefits for baking small cakes. By mixing butter with dry ingredients first, you coat the flour and limit gluten formation, resulting in a tender crumb and lighter texture.
Adding eggs and liquids afterward creates a smooth batter with better air incorporation, helping your cake rise beautifully. This approach is especially reliable for small batches, ensuring consistent results when you weigh ingredients precisely.
Here’s what you gain with reverse creaming:
Mastering the reverse creaming method starts with mixing your dry ingredients and butter together. Make certain the butter is cut into small, pea-sized pieces and fully coated in flour to create a tender crumb. Once combined, add the eggs and liquids gradually, stirring gently to form a smooth batter without overdeveloping the gluten. This helps keep your cake light and fluffy.
Accurate weighing of ingredients is key, especially in small batches, so keep your measurements precise to maintain the right consistency.
Pour the batter into your pan and bake, keeping a close eye on the time. Test doneness by inserting a skewer—it should come out clean, and the cake should spring back with a golden top. Following these steps guarantees a moist, perfectly textured small cake every time.
When you mix dry ingredients thoroughly, like flour, baking powder, and salt, you guarantee they're evenly distributed, which prevents clumps that can ruin your cake's texture and rise.
To do this right, start by measuring your flour accurately—fluff it up, spoon it into the cup, and level it off. Using a whisk or sifter really helps blend everything uniformly, giving your cake a lighter, fluffier result.
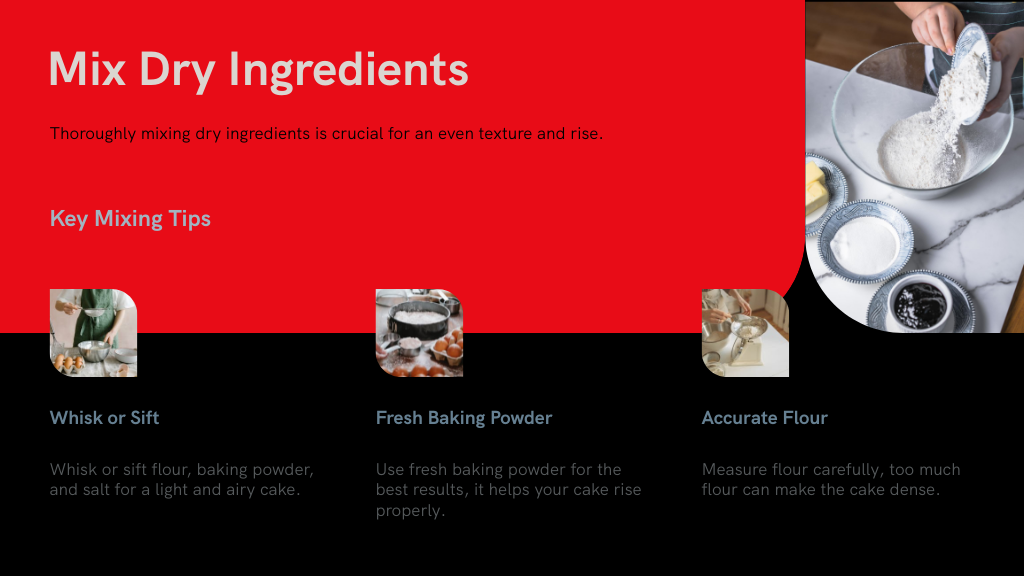
Make sure your baking powder is fresh and well combined with the flour to activate its leavening power. Mixing dry ingredients separately from wet ones also controls gluten development, keeping your cake tender.
Incorporate small pieces of room temperature butter into your dry ingredients until the mixture looks like coarse crumbs. This technique, called the reverse creaming method, helps you achieve a tender cake by limiting gluten development.
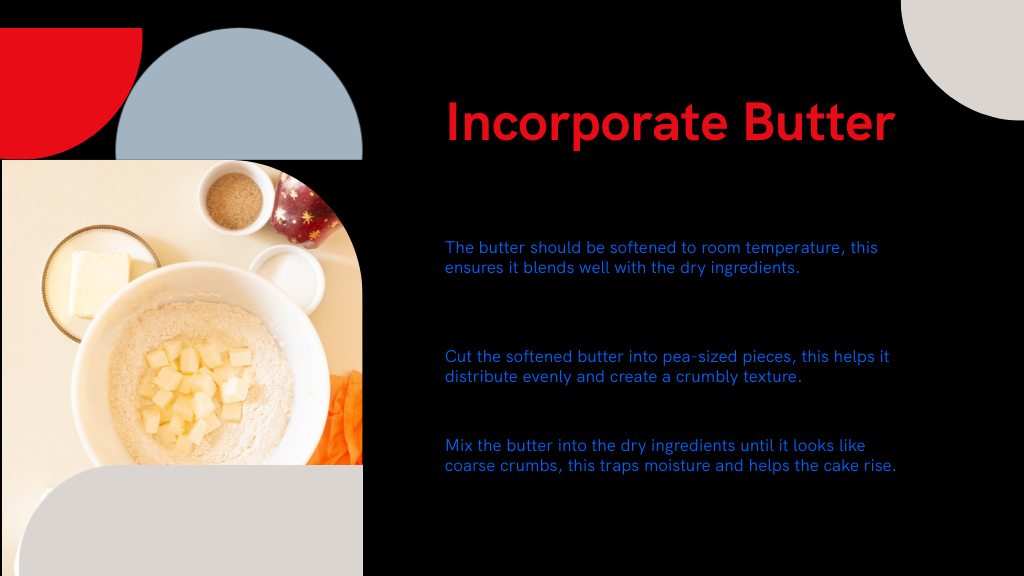
Using softened butter guarantees it blends evenly, giving your batter a consistent texture. Accurate flour measurement is key here; too much flour can make your cake dense.
Softened butter blends smoothly for uniform batter, while precise flour measurement prevents a dense cake.
By mixing butter with the dry ingredients first, you create a crumbly mixture that traps moisture better and improves emulsification once the wet ingredients are added. This step is essential for a soft crumb and lighter cake.
Taking your time here means you'll set a solid foundation for a moist, delicious small cake that’s perfectly tender.
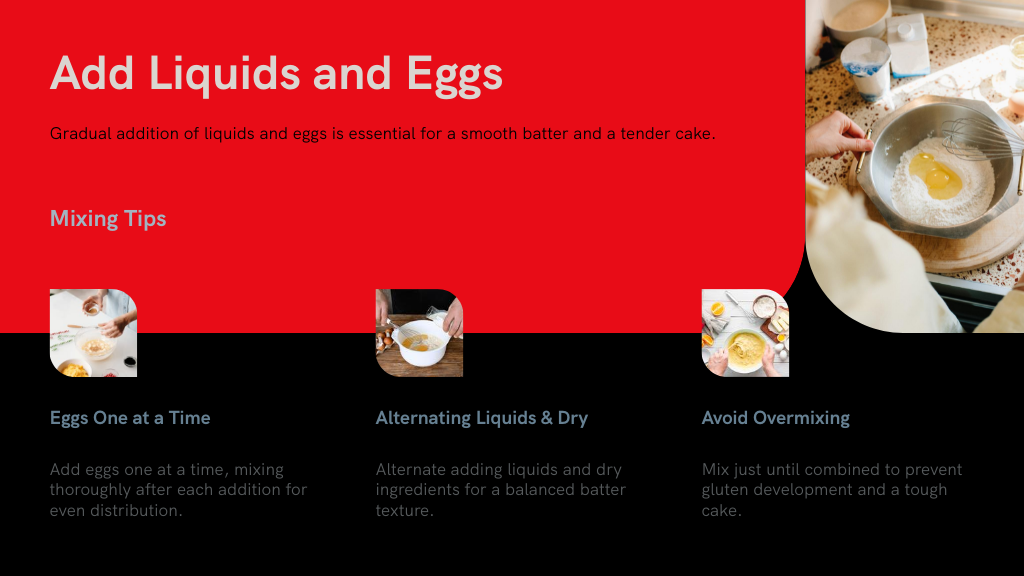
When adding liquids and eggs, take your time to mix them in gradually for a smooth batter. Add eggs one at a time to avoid clumps and guarantee even moisture. Alternating between liquid and dry ingredients helps keep the batter just right without overmixing.
Although it might be tempting to add all the liquids and eggs at once, gradually mixing them into your batter guarantees a smooth, clump-free texture and helps evenly distribute the ingredients.
By adding liquids bit by bit, you allow the dry ingredients to absorb them properly, preventing overmixing and a tough cake. Incorporating eggs one at a time ensures each is fully blended, creating a well-emulsified batter that supports a light, fluffy crumb.
This careful method is especially important for small cakes, preserving their delicate structure and enhancing both moisture and flavor.
Keep these tips in mind:
Since adding eggs and liquids too quickly can cause curdling or uneven mixing, you’ll want to add them gradually to your batter. Start by adding eggs one at a time, mixing thoroughly after each addition to maintain a consistent emulsification. This careful approach prevents curdling and guarantees your cake rises evenly.
For the best texture, use room-temperature eggs—they blend more smoothly and help create a lighter crumb. After incorporating the eggs, gradually add liquids like milk or vanilla extract, mixing just enough to combine.
If you’re using the reverse creaming method, add liquids only after mixing butter and dry ingredients to avoid overdeveloping gluten.
Because adding liquids and eggs too quickly can cause clumping and uneven texture, you'll want to introduce them gradually into your batter. This method guarantees a smooth, well-mixed cake base and prevents toughness caused by overmixing.
Start by thoroughly mixing your dry ingredients for better absorption. Then, add liquids and eggs slowly while alternating between them to maintain balance.
Following these steps will help you achieve a soft, perfectly textured small cake every time.
When you preheat your oven to 350°F (175°C), you set the stage for your small cake to bake evenly and rise properly. It’s smart to use an oven thermometer to verify the internal temperature matches your setting, since many ovens can be off by 25°F or more.
Place your cake pan in the center rack, where heat distributes most consistently, helping your cake cook evenly and brown nicely. Resist the urge to open the oven door during baking, as temperature fluctuations can cause your cake to bake unevenly.
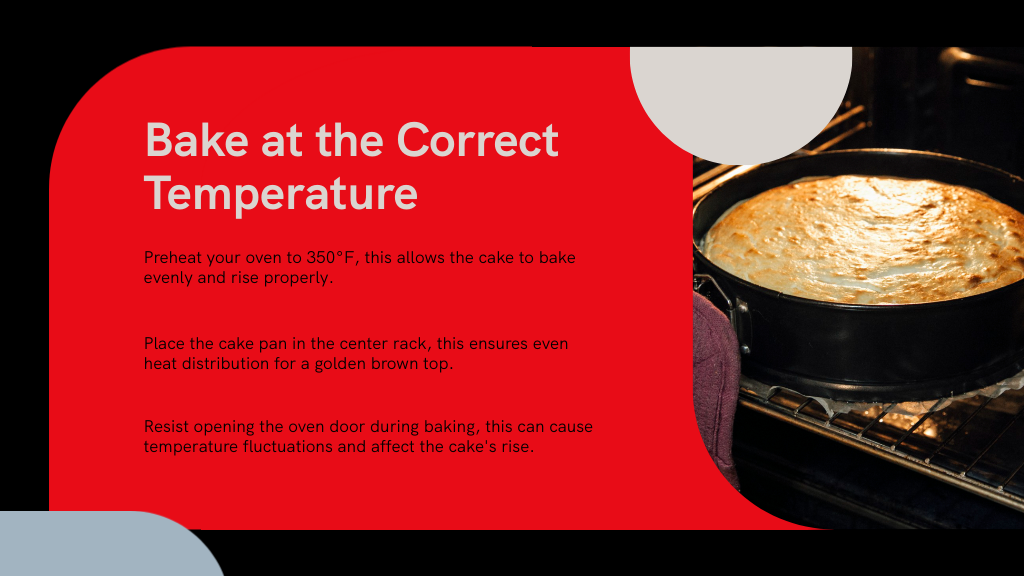
Stick closely to the recommended baking time, and check doneness by inserting a toothpick into the center—it should come out clean or with just a few moist crumbs attached.
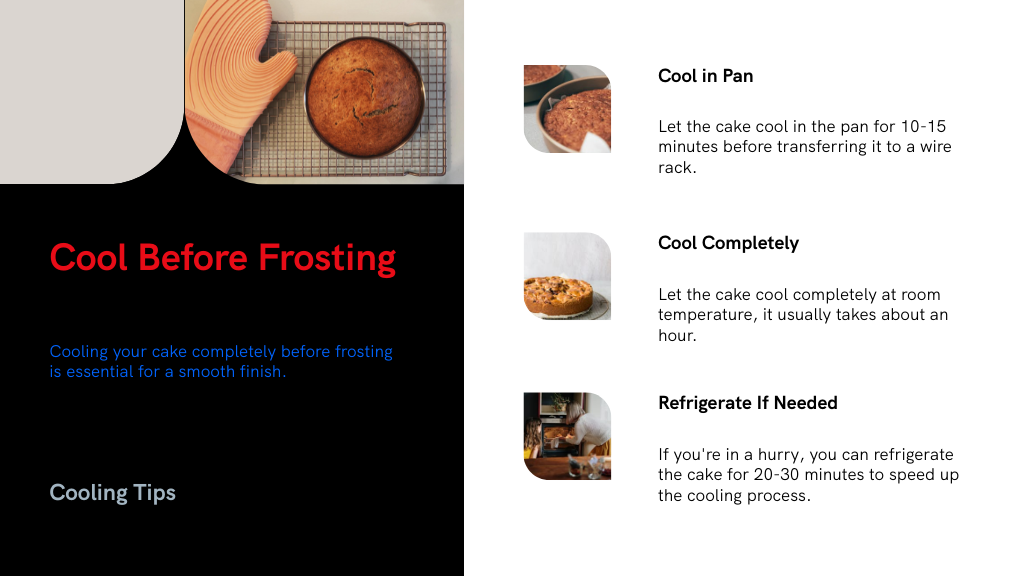
Give your cake at least 10-15 minutes to cool in its pan before you transfer it to a wire rack. This prevents sogginess and helps the cake hold its shape.
Once on the rack, let it cool completely at room temperature—usually about an hour—to make sure the frosting sticks without melting. If you’re in a hurry, pop it in the fridge for 20-30 minutes, but avoid freezing to keep the texture intact.
Remember, frosting a warm cake causes it to slide off, so patience pays off. Here’s what to keep in mind:
To decorate your 6-inch mini cake, start by tinting your buttercream with a light pink dye for a festive look. Use a Wilton 1M piping tip to pipe buttercream roses, beginning at the center and moving outward. Stick to just one row of roses to keep the decoration simple and elegant.
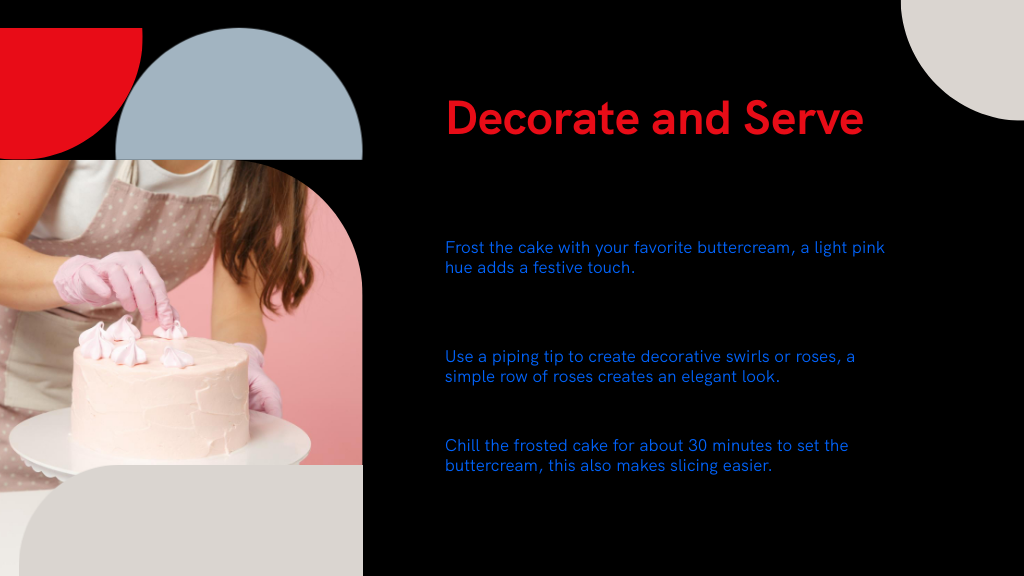
Once decorated, chill the cake for about 30 minutes to set the buttercream, which also makes slicing easier. When it’s time to serve, cut the cake into 4 equal slices—perfect for sharing among 2 to 4 people at small gatherings.
If you have leftovers, store the cake in an airtight container at room temperature for one day or refrigerate it for up to two more days to keep it fresh.
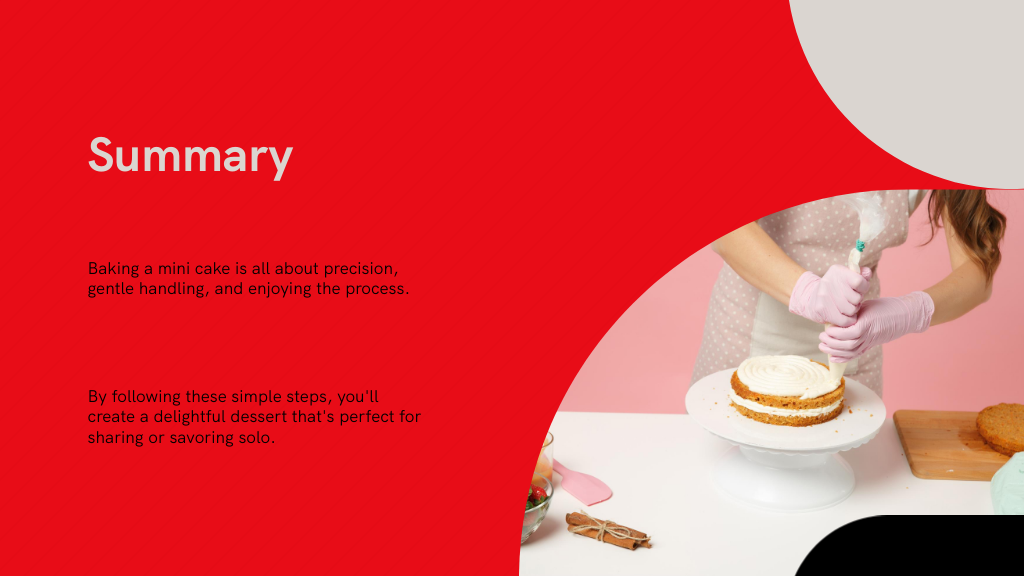
Now that you’ve danced through these simple steps, your small cake is ready to steal the spotlight. Like a hidden gem sparkling in a sea of desserts, your perfectly baked mini cake promises sweet moments and smiles with every bite. So, go ahead—slice into that little masterpiece, let the flavors sing, and watch how a humble cake can turn your day into a celebration. Your baking journey just got deliciously unforgettable!

I'm a blogger dedicated to sharing insights on lifestyle and wellness. Through personal stories and practical tips, I aim to inspire and empower my readers to lead healthier, more fulfilling lives.
Your email address will not be published. Required fields are marked *