Leora J. Goodin
I'm a blogger dedicated to sharing insights on lifestyle and wellness. Through personal stories and practical tips, I aim to inspire and empower my readers to lead healthier, more fulfilling lives.
Students and teachers save a massive 71% on Creative Cloud All Apps
Black Friday and Cyber Monday 2023 Deals for Motion Designers, grab it now!

Navigate the art of portrait drawing with our step-by-step guide, and uncover the secrets that can transform your sketches into masterpieces.

Mastering portrait drawing is within your reach! Start by gathering proper materials like a variety of pencils and a good sketchpad. Learn the basic facial structures and proportions—this is your foundation. Experiment with light sketches and refine them with detailed shading, paying close attention to light sources. As you practice capturing expressions, you'll add life to your portraits. By continuously seeking feedback and applying it constructively, you'll discover deeper nuances in your technique and improve with practice.
Before you plunge into the art of portrait drawing, you'll need to gather a few essential materials. Start with a range of pencils; HBs are great for initial sketches, while 2B to 6B pencils will help deepen shadows and add texture to your portrait sketches. A high-quality sketchpad with thick, smooth paper is crucial to guarantee your drawings don't smudge or tear.
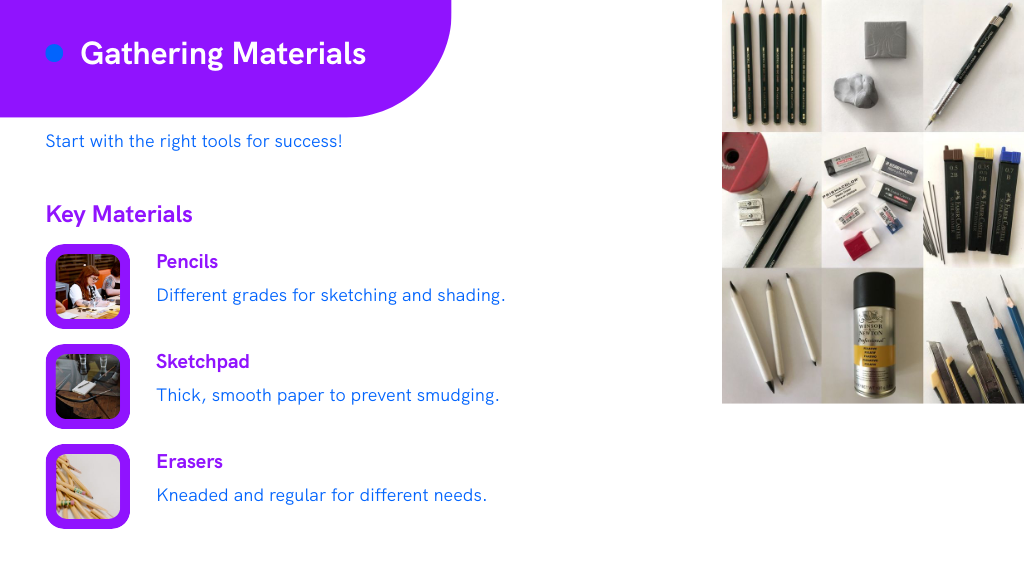
Don't forget a kneaded eraser for subtle lightening and a regular eraser for removing larger areas of graphite. Additionally, consider a blending stump or cotton buds for softening lines and creating gradients in your drawings. With these tools in hand, you're well-prepared to start mastering the art of drawing portraits.
Once you've assembled your drawing materials, understanding facial proportions and structure becomes the next crucial step. Here's what you need to know: the human face can be divided vertically into thirds. From the hairline to the eyebrows forms the first third, eyebrows to the base of the nose the second, and from there to the chin the last.
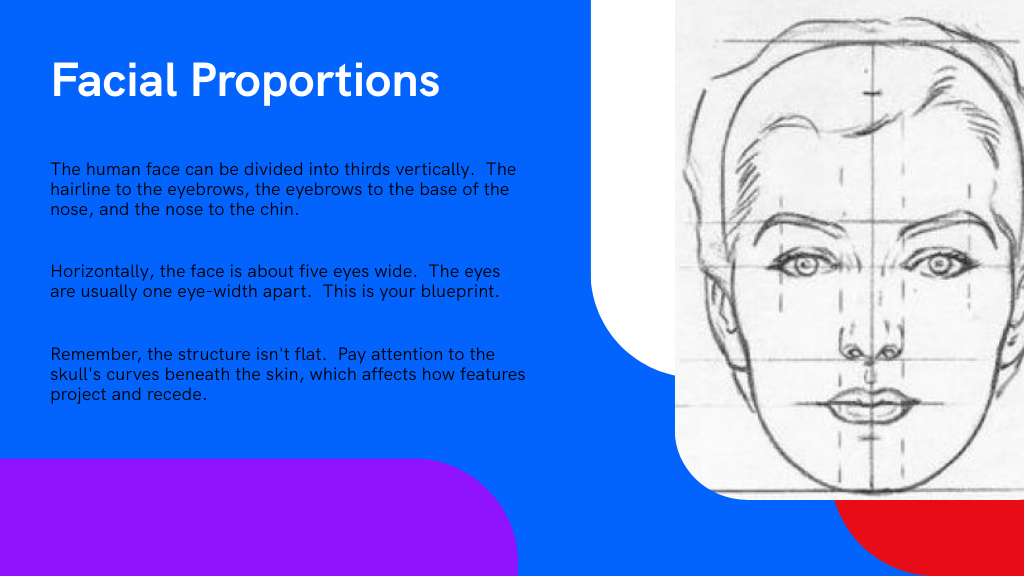
Horizontally, the face is five eyes wide. The eyes are typically one eye-width apart. These measurements provide a helpful framework for placing features accurately.
Moreover, the structure isn't just flat. Pay attention to the curves of the skull beneath the skin, which affect how features project and recede. This understanding sets a solid foundation before you begin sketching the basic outline.
With a solid understanding of facial proportions and structure in mind, you're ready to start sketching the basic outline of your portrait.
Begin with light, gentle strokes using your pencil to outline the head's shape, typically oval or egg-shaped. Remember, it's easier to correct lighter marks than dark, heavy ones.
Next, mark the positions of key features. Place horizontal lines to determine where the eyes, nose, and mouth will sit. Add a vertical line down the center to guarantee symmetry. This is your roadmap; each feature will align with these guides.

Setting the stage for facial features with horizontal and vertical lines ensures symmetry and balance in your portrait.
Sketch the eyes, nose, and mouth lightly, focusing on their basic shapes. Don't fret about details yet; you're laying the groundwork for a lifelike depiction.
To bring your portrait to life, you'll need to master a few key shading techniques that enhance realism. Start by identifying your light source; this will guide where you place your darkest shadows and brightest highlights.
Use a smooth gradient shift between these extremes to mimic how light naturally interacts with the human face. You'll want to pay special attention to the contours of the cheekbones, nose, and chin.
Employ cross-hatching to build up depth gradually, allowing you to control the intensity of the shadows. Remember to keep your strokes consistent in direction relative to your light source.

Blending is your friend here—use a blending stump or your finger to soften hard edges, creating a more lifelike appearance.
Capturing the intricate details of eyes, ears, and lips can truly transform your portrait from good to lifelike. When you're drawing eyes, pay attention to the subtle variations in the iris and the reflective highlights; they'll give the eyes a spark of realism.

Ears, often overlooked, have their own complexities. Notice the way light plays on the curves and indentations, giving them depth and character.
Lips require a soft touch with your pencil to capture their texture and form. It's not just about the line of the mouth but the way the lips interact with light and shadow.
Mastering these elements won't only enhance the realism of your portraits but also breathe life into your drawings.
As you refine your portrait skills, consider how capturing expressions and emotions can elevate your artwork. Expressions breathe life into your portraits and connect on a human level.
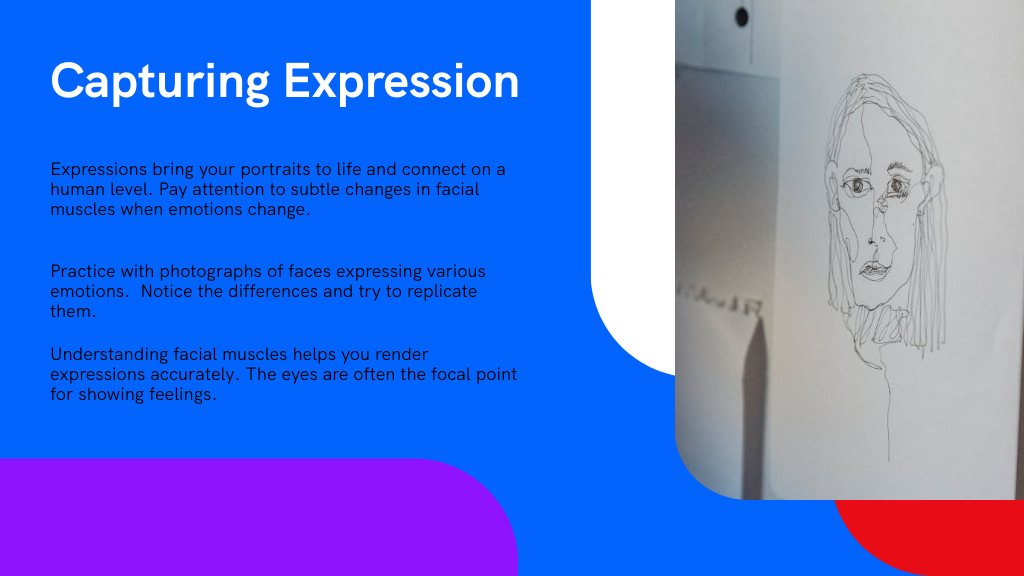
Refining portrait skills involves mastering expressions to truly capture and convey human emotions in your artwork.
Here's how to master this essential aspect:
Refining your portraits with highlights and textures brings out the realism and depth that make your subjects come alive. Start by identifying areas where light naturally hits the face—forehead, nose, cheeks, and chin. Use a lighter pencil or eraser to gently add highlights, making sure not to overdo it; subtlety is key.
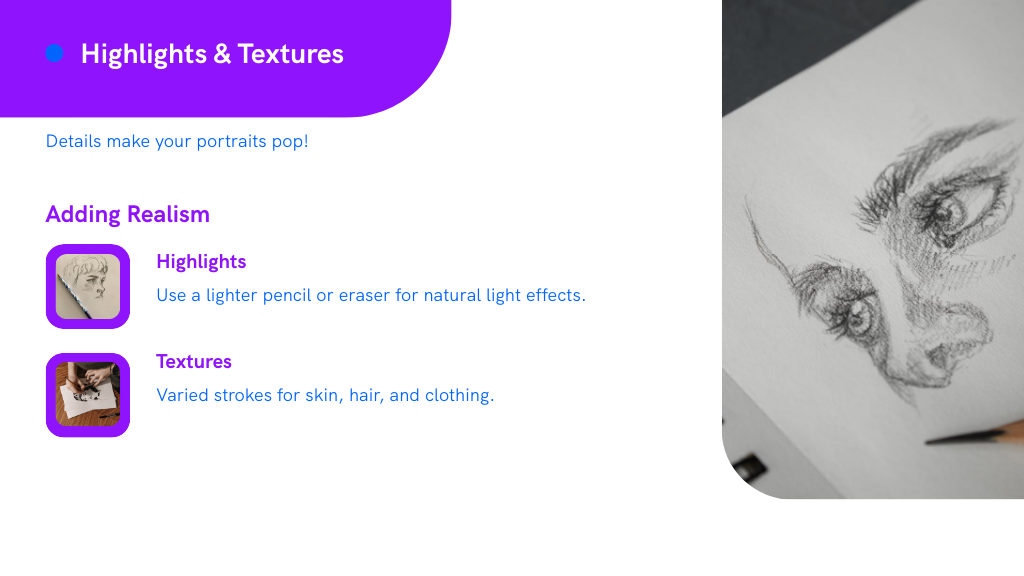
For textures, observe the character of the skin, hair, and clothing. Use varied strokes to mimic these textures, enhancing the tactile feel of your drawing. Short, quick strokes work well for stubble or short hair, while long, flowing lines suit smoother surfaces like skin.
This attention to detail doesn't just add complexity—it breathes life into your portraits, making them more engaging and believable.
To truly master portrait drawing, you'll need to set regular practice goals that challenge yet accommodate your growing skills. It's essential to periodically analyze your progress, noting both strengths and areas for improvement.

Don't hesitate to seek out and incorporate constructive criticism; it can provide invaluable insights that will refine your artistic approach.
Setting clear, achievable goals for your drawing practice can greatly enhance your skills and keep you motivated.
Here's how you can set effective practice goals:
This will help you see your progress and adjust your goals as needed.
After you've set your practice goals and started your routine, periodically analyzing your progress is key to refining your portrait drawing skills.
Every few weeks, take a step back and review your recent works. Compare them to earlier drawings to identify improvements and areas that still need attention. Are your proportions more accurate? Is the shading giving the face more depth?
Don't just look for what's wrong—acknowledge what's right, too. This balance helps maintain motivation. Additionally, keep a log or journal of your observations and thoughts about each piece. It'll serve as a valuable reference that shows how your understanding and technique evolve over time.
While you're improving your portrait drawing skills, it's important to seek and incorporate constructive criticism.
Here's how you can make the most out of feedback:
Mastering portrait drawing is like nurturing a garden; it requires patience, care, and the right tools. Just as a gardener celebrates the first bloom after weeks of tending, you'll find joy in the subtle smile you perfect or the glint in an eye you capture. Every stroke and shade adds depth, bringing your paper to life. Keep practicing, reviewing, and refining. Over time, your skills will blossom, transforming blank canvases into portraits that breathe with emotion and realism.

Your email address will not be published. Required fields are marked *