How to Seamlessly Add Photos to Images
Adding photos to images can significantly enhance your creative projects, whether for social media, marketing campaigns, or personal memories. Using the right methods and tools, anyone can master the art of seamlessly merging photos. This SEO-focused guide will cover step-by-step techniques, practical tools, and expert tips to help you effortlessly combine images for impressive visual results.
Essential Basics of Image Editing
Before you start, it’s beneficial to grasp the fundamentals of image editing. This includes manipulating images, adjusting colors, cropping, adding elements like text, and integrating multiple photos.
Common Image File Formats
Choosing the right file format helps maintain image quality:
- JPEG: Ideal for photographs; balances quality and file size effectively.
- PNG: Perfect for transparent backgrounds and web graphics.
- GIF: Best suited for animated images and simple graphics.
Selecting the Best Image Editing Tool
Your editing software influences your project's ease and outcome. Popular tools include:
- Adobe Photoshop: Advanced editing capabilities, ideal for professionals.
- GIMP: Free and robust, suitable for intermediate and advanced users.
- Canva: User-friendly, excellent for beginners and quick projects.
Step-by-Step Process to Seamlessly Add Photos to Images
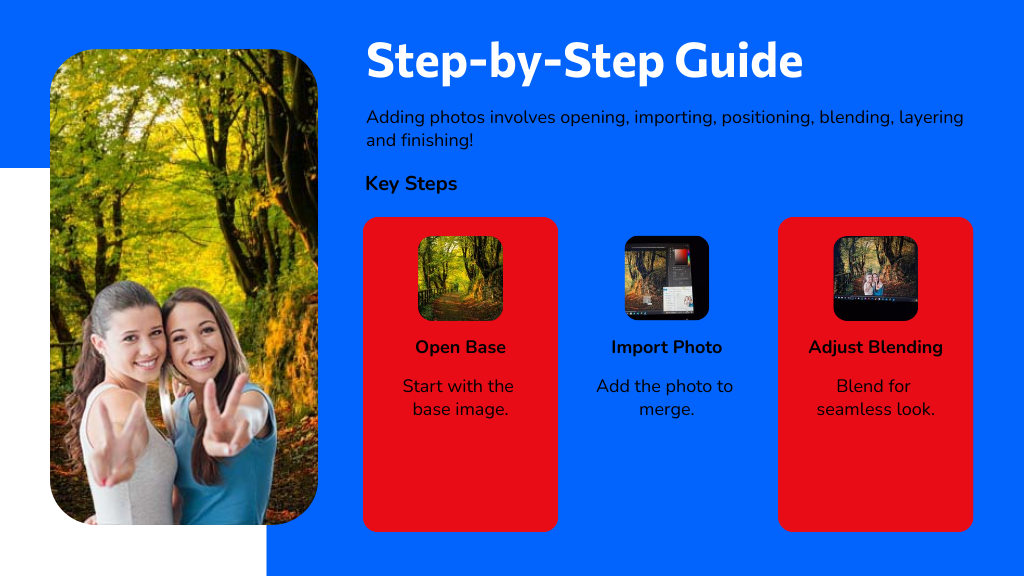
Follow these clear steps to blend photos smoothly:
Step 1: Open and Prepare the Base Image
Start by opening your main image in your chosen editing tool. Adjust size, cropping, and any initial edits necessary.
Step 2: Import Additional Photos
Add your secondary photo into the workspace by using the import feature or by dragging and dropping the file directly into the editor.
Step 3: Position, Resize, and Transform
Position your imported photo appropriately on the base image. Use the resize and rotate tools to ensure natural placement.
Step 4: Enhance Integration with Opacity and Blending
For a seamless effect, adjust the opacity to blend your new photo naturally into the background. Experiment with blending modes such as "Multiply," "Overlay," or "Soft Light" to find your preferred style.
Step 5: Utilize Layers for Optimal Control
Take advantage of layer management offered by most editing software. Layers provide greater flexibility, allowing you to independently edit or move each image component.
Step 6: Final Touches for a Professional Look
Complete your image by fine-tuning colors, adding text, or applying filters. Final adjustments ensure cohesive, visually appealing results.
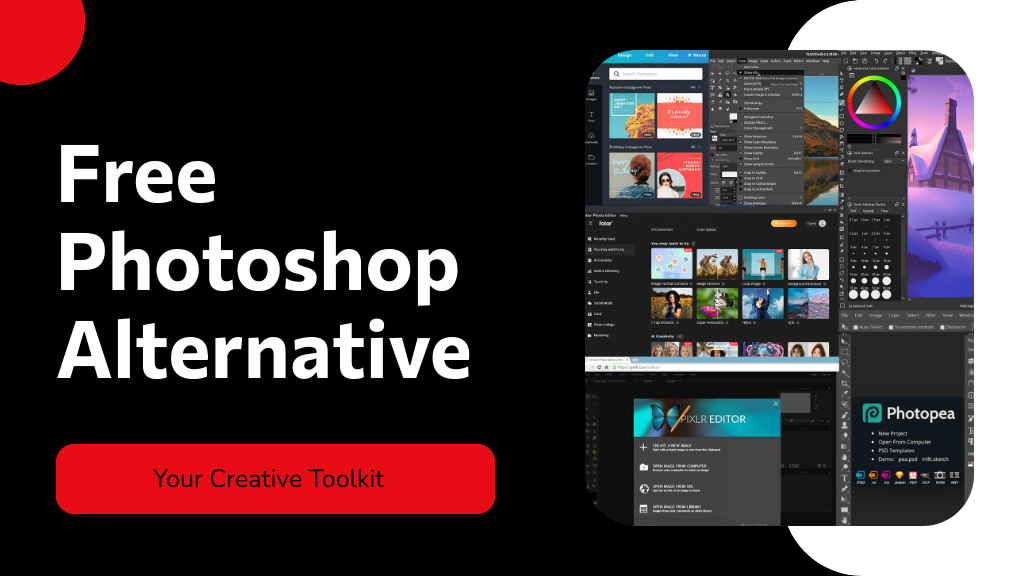
Online Tools for Adding Photos to Images
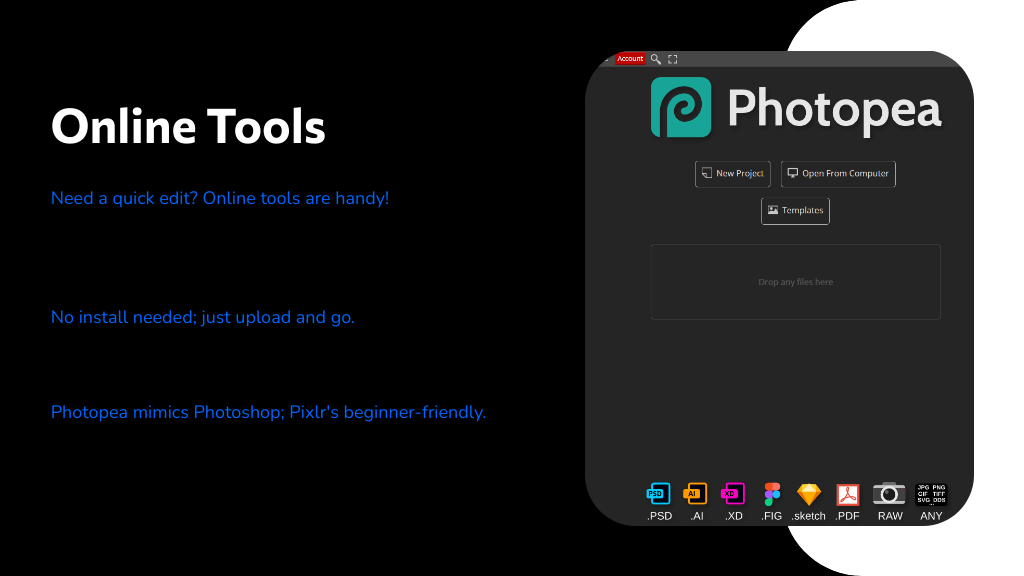
For quick, software-free solutions, these online tools are excellent:
- Photopea: Supports multiple file formats, advanced editing tools similar to Photoshop.
- Pixlr: Intuitive interface, perfect for beginners and intermediate users.
- Fotor: Simple and versatile, ideal for quick edits and creative templates.
Expert Tips for Seamless Photo Integration
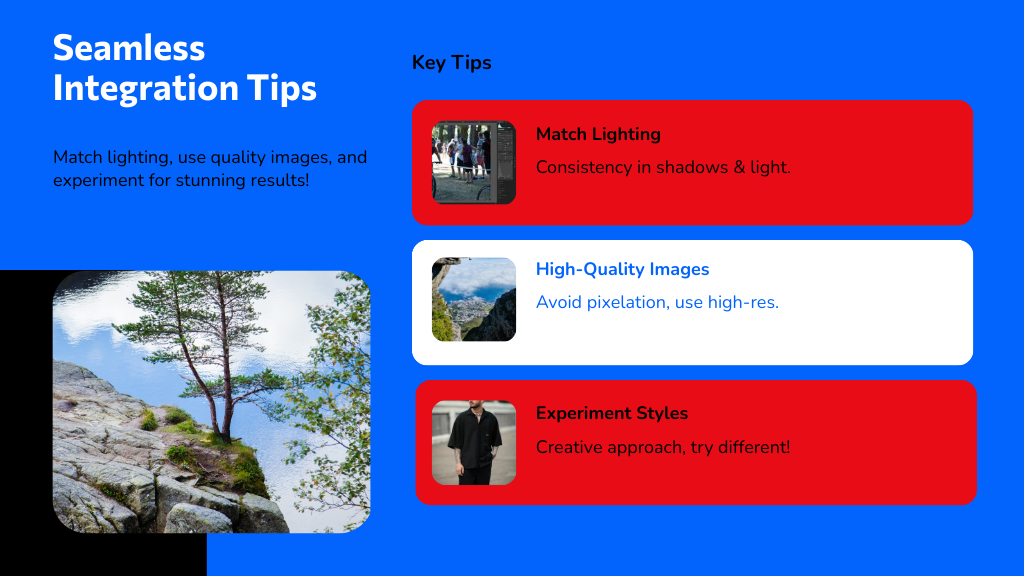
Ensure your images look professional and natural by following these additional tips:
- Match Lighting Conditions: Ensure both images share similar lighting and shadowing to enhance realism.
- Use High-Quality Images: High-resolution photos prevent pixelation and maintain clarity.
- Experiment Creatively: Don't hesitate to explore different styles or effects; creativity often leads to unique and captivating visuals.
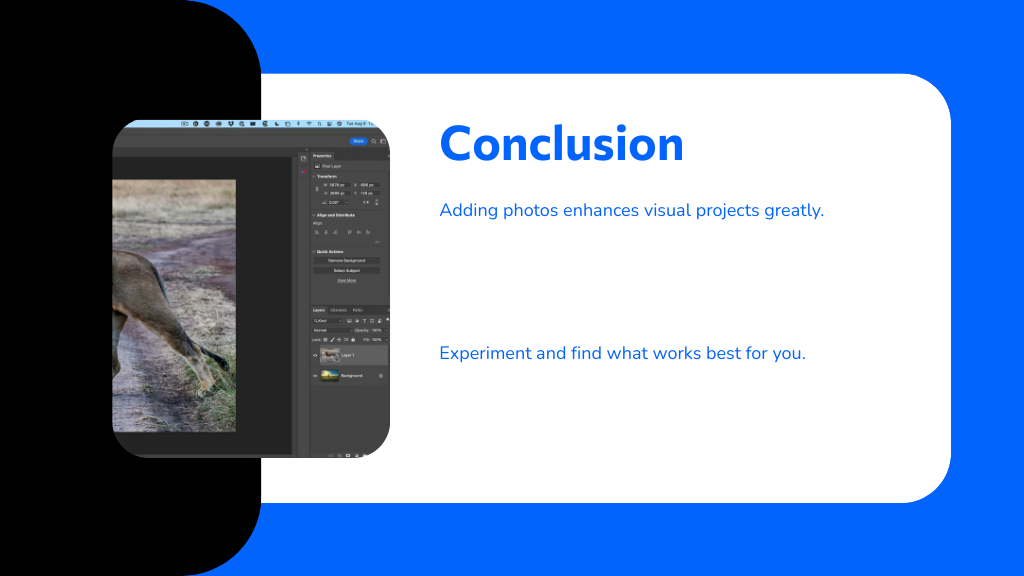
Conclusion
Seamlessly adding photos to images can elevate your projects significantly. By following these steps and utilizing suitable editing tools, you'll achieve professional-quality visuals with ease. Whether you opt for sophisticated software or user-friendly online editors, practice and creativity will yield the best results. Enjoy your editing journey!